How To Hang A Gate On A Concrete Block Fence
We may receive a commission on purchases made from links.
Things Needed
-
Gate
-
Tape measure
-
Level
-
Pencil
-
Square
-
Strap hinges
-
Hammer drill
-
Masonry bit
-
Wedge anchors
-
Hammer or mallet
-
Adjustable wrench
-
Driver bit
-
Wood screws
Warning
Only pound wedge anchors after threading on nuts; pounding may deform the the anchors' tips and prevent you from threading on nuts after the anchor is set.
 Jupiterimages/Photos.com/Getty Images
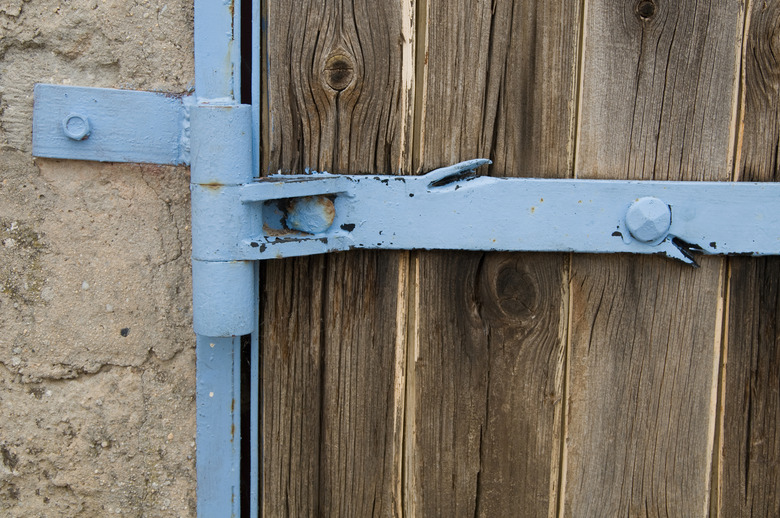
Masonry anchors attach nearly any type of gate hinge to a block wall. Wedge anchors are a common choice; they support heavy loads and require few tools for installation. Select a hinge that has screw holes on both sides, such as a strap hinge. Strap hinges consist of two flat plates that pivot on a peg-and-column hinge. Layout is critical; carefully level and align the anchors to ensure that the hinges' spacing lines up with gate rails.
Step 1
Latch a tape measure onto the bottom edge of the gate's bottom rail. Measure the distance between the bottom edge of the bottom rail and the bottom edge of the top rail. This dimension also represents the distance between the rails' centers and therefore the vertical distance between the hinges' anchors.
Step 2
Stretch the tape measure from the block fence's base to the desired position of the lower hinge. Use a pencil to mark the position of the lower hinge. Place a level against the block fence. Plumb the level; to "plumb" means to vertically level. Align the bottom of the level with the lower hinge mark. Draw a pencil along the edge of the level, beginning at the lower hinge mark.
Step 3
Draw the pencil up the edge of the level to create a plumb line that extends from the lower hinge mark to beyond the estimated location of the upper hinge. Remove the level from the wall. Align the tape measure's tip with the lower hinge mark. Stretch the tape measure along the plumb line and mark the vertical position of the upper hinge with a pencil.
Step 4
Place a square on the plumb line and align the square's corner with the lower hinge mark. Run a pencil across the top edge of the square to create a mark that runs perpendicular to the plumb. Align the square the with the upper hinge mark and create a second perpendicular line. The perpendicular lines represent the installation locations of the hinges and the distance between the centers of the rails; use the tape measure to check your layout.
Step 5
Hold a hinge over one of the perpendicular lines. Align the hinge's screw holes with the line and press a pencil through the holes to mark their location along the line. Align the hinge with the upper line and lay out the hinge's screw holes along the line.
Step 6
Mount a masonry bit to the hammer drill and set the drill to the hammer setting. Choose bit diameter according to your anchor manufacturer's specifications. Bore anchor holes through each of the screw hole marks on the block fence. Bore to the depth specified by your anchors' manufacturer. Remove the nuts and washers from the wedge anchors.
Step 7
Insert the threaded end of the anchors through the hinges' screw holes. Place a washer over the threaded end of each washer. Thread a nut onto each anchor. Insert the wedge ends of the anchors into the pre-drilled anchor holes. Press the hinges flush against the block fence. Pound the tips of the anchors' threaded ends with a mallet or hammer to expand the wedge and secure the anchors to the fence.
Step 8
Tighten the anchors' nuts with an adjustable wrench until the nuts butt against the hinges' plates and force the hinges flush against the block. Attach a driver bit to the hammer drill and set the drill to driver mode. Hoist the gate upright and align the fence's rails with the loose sides of the hinges. Drive wood screws through the hinges screw holes to secure the gate to the hinges.