How To Drill A Hole In An Outside Table For An Umbrella
Things Needed
-
Umbrella with post
-
Table
-
Tape measure
-
Pencil or marking pen
-
Electric drill
-
Hole saw bit
-
Sand paper
-
Sealer
Tip
For easier access to the center of the table, place the table on its side.
A hole saw bit will not work on metal. You will need a diamond-impregnated hole saw to drill a hole into a metal table.
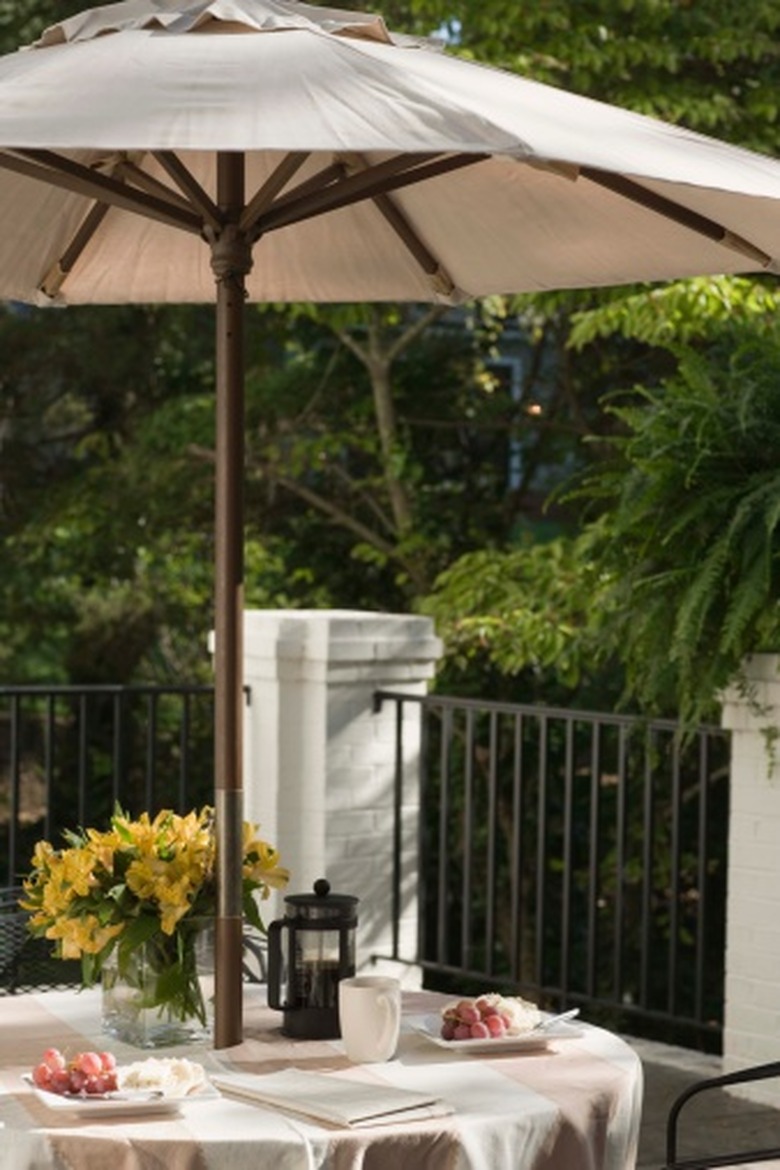
An umbrella set in a deck or patio table provides protection from the elements and add a splash of color to the setting. If your table isn't equipped with a center hole that accommodates an umbrella, you can create the right sized hole using an electric drill equipped with the proper hole saw bit. Select a hole saw unit designed for cutting through your specific table material, such as wood, plastic, metal or masonry.
Step 1
Measure the diameter of the umbrella pole to determine how big the hole in the center of the table will need to be. You can obtain this dimension by placing a tape measure across the base of the umbrella post. Hole saw units are available in a variety of sizes; select a unit that is 1/4 inch larger than the diameter of the umbrella post for easy installation.
Step 2
Measure across the tabletop to find the center point where the hole will be drilled. Measure in a crisscross pattern, making a pencil mark at the center point. Use this technique to measure tables of all shapes and sizes.
Step 3
Attach the hole saw unit to the drill. The unit consists of a center drill bit which pilots the coring saw that surrounds the bit. The drill bit protrudes out from the coring unit to allow you to start a pilot hole before the outer cutting teeth reach the table surface.
Step 4
Rest the tip of the drill bit on the center mark made in step 2. The drill should be at a 90-degree angle when you squeeze the trigger to start the hole. Slowly penetrate the table surface with the drill bit, allowing the coring shroud's teeth to come to a rest.
Step 5
Allow the teeth of the hole saw to make an impression in the table before bringing the drill up to full speed. Doing so will ensure controlled hole placement.
Step 6
Remove any burs, splinters or rough areas with sanding paper for a finished look. If you have a wood or metal table, treat the cut area with a sealer to protect it from rotting or rusting.