How To Build A Fire Pit On Concrete
We may receive a commission on purchases made from links.
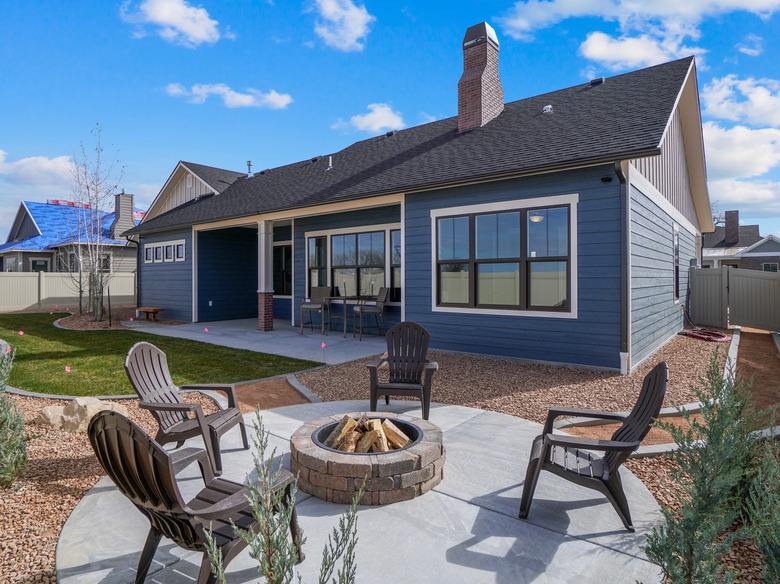
Concrete provides a sturdy surface for placing a fire pit. A concrete fire-pit base prevents erosion and accidental excavation each time the fire pit receives a cleaning. With concrete as a base, a patio serves as an optional surface for the installation of a fire pit, or you can pour a special concrete pad on which to place your fire pit. Of course, it reduces construction time if you build the pit on an existing concrete slab.
Things Needed
How to Build a Fire Pit on Concrete
1. Check Local Regulations
Check with your local courthouse before you start building to find any regulations on placement of the fire pit as well as to obtain a permit to build. You do not have to use mortar; you may also dry-build this fire pit by simply stacking the blocks on top of a concrete slab.
2. Choose a Location
Be sure to locate your fire pit at least 20 feet away from your home or other wood structures, to prevent fire hazards. You may have to install a concrete pad first; give it time to cure before building your fire pit. Alternately, use concrete pavers to build the fire pit base and/or an entire patio.
3. Mark a Circle
Use a beam compass and piece of chalk to mark a circle on the concrete measuring 3 feet in diameter. This marks the inner circle of your fire pit, the circle around which you should construct the walls of the pit.
4. Mix the Mortar
Place dry ready-mix mortar in a wheelbarrow, add the package-recommended amount of water and stir thoroughly to create a thick mixture, the consistency of brownie batter. Use a garden hoe to mix the mortar and then rinse the hoe thoroughly before the mortar dries.
5. Start the Circle of Blocks
Scoop up a trowel full of mortar and place it on the concrete outside the chalk circle. Set one of the precast stone blocks into place on top of the mortar, pressing down until 1/2 to 3/4 of an inch of mortar sits between the concrete and the block.
6. Build the First Ring
Apply a small amount of mortar to the ends of the block and on the concrete on each side of it. Place two more blocks along the chalk circle, pressed against either end of the first block. Continue this process until you complete the first ring of blocks. Wipe away excess mortar with an old rag before it dries to the front and back surfaces of the blocks.
7. Start the Second Row
Start another row of blocks. Place mortar on top of the first layer of block and start to set the next row into place in the same fashion as before, staggering the block–the middle of the first block over a seam between two blocks below it–to create a sturdier wall. Continue placing blocks and rows until the fire pit walls measure at least a foot tall. Allow the fire pit to dry for at least one week before using it.
8. Add the Lava Rocks
Place a 3- to 5-inch layer of lava rocks inside the fire pit. The rocks prevents the fire from sitting directly on the concrete and is easier to clean and replace than the concrete slab.
9. Use a Fire Mesh Cover
Add a spark screen to the fire pit. Spark screens prevent the escape of flying ash and embers.