How To Build A Stone Moongate
Things Needed
-
Tape measure or yardstick
-
Pencil
-
String
-
Plywood
-
Jigsaw
-
Flexible wood
-
Wood glue
-
Hammer
-
Wood glue
-
Nails
-
Mallet
-
Mortar
-
Bucket or tray
-
Trowel
-
Wood posts
-
Screws
-
Screwdriver
-
Level
Tip
If you are using more than one stone to create the depth of the opening, be sure all stones fit snugly together, leaving no gaps. Some of the stones may need to be chiseled or cut to fit properly.
Warning
Before building stones around the wood frame arch, apply pressure to ensure it is strong enough to support the weight of the stones without collapsing.
 Jupiterimages/liquidlibrary/Getty Images
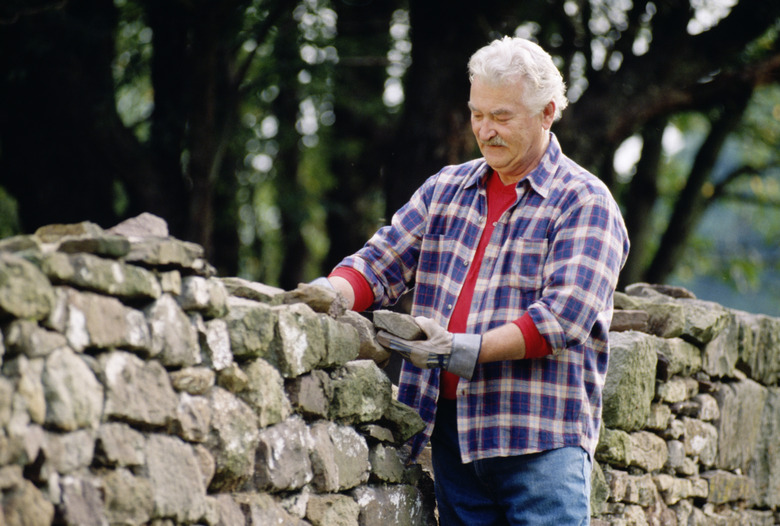
Moongates date back to the fourth century in China. The full moon-shaped opening has been considered by many to be a doorway to another world. As an entry to a garden, a moongate draws visitors into a welcoming outdoor space. Build your own stone moongate as an entry to your garden space or as part of an outdoor enclosure. Starting with a support frame of wood and basic knowledge of working with stone, your stone moongate will pique curiosity about what lies beyond to all who view it.
Build the Wood Support
Step 1
Build the temporary wooden arch to support the stones as you assemble the moongate. Cut two pieces of 1/2-inch plywood to the length of the diameter of the moon gate opening.
Step 2
Cut a length of string to the diameter of the moongate opening plus an inch or two. Tie one end of the string to a pencil and place the end of the string at the center of one edge of the wood. Draw a half-circle with the pencil. Cut out the circle with a jigsaw. Use the first cut piece as a template to cut the other piece of plywood.
Step 3
Cut a length of flexible wood to the exact length as the circumference of the half-circle. Cut the width of this board to the measurement you want for the depth of the moongate opening. Use the width of your stones as a guide to this measurement.
Step 4
Bend the flexible wood along the edge of one of the wood half-circles. Run a bead of wood glue along the edge and hold the pieces together until the glue dries. Hammer several nails along the edge to secure the pieces. Repeat for the other wood half-circle. This semi-circular wooden arch will be used to create the shape of the moongate.
Assemble the Stone Arch
Step 1
Build the base for the moongate by placing several layers of stones horizontally, making them as level as possible with the ground. Spread a layer of mortar between each stone with a trowel. Build the base as high off the ground as you want the entrance to the moongate. For a ground level opening, place one or two layers of stone below ground level, making the top layer level with the surface. Make the width as least as wide as the diameter of the moongate to provide adequate support.
Step 2
Place the wooden arch on top of the row of stones with the curve at the bottom. Hold the arch in place while wedging stones around the base with a mallet and applying mortar with a trowel to secure. Determine if you will be laying the stones for the moongate opening in a horizontal or vertical position. Horizontal placement will wedge the edges of the stones against the arch; vertical placement will stand them upright in a curve around the arch.
Step 3
Build up a few rows of stone around the wooden arch to create the base of the semi-circle. Continue adding stones along the sides of the base stones for strength and support. Build the rows to the top of the wooden arch. Allow the mortar to set and then remove the wooden arch.
Step 4
Turn the arch upside down, and then cut four posts from wood to create legs to support it. The legs will keep the weight of the arch off the finished stonework while you complete the top of the moongate opening. Screw two legs to each side of the arch, measure for proper height and stand over the finished portion of the moongate opening. Cut another post to the exact diameter of the circle and wedge into the opening vertically. Use a level and check that you have a perfect circle.
Step 5
Build the top of the opening by placing additional stones around the top of the frame, securing with a layer of mortar. Allow mortar to dry according to package directions and remove frame.