How To Install Fence Stringers
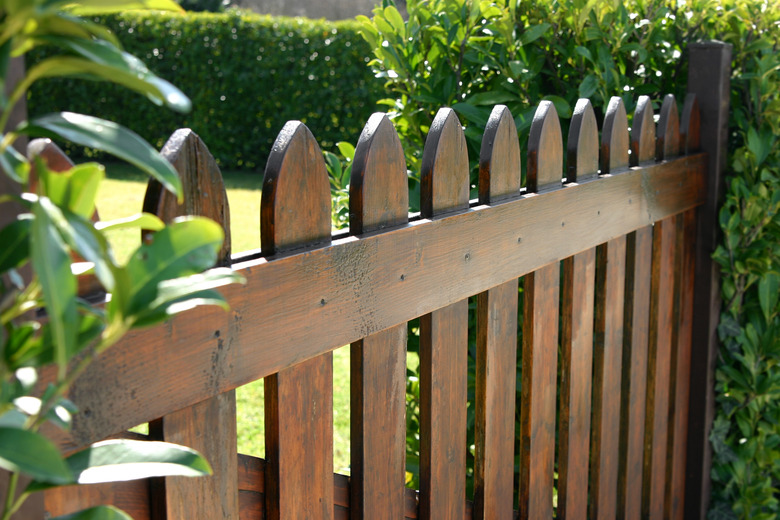
Picture a typical wooden privacy fence composed of three main parts: The posts, which sit firmly in the ground and provide the strength to keep the fence upright, the vertical boards or pickets that provide the physical barrier and the horizontal fence stringers or rails that hold everything together by connecting the posts and providing a surface for attaching the boards.
Once you have installed the posts, the rest of the fence seems like smooth sailing. But in fact, installing fence stringers requires the same precision and attention to detail as installing posts. Haphazardly installed fence stringers can affect the overall appearance and stability of the fence. For a long-lasting and beautiful fence, take as much time and care to install the stringers as the rest of the fence.
How Many Fence Stringers to Use
The size and quantity of fence stringers to use depends on the height of the fence and the amount of pickets or boards.
For fences 6 feet high or taller, use three fence stringers. Place the first stringer approximately 10 inches off the ground, the second stringer approximately 10 inches from the top, and the final stringer evenly spaced between the two. Use a measuring string and a level to help you mark the same place on each fence post.
If you plan to install a full privacy fence, you will end up using more boards than on a standard picket fence. Thus, the fence stringers must be large enough to withstand that weight. Use 2-by-4s for this size and type of fence. For picket fences or fences shorter than 4 feet, 1-by-4s may be sufficient. The length of the stringer depends on the distance between fence posts and the installation method, but approximately 8 feet is common.
How to Attach Stringers to Posts
You can choose from several methods to attach stringers to posts. Your method of choice depends on what you find aesthetically pleasing, easiest to install and sturdiest for your circumstances.
Using Brackets
First, you can use brackets to hang the stringers between the posts. Following the measured marks you made earlier, screw the bracket to the edge of the post so that it faces the adjacent post. Once two facing brackets are installed, measure and cut the stringer to the precise length between the brackets and slide it, narrow side up, into the bracket until it rests securely on the lip of the bracket.
Depending on the style of the bracket, you may be able to screw the stringer to the bracket after sliding the stringer into it for added stability.
A screwing method called "toenailing" represents another way to install fence stringers between posts. The screws enter the stringer at a diagonal so that they anchor into the fence post.
You can also use nails to attach the stringers, but screws tend to last longer. Nails may pop out if the board warps in response to moisture. To prevent this, offset the second nail slightly instead of beginning it directly across from the first nail.
The toenailing method allows you to install fence stringers either narrow side up or broad side up. Broad side up stringers are generally reserved for shadow box fences, in which pickets appear on either side.
Screwing Through the Face of the Stringer
The easiest and fastest way to attach fence stringers to posts involves placing the stringer flat on the outer side of the post, narrow side up, and drilling a screw directly through the stringer and into the post.
Cut the stringers so that each one overlaps no more than half of the post on the left and half of the post on the right. This provides enough space to screw the stringer to the post while leaving room for the next stringer in the line. Leave a small gap where the stringers meet in order to account for expanding wood in moist conditions.
Regardless of the method you choose, it helps to have a friend assist with the installation, holding the stringer in the correct location as you fasten it to the post. Take your time and make accurate measurements, cuts and pilot holes for a beautiful and sturdy finished product.
