How To Repair A Mirror Crack

Faced with a small crack in a mirror, the tendency for most people is to dispose of it, not realizing the crack might be easily repaired. A basic glass repair kit of the type sold by auto supply stores to repair windshields can also be used to repair household glass surfaces, including mirrors. These kits include everything you need, including resin, film, and stabilizers.
Things Needed
-
Soft cloth
-
Glass repair kit
-
Razor blade
-
Glass cleaner
-
Microcloth
Tip
Fix fine cracks or deep scratches in your mirror as soon as you notice them because a cracked mirror may be susceptible to unexpected breaking. A heavy mirror that breaks may not create seven years of bad luck, but it is no laughing matter.
Warning
Glass repair kits will not fix a mirror with large cracks, or one in which pieces of glass have already broken off. It is best to discard a mirror that is this badly damaged.
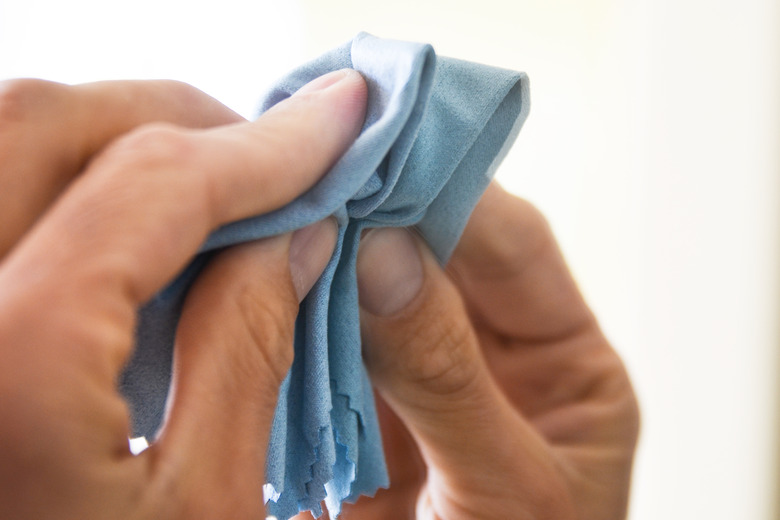
Step 1
Clean the area around the crack using a soft cloth. All dirt and debris must be removed for the repair kit to work properly.
Step 2
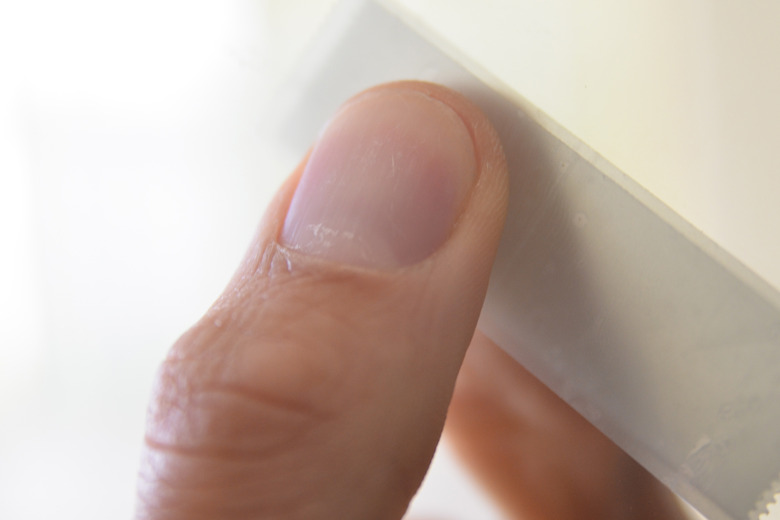
Apply the stabilizer film from the repair kit over the crack by peeling off the adhesive backing and pressing the stabilizer membrane in place. Smooth out the stabilizer with your fingers to remove any trapped air.
Step 3

Fill the syringe with resin, then insert the tip through the stabilizer and into the crack. Squeeze the plunger to force resin into the crack until it is filled. Let the resin cure according to the product instructions, then peel off the stabilizer film.
Step 4

Apply a tiny amount of resin on top of the cured, filled crack. Cover this resin immediately with the curing film.
Step 5
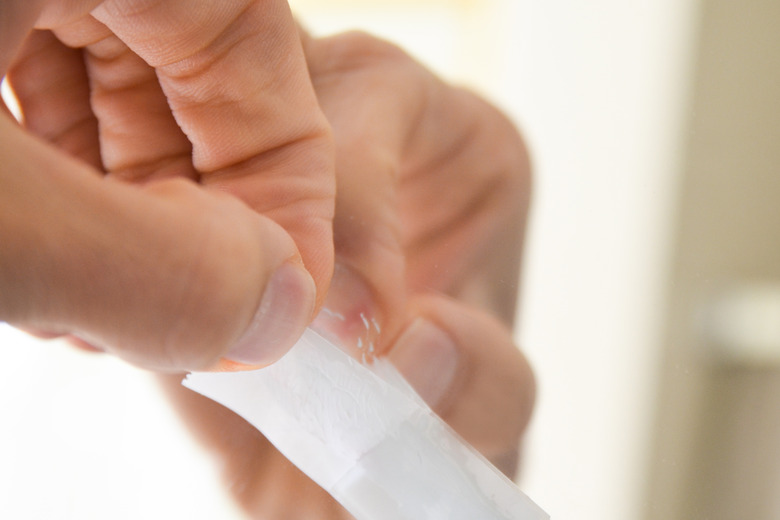
Peel the curing film off after the top layer of resin has cured, as well.
Step 6
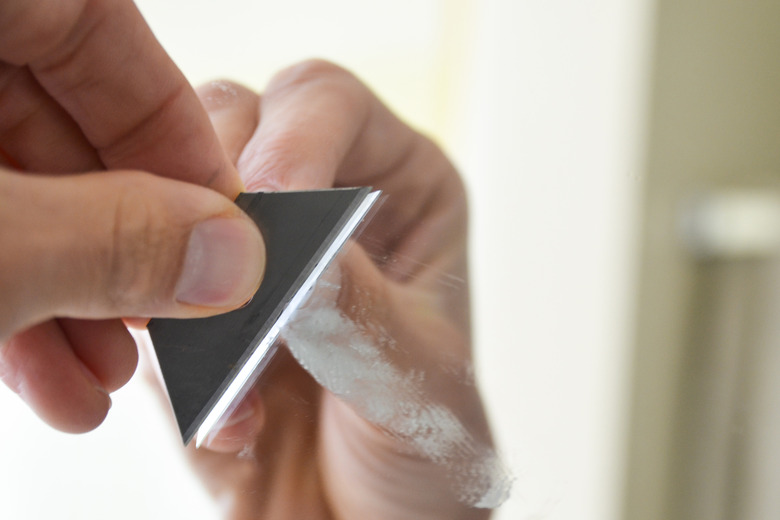
Smooth the repair by lightly scraping with a razor blade if needed, then clean the mirror with glass cleaner and a microfiber cloth.