How To Lock Double Doors
We may receive a commission on purchases made from links.
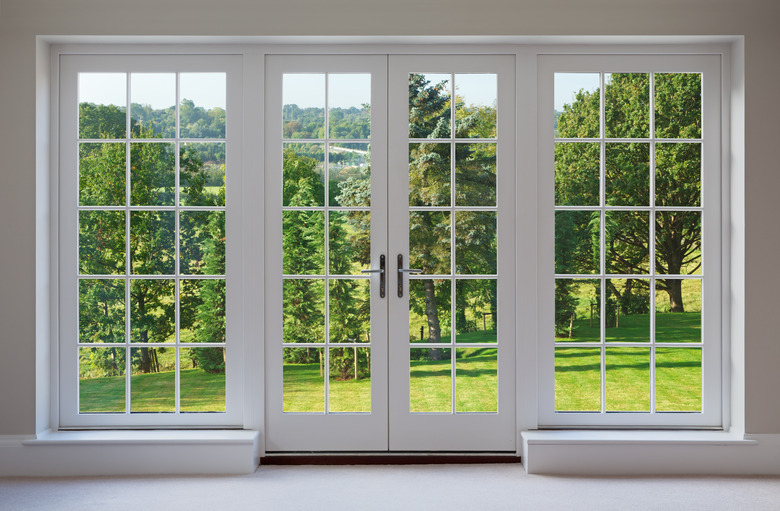
A set of double doors, called French doors if they contain glass, consists of two door leaves installed in a single frame. One leaf is considered active and can be opened and closed using a knob or lever. The other leaf is considered inactive and remains locked the majority of the time. While these units can be secured using most traditional locksets, they must also be equipped with flush bolts to hold the inactive leaf in place.
Things Needed
-
Flush bolts (pair)
-
Drill
-
Screwdriver
-
Hammer
1. Choose the Active Leaf
Determine which leaf is active and which is inactive. If you have blueprints, check to see if the active leaf is designated. If not, the active leaf is generally the one that is most convenient to open. Consider from which direction traffic is flowing as well as the locations of nearby furnishings when choosing the active leaf.
2. Pick a Lock
Select a lockset. Any mortise or cylindrical lock can be used on a pair of doors just as it would on a single door. Make sure the lock you choose will fit into existing holes that are drilled in the door, if applicable. The lock should also be designed to fit your door's thickness, which will range from 1 3/8 inches to 1 3/4 inches on average.
3. Cut the First Hole
Remove the lock from the package and look for the paper template. This template will be taped to the active leaf, and will indicate where the lock will be installed. Drill or cut holes in the active leaf as indicated on the template. Do not cut any holes in the inactive leaf at this time.
4. Install the Lockset
Install your lockset in the active leaf according to the instructions on the lock template. Add cylinders or trim as indicated.
5. Cut the Strike Hole
Use the strike template that came with your lock to prepare the inactive leaf. This template should be wrapped around the edge of the inactive leaf and will indicate where holes should be drilled. If the door is blank, you will need to use a hammer and chisel to cut out a pocket for the latch bolt. Once the door has been prepped, install the lock strike plate using the screws provided.
6. Install Flush Bolts
Purchase top and bottom flush bolts for your door. For novice installers, surface-mounted flush bolts will be easiest to install. Use the template that comes with these bolts to screw them to the face of the inactive leaf.
7. Mark Where Bolts Hit
Rub lipstick on the end of each flush bolt; then extend the bolt so that it hits the floor (at the bottom) and the door frame (at the top). This lipstick mark will indicate where the strike for each bolt should be cut.
8. Install Top Strike
Cut the strike in the door frame using a hole saw or hammer and chisel, as applicable. Once the hole has been cut, cover it with the strike plate. Screw this plate in place using the screws provided.
9. Install Bottom Strike
Install the bottom strike as you installed the top strike. If the bolts are not long enough to reach the strike at the bottom, you may need to use wooden shims to raise the strike plate a bit. Test the bolts to ensure they are secure.
10. Leave Flush Bolts Locked
Keep the flush bolts locked at all times. Unlock them only when there is a temporary need for a wider door opening, such as for moving large equipment through the doors. The lockset will keep the active leaf secure, while the flush bolts will keep the inactive leaf secure.
