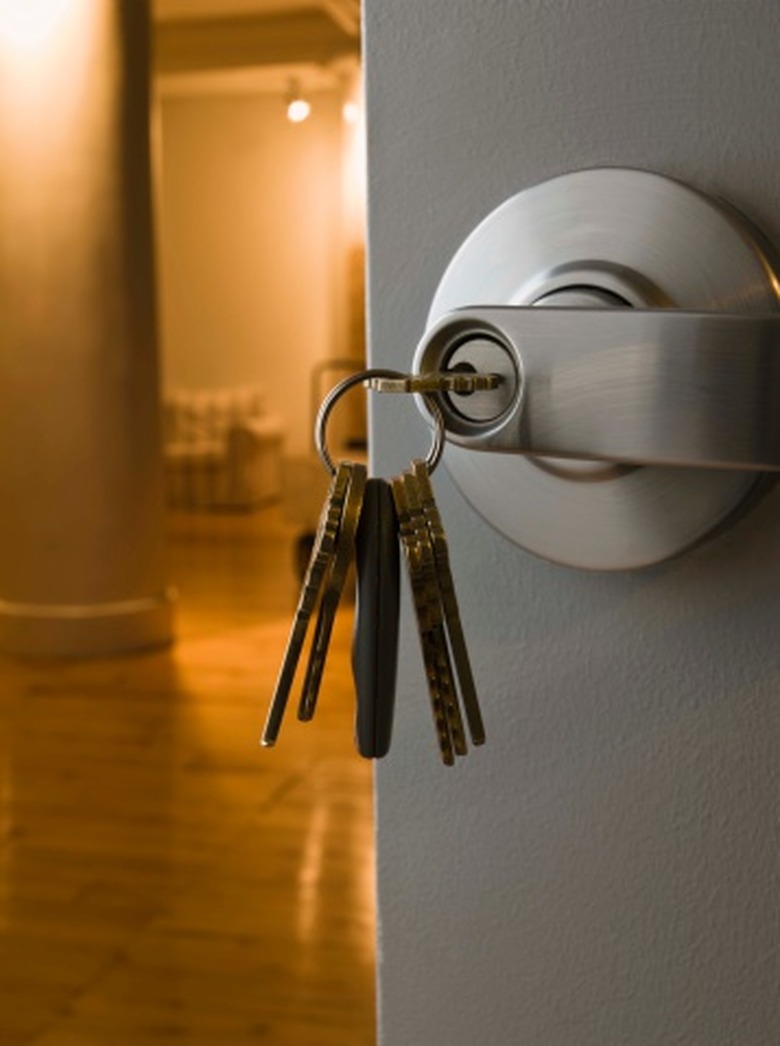
How To Create A Master Key For A Kwikset Lock
Things Needed
-
Kwikset rekeying kit
-
Towel
Creating a master key for a Kwikset lock provides you with the convenience of opening all your locks with a single key. Most apartment complexes and hotels operate on a master key or card system. You can open each lock with its own key or card and the master key or card. To allow for entry using your original and master keys, change the pins in the lock mechanisms in each door. Kwikset makes a rekeying kit that includes all the parts and tools you need to create a master key. Use the key in the kit as the master key.
Step 1
Measure the five cuts on the original key and the master key using the scale on the key gauge. The cuts are the grooves on the key that match up with slots in the lock to make the lock open and close. Write the measurements down.
Step 2
Circle the smallest number for each cut position. For example, if the first cut is 5 for the original key and 3 for the master key, circle 3. The five circled numbers will be your new bottom pins.
Step 3
Subtract the cut measurements of the original keys from the master key measurements to determine the top pins. For example, if the first cut is 5 for the original key and 3 for the master key, the top pin for that cut will be 2. Perform these calculations for all five cut positions. These will be your new top pins.
Step 4
Put your key in the lock and turn it to the 3 o'clock position. Leave the key in the door.
Step 5
Find the knob/lever catch on the left side of the door knob stem. Press the metal button with the key gauge from the Kwikset rekeying kit. Pop the knob off of the stem. Turn the key back to the 12 o'clock position and remove it from the lock.
Step 6
Remove the keyhole plug and cylinder from the door knob. Tilt the knob forward and push the keyhole plug. Slide the cylinder out the back of the knob. Put the door knob aside.
Step 7
Push the retaining ring off the cylinder using the U-shaped side of the key gauge. Insert the key into the keyhole plug and turn it to the 3 o'clock position.
Step 8
Insert the plastic follower from the re-keying kit into the back of the cylinder. Push the keyhole plug and key out of the cylinder. Leave the follower in the cylinder and set it aside.
Step 9
Remove the pins from the plug carefully.
Step 10
Locate the new bottom and top pins in your rekeying kit. Place the new bottom pins in the cylinder first, then insert the top pins.
Step 11
Reassemble the keyhole plug and cylinder, pushing the follower out the back. Reattach the retaining ring. Press the knob/lever catch onto the door knob stem. Push the catch and slide the cylinder into the stem and knob. Align the keyhole plug with the corresponding knob hole.
Step 12
Test the original and master keys in the lock.
