How To Replace The Sand In A Waterco Pool Filter Valve

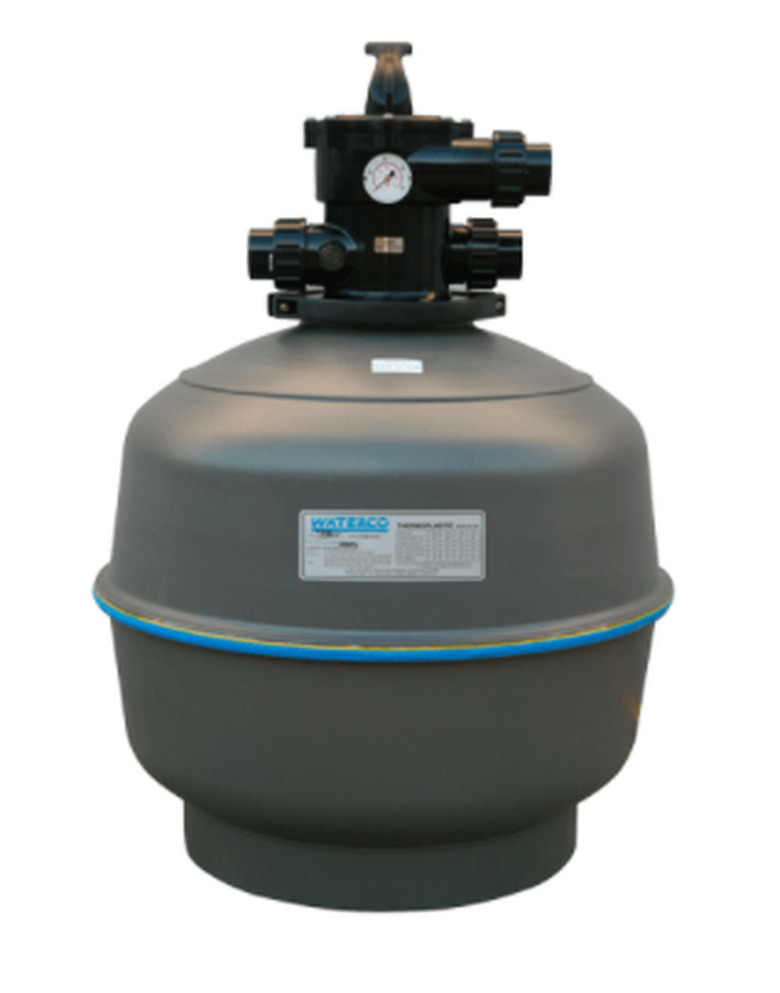
A variety of pool filtering systems are available for residential swimming pools, and one of the most efficient and popular is the sand filter, such as those sold by the Waterco company. These filters use sand as the filtering media, running the water constantly through a layer of it to remove any impurities. The filters have a number of advantages, including durability, ease of maintenance, and simple efficiency. Properly maintained, sand filters such as Waterco's can filter out impurities as small as 3 microns.
But to maintain efficient operation, sand filters need to be regularly backwashed to shake out the impurities they've trapped. And every five years or so, the sand filtering media needs to be removed and replaced. Changing the sand should take less than an hour to complete, after which you can enjoy sparkling clear water.
 Waterco Company
The directions here are specific to Waterco sand filters, but the process is similar for many other sand filters.
Things Needed
-
Lacron lid tool
-
Garden hose
-
Phillips screwdriver
-
16/30 grade silica sand
1. Clean the Old Sand
Clean the old sand contained in the filter before removal. Turn the selector switch on the filter to the backwash setting, then backwash the pool water through the filter for three minutes. Rinse out the sand contained in the filter with clean water for 20 seconds, and then repeat the process.
2. Drain the Water From the Tank
Set the input and outlet valves on the filter to closed positions. Locate the filter drain cap plug slightly above the filter base. Set a tray or bowl beneath the filter drain cap plug, and remove the filter drain plug to drain the water contained in the sand.
3. Remove the Filter Lid
Remove the filter lid by unscrewing it from the base of the filter unit. If the lid sticks, use the specially created Lacron lid tool to remove the lid. (These tools should be available for sale at the same retailer that sells the filter units.) Place the tool over the rim of the lid, and twist the lid open.
4. Remove Bleed Cap and Header Pipe
To remove the air bleed cap and header tube located inside the filter, first use a Phillips screwdriver to remove the screw on the inner top edge of the filter — this screw secures the header pipe to the black air bleed tube. With the screw removed, you can now remove the header pipe from the tube.
5. Remove the Old Sand
Use a wet/dry vacuum with a hose attachment to suck out the old sand contained in the filter. You can make the sand more fluid and easier to remove by adding a small amount of water to break it up. After removing most of the sand, wash the inside of the filter unit, using a garden hose to remove all traces of the old sand.
6. Add New Sand
Work gradually when filling the filter unit with new sand to ensure it is level and evenly distributed.
- Fill the filter about one-third full with water.
- Cover the air bleed tube opening inside the filter with tape to prevent sand from clogging the piping system.
- Close the filter drain cap plug and then pour the new sand into the filter slowly, using the water to cushion the sand's fall.
- Fill the tank to the water level, and then stir the sand around to level the surface.
- Continue to pour the sand until the filter is filled to the height indicated in the filter manufacturer's instructions. Generally, residential filters are filled to a height of between 30 to 50 millimeters above the center of the filter.
- Stir the sand in the filter to level the surface.
7. Reassemble the Filter Mechanism
Now the filter goes back together by simply reversing the process used to take it apart.
- Remove the tape that is blocking the air bleed tube, and then clean and replace the pipework and air bleed cap.
- Clean the filter lid, and then cover the threads of the lid with Vaseline. Put the filter lid back onto the filter.
8. Test the Filter
- Open the valves back up and activate the circulating pump with the filter on "Backwash." Pump the water through the filter for three minutes. The water coming from the filter will at first have a slightly stained appearance.
- Repeat as needed until the filtered water runs clear.
- Reset the valve to filter; your job is now done.