How To Fix A Shower Diverter That Won't Stay On
We may receive a commission on purchases made from links.
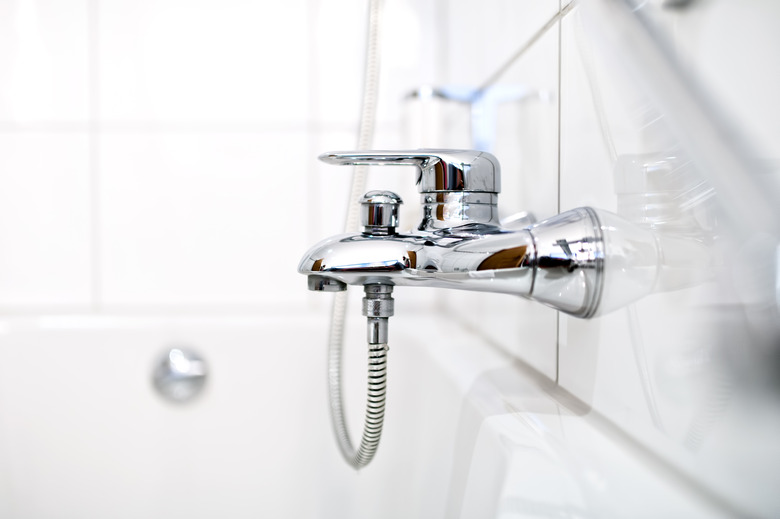
Shower diverters are valves that switch the water flow from a bathtub faucet to the showerhead. Lifting the lever closes the valve and redirects the water to the showerhead. Shower diverters can stop working for a variety of reasons, and when they don't stay on, the water will leak, drip or only flow into the tub. When this happens, the diverter may need to be repaired or replaced.
Removing Valve Handle and Escutcheon
Removing Valve Handle and Escutcheon
Before attempting this repair, ensure that the house's water main is completely shut off. In addition, you should cover the drain to prevent small parts from falling in. Standard bathtub valve handles are usually connected to the wall with a screw, and the handle's cap can be removed with a screwdriver. If the cap is threaded, remove the nut with a wrench and then remove the handle.
The escutcheon (the plate around the valve) and hollow tube behind the handle should also be removed. If this plate is threaded to the wall, you can use a wrench to pry it off. Alternatively, if it is connected with a retaining nut or screw, these can be removed with a wrench, pliers or screwdriver.
When spouts are stubborn and won't move, you can use a faucet handle puller. If the escutcheon is caulked onto the shower wall, you might need to cut the caulk with a putty knife.
Disassembling the Diverter
Disassembling the Diverter
If the valve is recessed in the wall, you may need a shower valve socket wrench set to access the diverter. These specialized tools are double-sided, and they have extra deep wrenches. They are good to have on hand as well because they are useful for many kinds of home bath and shower valve repairs.
The shower diverter is the center part of the three-handled shower valve. Carefully remove the cover plate from the diverter handle with a flat-head screwdriver, then take the handle off. Using a wrench, unscrew and remove the nuts on the diverter.
You can then use two adjustable wrenches to unscrew the stem assembly. Place one on each of the nuts and turn them in opposite directions. Finally, you can unscrew the brass stem that is on the bottom of the valve.
Final Shower Diverter Repair Steps
Final Shower Diverter Repair Steps
Look for any sediment buildup on all the different parts. A good way to clean them is to soak them in vinegar for an hour and then scrub them down with a wire brush. Once they are free of debris, coat them with grease. Also, inspect the stem washer for signs of wear and replace it if needed.
Check the pipe for any disconnected washers and O-rings. These can affect the diverter's functioning, so if you find any, remove them and replace them with new ones. Make sure to use the correct shapes and sizes and coat them with heat-proof faucet grease before putting them in.
The diverter valve, escutcheon and valve handle can now be reassembled, working backward from how you dissembled them. You can then turn the water back on and try using the shower. If the repair work did not fix the problem, you can remove the shower diverter again and take it to a plumbing supply store. The shower diverter valve may need to be replaced, and having the old one with you is the best way to find the correct replacement.
