How To Fix A Leaky Wall Mount Faucet
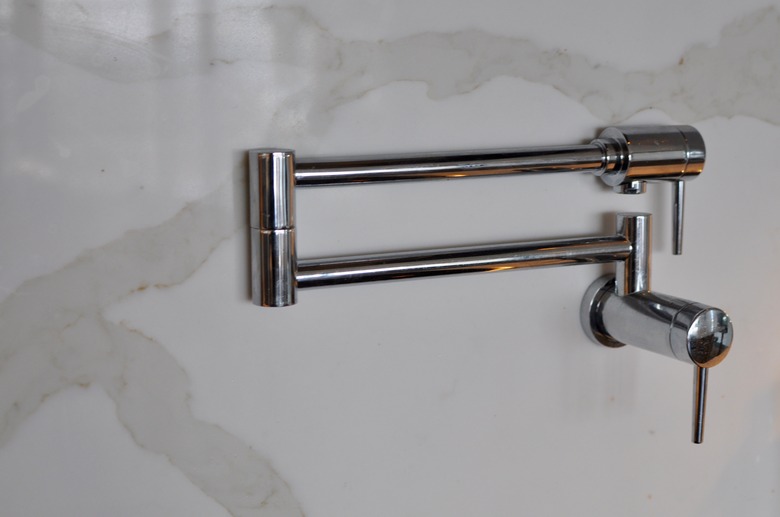
In the past, all wall-mounted faucets were compression faucets and had the same types of valves you find in laundry faucets and outdoor spigots. These days, some wall mounts have cartridge valves, and there's an easy way to tell the difference. If the handle moves only through 90 degrees, the faucet has cartridge valves, but if the handle has a wider turning radius, the faucet has compression valves.
This distinction makes a difference when the faucet leaks and you have to make a repair, but it's only a minor one. Leaking is one of the few problems with wall-mounted faucets, which are generally so sturdy that they seldom have other internal issues. Repairing a leak is so easy that virtually anyone can do it, and the repair saves precious water.
Locating the Shutoff Valves
Locating the Shutoff Valves
You have to disassemble the faucet to repair a leak, and that means you need to shut off the water. The shutoff valves for conventional deck-mounted faucets are typically located on the wall under the sink, but that isn't always true for wall-mounted faucets. During a wall-mount installation, plumbers sometimes run the pipes laterally from another location, and the shutoff valves may be located in another part of the room or even another room.
If the shutoff valves aren't visible, they may be located behind a panel. Look around the room and in the adjoining room because the plumber may have found it more convenient to install the shutoff valves on the opposite side of the wall. If you can't find them, you may have to shut off the water to the house to complete the repair.
Repairing a Leaking Faucet Stem
Repairing a Leaking Faucet Stem
Pot fillers, utility faucets, wall-mounted laundry faucets and outdoor spigots typically have compression valves, and when one of these leaks, you usually have to replace the washer on the end of the valve stem. If the faucet delivers both hot and cold water, only one side may be leaking, but it's usually a good idea to replace the washers on both sides because if one side is leaking, it probably won't be long before the other side starts.
The procedure requires a screwdriver and wrench or pair of locking pliers. After you shut off the water, here's a rundown of the procedure:
- Unscrew the set screw on the handle and pull off the handle.
- Using a wrench or pliers, loosen and unscrew the valve retaining nut and remove the nut.
- Pull out the valve using pliers to grip the valve stem if it doesn't come out easily.
- Turn the valve over and unscrew the Phillips-head screw holding the washer. Remove the washer and replace it with a new one.
- Put everything back together to complete the repair.
In the rare instance that this doesn't stop the leak, you may have to replace the valve seat, which is a brass fitting at the base of the valve housing. Remove the valve again and unscrew the seat with a seat wrench, which you can buy at a hardware store. Replace the seat with a new one, which you can buy at any store that sells commercial faucet repair parts.
How to Repair a Leaking Cartridge Faucet
How to Repair a Leaking Cartridge Faucet
Upscale wall mounts, which are often found in designer kitchens, tend to have cartridge valves. When one of these leaks, you usually have to replace the cartridge because it has cracked or sustained some other damage. To remove the cartridge, disassemble the faucet just as you would if it had a compression valve.
Pull out the cartridge and take it to the store to buy an identical replacement. Replace a cartridge for hot water with another hot-water cartridge and a cold-water cartridge with another cold-water cartridge. Otherwise, the handle will spin the wrong way.