How To Repair A Cracked Bathtub Around The Drain
Bathtubs can and will crack, but when this damage is next to the drain, it should be repaired promptly. These cracks can allow water to leak into the subfloor below. If not taken care of, mold may also become a serious problem. Fortunately, you can complete this fix yourself without having to contact a plumber.
Most bathtubs are made from fiberglass or plastic, and you can buy a bathtub repair kit designed specifically for use with these types of materials. Make sure that its color is the same as that of your tub. Tool-wise, you'll need a screwdriver, needle-nose pliers, sandpaper, a putty knife and mesh.
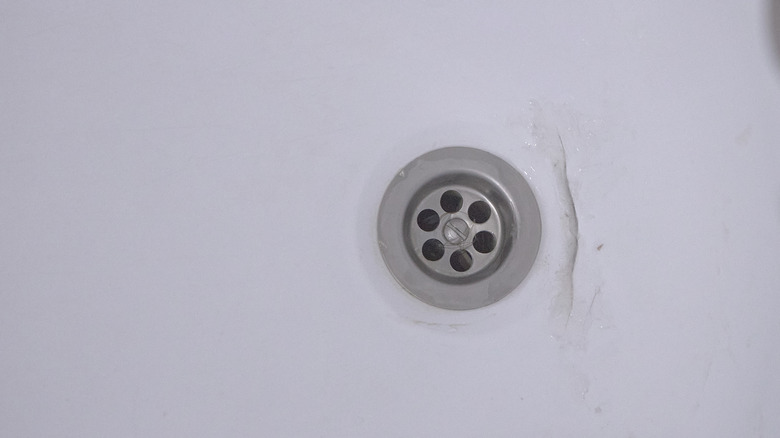
If the tub has a drain basket, pull its strainer out with a screwdriver. Insert the pliers into the drain basket's cross-bracing and put the screwdriver between the handles of the pliers. You can now use the screwdriver to turn the drain basket counterclockwise until you can take it out. For a pop-up drain, use the pliers to turn it counterclockwise and pull it out.
There may be some plumber's putty in the drain, and you can get this out with a scraper or putty knife. Get a piece of sandpaper and sand the crack plus 1 inch on all sides around it. Remove any other debris in the area, clean the area well and dry it thoroughly.
Using Epoxy Repair Kits
After sanding and cleaning, you'll use the epoxy putty. You may need to cover the drain hole with a cut piece of mesh or fiberglass cloth if it is not included in the kit. Next, mix the tinting materials and epoxy, closely following the kit's directions. You'll need to act fast at this point since epoxy dries and hardens quickly.
Using the putty knife, spread the mixture over the crack carefully, right after it is mixed. You may need to place additional mesh on top of your work if the instructions specify this. Add more epoxy on top, and smooth out this top layer with the putty knife. Finally, check that the edges are smooth and let everything dry.
Using Fiberglass Patch Repair Kits
Some bathtub repair kits direct users to combine the kit's fiberglass resin with a catalyst and then to add its fiberglass cloth. You'll then put this sticky cloth over the crack and firmly press it on using a squeegee.
Now you can clean up excess resin with hot water. The repair should set after about 24 hours, and you can then trim any extra fiberglass near the drain with your utility knife. As a final touch, use an orbital sander to smooth out the fiberglass patch. You should wear safety goggles and a mask during this process.
After either type of tub repair, you'll have to reinstall your drain basket or pop-up drain. Pop-ups are done by hand, but for a drain basket, you have to secure it back in place with plumber's putty. Allow this to dry for at least 12 hours.
Protecting Your Investment
Bathtub cracks near drains are often caused by old age or by inadequate support under the tub. One way to avoid this problem is to buy some expandable polyurethane and apply it on the tub's underside. If you can't access this part of the tub through a wall panel, you may have to go into a crawl space or basement.
When using expandable polyurethane, read the instructions carefully and do not use it near the drain. After you apply it, allow time for it to expand. Sometimes one can is enough to cover the entire underside.