How To Reassemble A Faucet Aerator
We may receive a commission on purchases made from links.
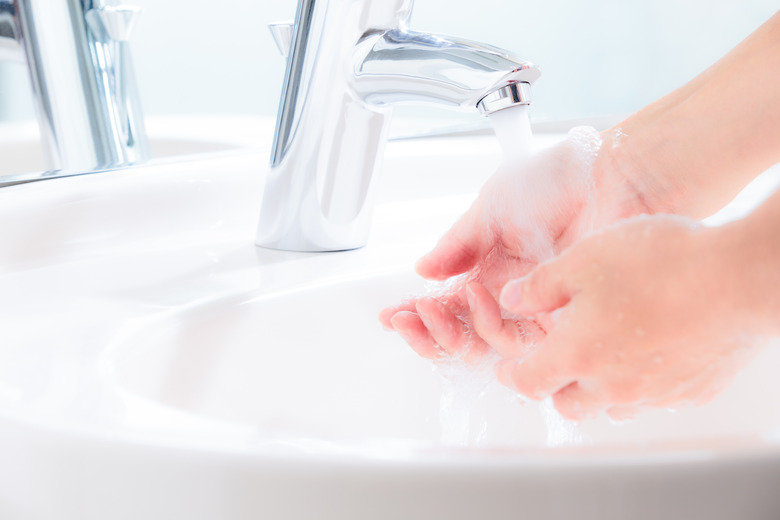
The faucet aerator can go unnoticed and get clogged with hard water deposits and other gunk. Cleaning out the sink faucet's aerator on a regular basis can keep the fixture in good working order. It can also be an intimidating endeavor for even a seasoned do-it-yourselfer.
The small parts of the aerator housing, screens and washers can be difficult to remove and replace. But a bit of patience combined with the correct tools, parts and methods will make the task a simple one and reduce the risk of damaging the fixture.
How the Aerator Operates
How the Aerator Operates
The wire mesh of the aerator combines water and air that reduces the overall flow from the faucet. The aerator breaks up the flow from the main line into smaller streams to reduce the amount of water flowing from the tap without reducing the pressure.
The aerator also traps hard water impurities in the water. Tap water naturally contains minerals. Some cities have more microscopic bits of minerals in the water that come from the main lines. A clean aerator's fine wire mesh effectively traps these deposits. Over time, a fine layer of crusty debris will collect on the surface of the aerator's wire mesh disc or filter.
Cleaning the aerator out regularly will save you from having to replace the aerator more often than usual, if at all, depending on the type of faucet you have.
Cleaning Frequency for Faucet Aerators
Cleaning Frequency for Faucet Aerators
If the water from your faucet has turned from a fast flow to a trickle, then it is time to clean it out. A simple clean requires a soak in vinegar. Use an old toothbrush to scrub the vinegar into the aerator. Rinse, dry and put it back in place.
An aerator that is caked with minerals and debris, bent or damaged should be replaced. Aerators can last for quite a while but should be replaced if the water is trickling or the flow is significantly restricted even after you clean it. Clean the aerators located at the bottom of the faucet opening in a busy kitchen or bathroom once a month to keep the water flowing freely.
Reassemble the Faucet Aerator
Reassemble the Faucet Aerator
Pay attention when removing the aerator from the faucet so you can easily put it back together properly. Have a clean cloth in place and lay the removed parts of the faucet aerator on it for cleaning. Or place the aerator parts neatly in the tub of vinegar in the order in which you remove them. If the parts become mixed up, consult the manufacturer's instructions.
Generally, a faucet aerator body holds the outer housing, followed by a screen. Place a plastic bushing disc, mixer and flow restrictor on top of a deep aerator body followed by a washer. If the washer is cracked or deteriorated, replace it. A new washer is not expensive and can be bought at most home improvement stores.
Some faucets have aerators in the base of the fixture. Follow the manufacturer's directions for the specific faucet that you own. Aerators at the base may require a flathead screwdriver to remove any screws or aid in removing the clip that holds it in place. Clean with vinegar and return to the aerator housing.