How To Troubleshoot A Fluidmaster Fill Valve
We may receive a commission on purchases made from links.
A Fluidmaster self-contained float and fill assembly unit is one of the types of toilet fill valves, but it's the modern version of the old toilet fill tube, with separate float and ball assembly. Fluidmaster valves combine the fill and float portions inside of your toilet tank to create a one piece unit. This results in fewer parts that can go bad, and an easier to service unit to troubleshoot if a problem occurs. Essentially, by using standard Fluidmaster replacement parts, a Fluidmaster unit will last the lifetime of your toilet.
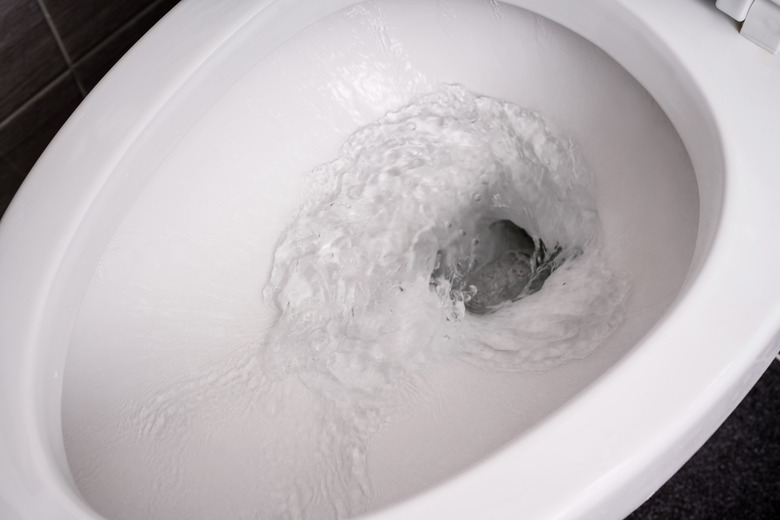
Low Water Level
1. Secure the Refill Tube
Check the black vinyl refill tube that attaches to the Fluidmaster unit near the top. If it is hanging loosely into the overflow pipe, it may act as a siphon and drain water from the tank back down into the valve. Either clip the included angle adapter onto the overflow pipe at the top, or if no angle adapter is available, one can be purchased at any local hardware store.
2. Adjust Water Level Clip
Adjust the water level clip on the side of the Fluidmaster for a higher water level. This is a metal slip ring attached to a control arm on the tank side of the unit. It can easily be slid up or down to get the correct toilet tank water level as desired, but there may be a bit of trial and error when sliding the clip to obtain the correct level.
3. Replace Toilet Flapper
Water levels that can not be raised by doing either one or the other of the previous steps will mean that the toilet flapper is leaking, and will need to be replaced before any other Fluidmaster adjustments can be made.
Water Flow/Shutoff Problems
1. Shut Off Water Feed
Turn off the main water feed to the Fluidmaster by turning the feeder valve in a clockwise direction. The feeder valve will be located beneath the toilet connected to a pipe coming from the wall.
2. Remove Cover and Clear Debris
Remove the cover of the Fluidmaster. The cover is located on top of the unit, and can be turned an 1/8 of a turn in a counterclockwise direction for removal. Pull off the cover, place an inverted cup over the top and hold it firmly in place, and then turn the water feeder valve back on. Allow the water to flush out any debris that may be clogging the unit. Look for a partial blockage at the shutoff valve or in the water supply line. Turn the feeder valve back off, replace the cover and turn the valve back on.
3. Replace Old Rubber Seal
Replace the inner rubber seal if water flow problems persist after flushing. Get a Fluidmaster No. 242 replacement seal from any hardware store. This seal fits all 200, 400, 703A and 747 fill valves instead of having to replace the whole fill valve. Turn off the feeder valve and remove the Fluidmaster cover. Carefully grasp and pull out the old seal inside and replace it with the new seal. Press it into place, put the cover back on and turn the feeder on.