How To Fix A Loose Single-Handle Shower Faucet
We may receive a commission on purchases made from links.
Single-handle shower faucets are becoming more common in homes because of their simplicity, durability and the fact that they prevent scalds more effectively than faucets with two handles. A wide range of these types of faucets are on the market. A loose shower handle will usually occur well before the shower actually becomes worn enough internally to drip, so repairing it sooner rather than later is always a good strategy.
The two most common shower faucet types use either an internal ball mechanism to mix and direct the water or an internal cartridge to mix and direct the water. In both cases, the diverter mechanism is what the shower handle is attached to. When the faucet leaks, it may be due to a worn plastic valve stem or a loose valve handle, although other problems may cause leaks as well. Both types of faucets are relatively easy to fix. Following a few simple steps may save you the expense of hiring a plumber.
How to Fix a Loose Single-Handle Shower Faucet
1. Shut Off the Water Supply
Locate the water shutoff valve inside the tub or shower access panel. Shut off the water supply to the shower. If you cannot find this valve, shut off the main water supply to the house.
2. Let Existing Water Drain Out
Release the water contained in the showerhead and pipes by opening the shower faucet slightly and letting the water drain. If you've cut the water supply off properly, the shower should stop dripping completely in under a minute.
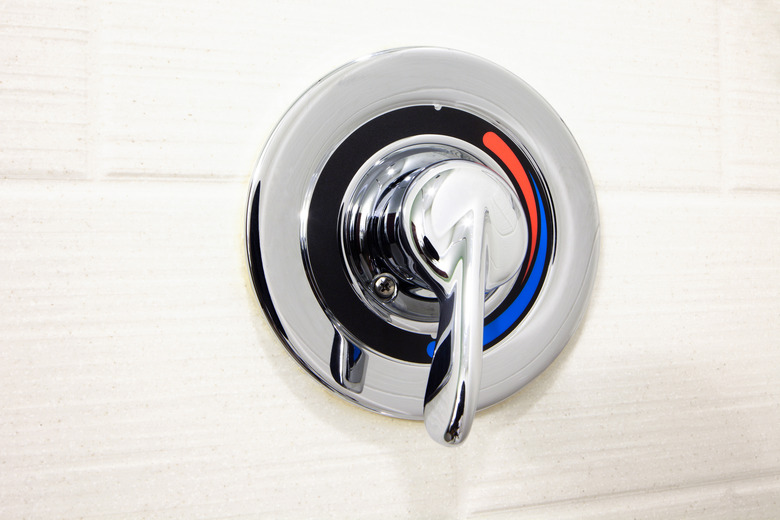
3. Remove the Handle
Remove the loose faucet handle. All shower faucet handles will have a set screw that holds the handle in place. Most are concealed, so look carefully around the sides and top of the handle to locate it. Use a screwdriver or adjustable wrench to remove the set screw.
4. Determine Whether to Replace Handle
Pull the shower handle straight out from the faucet housing. Inspect it thoroughly to help you determine what caused it to be loose. Use a rag to clean the insides of the handle and look to see if the teeth inside the mounting hole on the handle are still sharp and not stripped. If the teeth are stripped, you'll have to replace the handle.
5. Tighten Diverting Valve Shaft
Check to make sure that the shaft (on the shower assembly) that holds the shower handle is completely tight. If it's not tight, tighten it using an adjustable wrench. Do not overtighten, since this is the component (diverting valve) that contains the cartridge/ball assembly that directs water flow and it may leak.
6. Inspect Teeth on Diverter Valve
Inspect the teeth on the diverter valve protruding from the shower assembly that you just tightened. If the teeth are worn or broken, then the ball/cartridge diverter valve must be replaced.
7. Reattach the Handle
Reattach the shower handle, making sure it is fully seated on the diverter valve shaft. Tighten the set screw so that the handle retains its normal range of motion. Turn on the water supply and test the operation of the faucet.