How To Install Slip Joint Washers In Plumbing
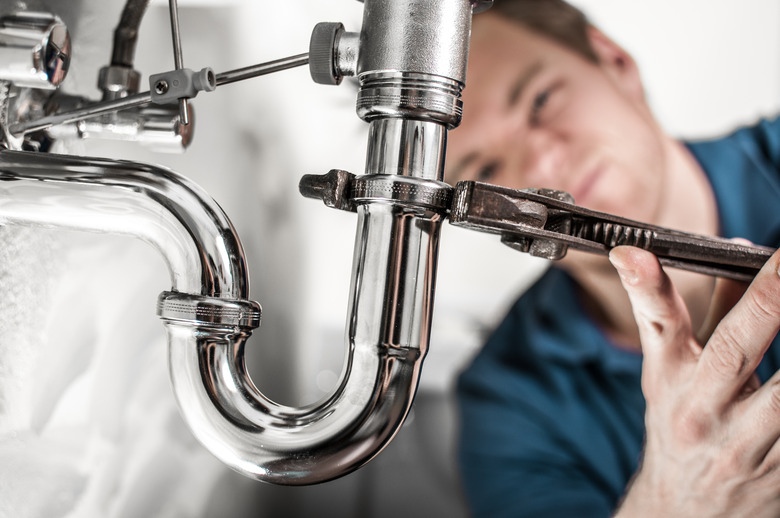
A slip joint is a simple but efficient way to seal against leaks. If you look under your kitchen or bathroom sink, you'll probably see one with a plastic or metal slip nut. Beneath that metal slip nut is a rubber or PVC washer. The washer is compressed as the slip nut is tightened, forming a seal against leaks.
Slip Joint Nuts and Washers
Slip Joint Nuts and Washers
Slip joints are usually used as part of a P-trap, which is why they are often found under kitchen and bathroom sinks. If you have a double bowl sink, the drains are most likely connected with slip joint fittings. The slip nuts can be either plastic or metal, both with advantages and disadvantages. The threads on plastic slip nuts can sometimes become stripped, while metal slip nuts can corrode and split over time.
Rubber and plastic slip joint washers are usually tapered at one end. This allows the washer to slip into the joint better, providing a better seal. Slip joint washers are also known as P-trap washers because slip joints are often used with P-traps. Both plastic and rubber P-trap washers can be used with different pipe material, such as PVC and brass.
How to Install a Slip Joint Washer
How to Install a Slip Joint Washer
Things Needed
-
Channel lock pliers
-
Clean cloth rag
1. Prepare the Pipe
Access the area under the sink where you will be installing the slip joint. Cut the pipe to the right length and remove any burrs from the end of the pipe with a clean cloth rag.
2. Slide on the Slip Nut
Slide the slip nut onto the pipe with the threads facing the recently prepared end of pipe. If you are using a tailpiece for a sink basket strainer, you will need to slide another slip nut on first, with the threads facing the self-seating end of the tailpiece.
3. Slide on the Slip Joint Washer
Slide the slip joint washer onto the pipe with the thicker edge of the washer facing the slip nut. The slip joint washer will fit snugly against the pipe. Slide the washer about 2 inches from the edge of the pipe to allow the pipe room to slide into the threaded fitting.
4. Tighten the Slip Joint
Slip the pipe into the threaded fitting until it slips into the flared fitting. If the fitting is not flared, push the pipe in until the slip joint washer is in the threaded fitting. Press the washer down until the tapered end fits straight and snug against the threaded fitting. Slide the slip joint nut over the washer and hand tighten onto the threads until it is snug.
5. Check For Leaks
Tighten any other slip joints. Turn on the water and check for leaks. If there is a leak, gently tighten the nut a quarter turn, or until the leak stops, with your channel lock pliers. If the leak continues, loosen the nut and make sure the slip joint washer was not installed backwards, with the tapered end against the slip nut. Then, re-tighten onto the threads, being careful not to over-tighten.
