How To Replace The Chain In A Toilet
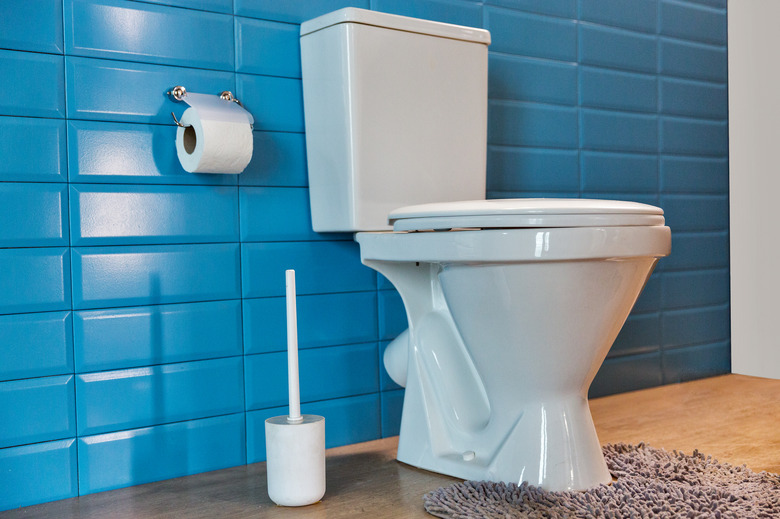
Replacing a toilet chain is one of the most common repairs homeowners will need to make in their bathrooms. It's also, fortunately, one of the easiest repairs you'll ever make in your home, and while many people are daunted by the mere notion of repairing any part of the toilet, the job is almost always clean and quick.
What the Toilet Chain Does
What the Toilet Chain Does
Most toilets have very few internal workings, whether they're new, water-efficient models or 100-year-old water wasters. The toilet chain is used in the majority of toilet designs to lift up the flapper, allowing water to rush from the tank into the bowl, flushing the contents of the toilet bowl into the sewer. In most models, this is done by pressing the handle, which lifts the chain inside the tank using a simple lever. In very vintage models, the chain is very long and hangs outside the toilet where it's used in place of a handle.
Toilets with push buttons are an exception to this rule as the buttons are connected to the flapper with a cable system that relies on gravity rather than the siphoning method most toilets use.
When to Replace the Chain
When to Replace the Chain
If the toilet handle just flops up or down when you press it and no water leaves the tank, you should open the tank and look at the chain. When this happens, it means either the chain or handle is broken or you just need to adjust the flapper chain for a proper flush. If the chain is too loose, it might not pull up on the flapper, and tightening the chain should fix the problem. If the chain or handle is broken, you'll need to replace it, but in the meantime, you can manually pull the chain that's attached to the flapper to release water and flush the toilet until you make the repair. If the chain is broken, you can also use a paperclip to reconnect the two parts until you make the repair.
How to Replace the Chain
How to Replace the Chain
First, turn off the water supply to the toilet. Then, disconnect the chain from the handle arm and remove the old flapper and chain (they're attached and need to be replaced together) by sliding it off the mounting arms. Discard the old chain and flapper.
Put your new flapper on the mounting arms the same way you removed the old one. Then determine how much slack you need to attach the chain to the handle arm. The right amount of slack in the chain is critical to the proper operation of the toilet. When the chain is too slack, it might not properly lift the flapper or it might actually get caught under the flapper, making the toilet run. When the chain is too short, it might constantly pull on the chain, preventing it from laying flat and causing the toilet to run.
To make sure you have enough slack but not too much, fix the toilet flapper so it sits flat, then pull the chain up to the handle arm. Now give the chain just a little slack and attach it to the handle arm with the clip at this point.
Once the chain and flapper are in place, turn the water to the toilet back on and test that it works by flushing. If it doesn't seem to be working right, adjust the slack in the chain until it works properly. If there is a lot of extra chain at the end, you might cut it off so it doesn't get tangled up in the toilet tank, but be sure to leave a few extra links in case you need to make adjustments later.