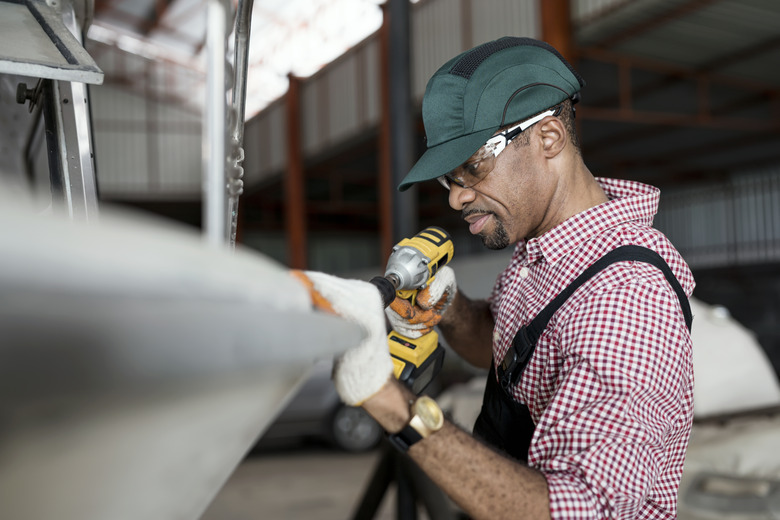
How To Drill Fiberglass
We may receive a commission on purchases made from links.
Gelcoat fiberglass is an incredible product used for everything from hot tubs and swimming pools to showers and boats. The gelcoat protects the fiberglass for use in or around water, and it means you'll need to proceed carefully when drilling into it. The good news is that it's not tricky or complicated to do it well.
Things Needed
-
Tape measure
-
Masking tape
-
Various drill bits
-
Scrap wood (optional)
-
Countersink
-
Screwdriver
How to Safely Drill Fiberglass
How to Safely Drill Fiberglass
The problem with the gelcoat is that it's a hardened protective surface, but it's prone to stress cracks — cracks that can and will occur if you don't take the proper precautions. Be sure your drill bit is sharp and strong so the drill does the work without you putting excessive pressure on the gelcoat. Never use a power driver for this job, or you may compromise either the screwhead or the entire section of gelcoat.
1. Measure Twice and Tape
You want to drill once and once only for each hole you require. Be absolutely certain of placement before proceeding. Measure multiple times and check your work. Once you're sure, apply masking tape generously over the area where you'll be drilling. Place tape at least well beyond the drilling point to be sure to protect the gelcoat. Mark the spot to drill.
2. Use the Correct Drill Bit
If you haven't been advised by a product manufacturer on the correct drill bit to use but you know what screws you'll use, then do a test hole in a piece of scrap wood to ensure you use the right drill bit. Find a bit slightly narrower than the required screw, drill into the wood, and then try inserting the screw. If the screw is going in hard, you'll need the next-size-up drill bit or larger. There needs to be little resistance so the fiberglass won't be strained but enough resistance that the screw threads in for a good hold.
3. Drill the Pilot Holes
Once the drill spots are clearly marked and taped, it's time to drill. Put on your eye protection and get the drill ready. Use a light but firm touch when guiding the drill into the marked hole. It should not require any force and will be finished quickly if your bit is sharp.
Tip
Be sure to wear eye protection whenever you're drilling anything, particularly fiberglass.
4. Countersink to Protect the Gelcoat
It's time to remove the masking tape but not yet time to install the screw. Doing so now would cause the gelcoat to crack as the screw goes in. Instead, you must now use a countersink to clear a small radius of gelcoat off the fiberglass surface so the screw has unimpeded entry. Simply go over the initial pilot hole with the countersink very slowly and very carefully. You do not want to remove any of the fiberglass, only the gelcoat. Do not rush.
Tip
It's possible to use a larger drill bit to achieve the same outcome, but you may have safer results using a proper countersink. Some home centers and makerspaces may rent countersinks.
5. Install the Screw
To keep the screw firmly threaded and protect the fiberglass, dab a tiny bit of caulk into each pilot hole. The caulk also lubricates to help the screw go in more gently, protecting your surface for the long haul. With the caulk dabbed in, use a manual screwdriver to install the screw. Do not use your drill or a power driver or you may damage the gelcoat.
Slow and steady will see you through and protect your fiberglass. Once the screw is snug, stop. Don't force it tight and you should avoid spidering or stress cracks.
