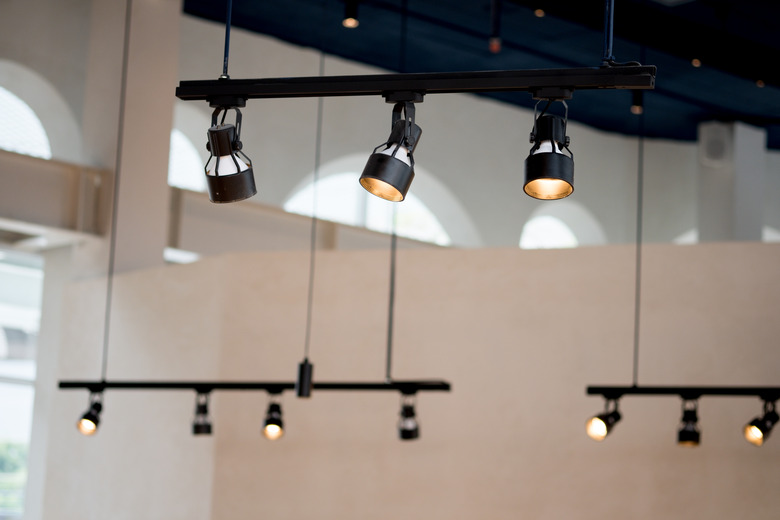
How To Replace Track Lighting Bulbs
Track lighting that won't turn on is usually the result of a bulb that needs replacement. If your track lighting bulb is stuck or you can't figure out how to remove the bulb from one of your track lighting fixtures, it isn't because the manufacturer designed it to be impossible so you'd have to buy a new fixture. On the contrary, these bulbs are easy to remove. These multifaceted reflector bulbs, or MR bulbs, can have a screw base like a conventional bulb, but the ones most commonly used for track lighting have either a two-pin base or a turn-and-lock base.
Fixing Track Lighting that Won't Turn On
Fixing Track Lighting that Won't Turn On
When the bulbs give out, track lighting won't turn on and sometimes the track lighting bulb gets stuck. To replace the bulbs, you first need to know which type of bulb your track lighting works with. Most track lighting works with MR16 bulbs but some might use a GU10 bulb instead. If the track lighting bulb is stuck, knowing the design of the bulb can help you figure out how to be remove it. MR16 bulbs, for example, have two pins, so to remove one, you have to be able to grip both the bulb and the fixture connection. GU10 bulbs, on the other hand, have a twist-lock base. You can tell if your fixture uses this type of bulbs because the bulbs aren't covered by a lens.
Before replacing the bulb on any type of lighting, implement safety protocols first by wearing gloves and turning off the light. According to Saaz, halogen bulbs can run extremely hot, so wait at least five minutes after turning off the light before touching it and always use gloves.
Replace a MR16 Bulb
1. Carefully Remove the Lens
Remove the lens from the fixture by gripping one end of the metal clip holding it in place, using a pair of pliers, and pulling that end toward the center of the lens to disengage the clip. Remove the clip, and the lens should fall out into your hand.
2. Expose the Porcelain Base
Grip the wire in the back of the canister and push it forward; the bulb should come easily out of the front of the fixture. Keep pushing until you can grip the porcelain base into which the bulb is plugged.
3. Remove the Bulb
Hold the base with one hand and the bulb with the other and wiggle the bulb gently while you pull it. It should come loose with a little effort. Don't force it — the glass base of the bulb can shatter.
4. Install and Test the New Bulb
Plug the new bulb into the base; the prongs are interchangeable, so it doesn't matter how you orient the bulb. Push it back into the canister, replace the lens and reset the clip to hold it. Turn the power back on and test the bulb.
Replace a GU10 Bulb
1. Grip the Bulb
Place your hands on either side of the canister and press your thumbs against the front of the bulb. Some GU10 bulbs are sold with a little suction cup that helps you grip the bulb without touching it with your hands.
2. Remove the Bulb
Push the bulb toward the back of the canister while you rotate it counterclockwise as far as it goes — typically about a quarter turn. Release the bulb, and it should fall out of the canister.
3. Install the New Bulb
Install the new bulb by fitting the two prongs in the base into the round holes in the base of the canister. Push on the bulb with your thumbs while you turn it clockwise to lock it into place.
Warning
Use a ladder that's tall enough to allow you to work comfortably without having to stand on top of it. Don't rely on chairs or tables — you can easily lose your balance.
