How To Repair Rubber Gloves
Things Needed
-
Isopropyl alcohol
-
Cotton swab
-
Flexible and waterproof rubber repair compound (rubber adhesive or cement)
Tip
Long tears can be held together by hand or with clamps while the rubber adhesive cures.
Waterproof vinyl patches can be used to cover large holes or damage where rubber material is missing. Self-adhesive vinyl patches are available in above-ground pool repair kits.
Warning
Work with the adhesive product in a well-ventilated area or wear a breathing mask to avoid excessive fume inhalation.
Rubber gloves are often used to protect the hands from dangerous chemicals and volatile substances. Even the smallest leak can lead to exposure and skin irritation. The expenditure on a new pair of rubber gloves can be avoided by simply extending the usefulness of the damaged pair. You can repair small holes and tears in rubber gloves in just a few minutes.
Step 1
Turn the damaged rubber gloves inside out. Locate all the tears and holes under a bright light.
Step 2
Wipe the damaged sites and a half-inch area surrounding them with an alcohol-soaked cotton swab. Wait five minutes for the alcohol to evaporate.
Step 3
Apply the rubber repair compound to the cleaned zone around each hole. Smooth the adhesive into a thin, even layer to cover the damage completely. Wait for the compound to cure fully according to the manufacturer's directions.
Step 4
Turn the gloves inside out again to expose the unrepaired side. Wipe the damaged areas and a half-inch area surrounding them with an alcohol-soaked cotton swab. Wait five minutes for the alcohol to evaporate.
Step 5
Apply the rubber repair compound to the cleaned zone around each hole. Smooth the adhesive into a thin, even layer to cover the damage completely. Wait for the compound to fully cure.
Step 6
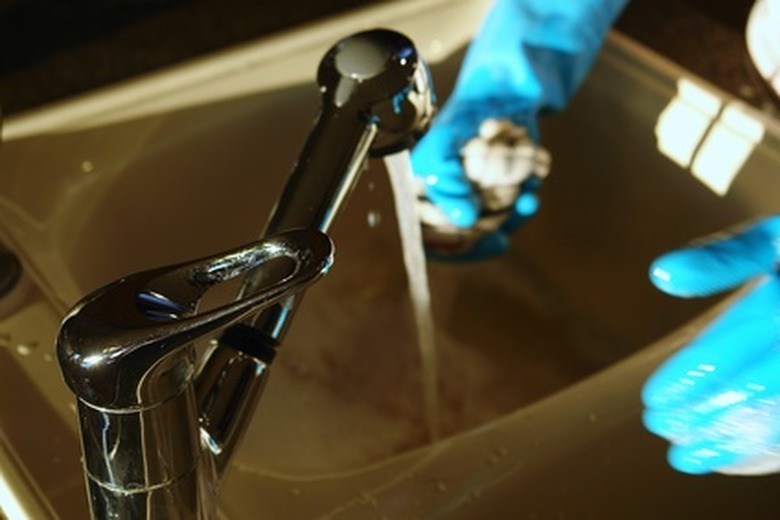
Blow air into the repaired rubber gloves and twist the wrist portion to trap the air inside. Hold the air-filled rubber gloves under water for 30 seconds. Lift the rubber gloves out of the water and turn them inside out to see if any of the moisture was able to get inside.