How To Use Vise Grips
A well-stocked toolbox contains a variety of pliers for grasping, holding and turning objects. A versatile pair of pliers that locks effectively around different objects, the Vise Grips is small enough to grasp even tiny screws, yet it has a strong grasp that will not let go until you release it. According to the Living History Farm website, William Petersen patented a primitive version of the Vise Grips in 1921. In 1957, the final version of the Vise Grips still used today debuted. Use locking pliers to clamp objects where other types of vises or tool will not fit.
Step 1
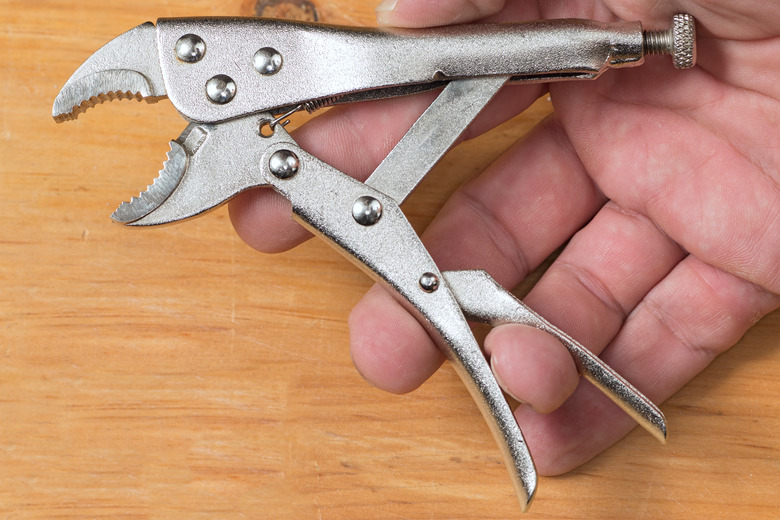
Grasp the locking pliers in your hands and open them by pressing the tab on the inside of one handle. As you press this tab, the handles will separate, enabling you to position the mouth of the pliers.
Step 2
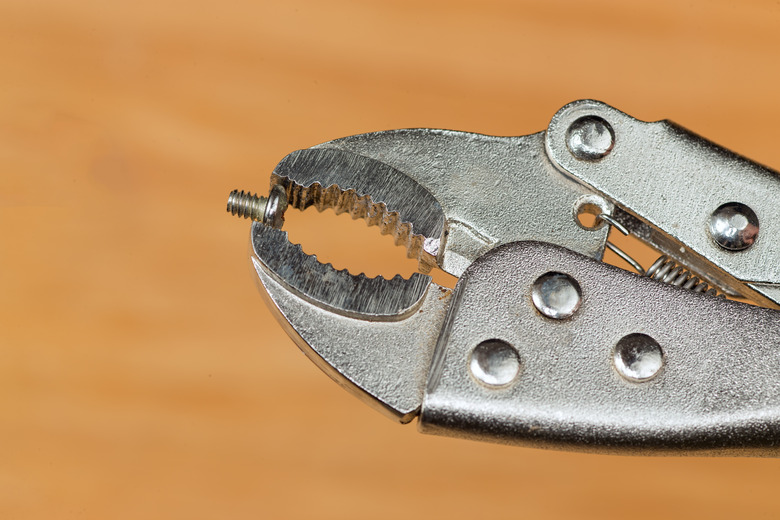
Place the mouth of the pliers around the object you want to hold or turn.
Step 3
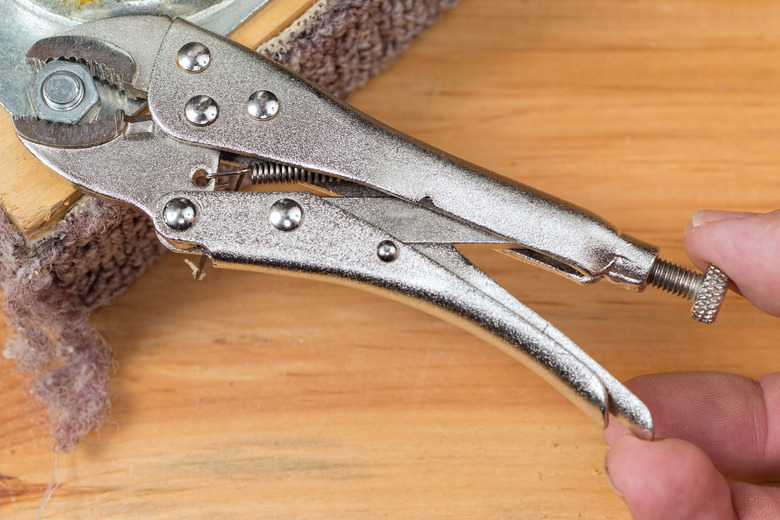
Squeeze the handles together tightly around the object. If necessary, adjust the size of the mouth to grasp the object tightly by turning a knob on the handle to the right to tighten it or to the left to loosen it.
Step 4
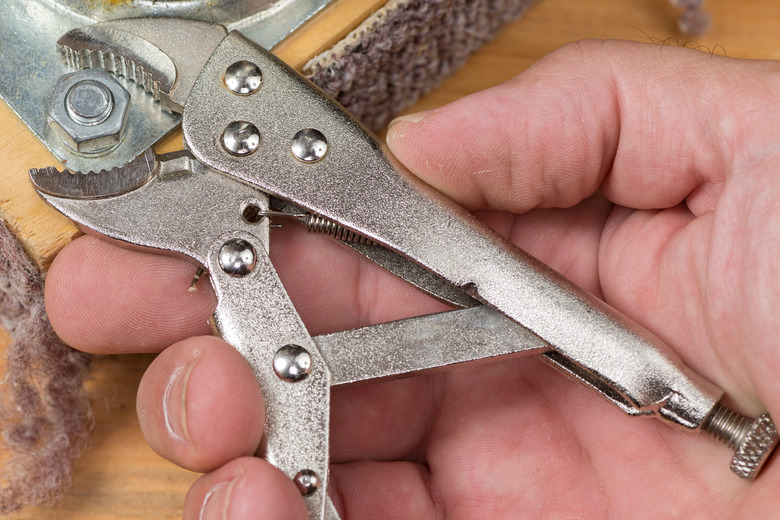
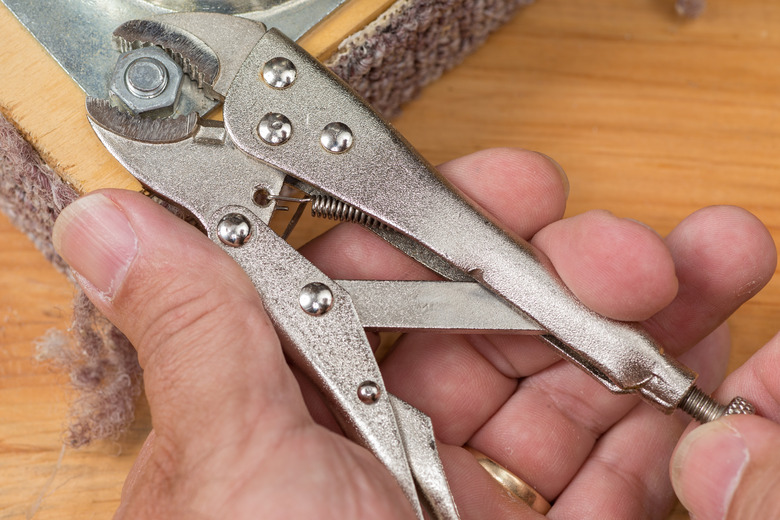
Pull or turn the object with the pliers until you loosen it or remove it. Press the tab on the inside of the handle to release the mouth of the pliers after you finish pulling or turning the object. Alternatively, if you use the pliers to hold an object (while gluing, for example), leave the pliers in position around the object until the glue dries and you are ready to remove the pliers.