How To Remove Refrigerant Without Equipment
Things Needed
-
Service gauges
-
Hex key set
-
Low-voltage jumper
-
Adjustable wrench
Tip
This job is easier if you have a helper to close the high-pressure valve while you prepare to release the jumper used to engage the relay.
Warning
It is illegal to vent refrigerants into the atmosphere. A week compressor may fail under the pressures caused by this operation. Only experienced service technicians should attempt this process. There is always a risk of electrical shock when working on a live system.
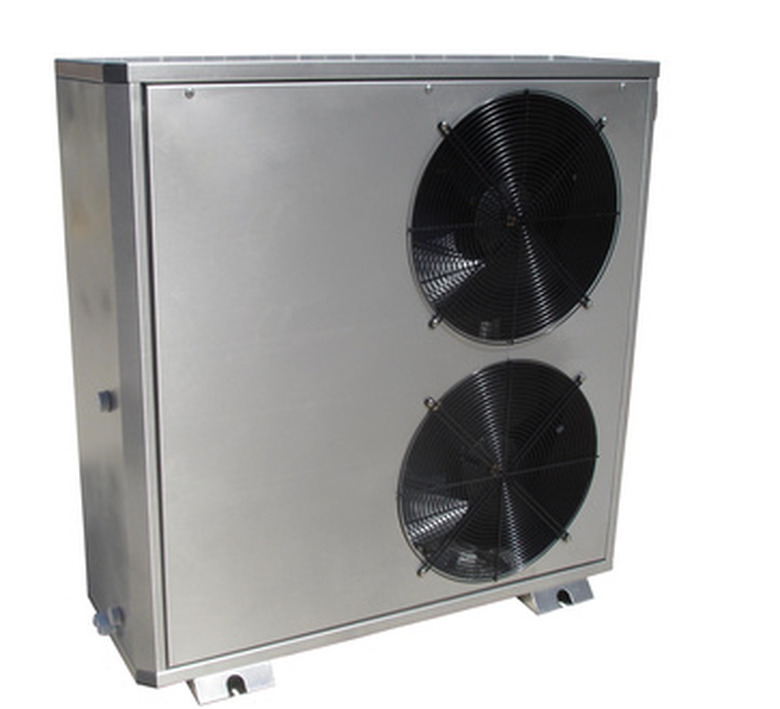
Using refrigerant recovery equipment to evacuate a system before making repairs to a condensing unit is extremely time consuming and labor intensive. You have to consider the time involved in setting up the machine, the operation time to evacuate the system and then the transition and proper disposal of the recovered refrigerant. Also, maintaining the equipment and the tanks used to store the used refrigerant adds additional cost to the project. Most of this can be avoided by removing the refrigerant from the condensing unit and storing it in the evaporator section.
Step 1
Set the indoor thermostat to the "Off" position.
Step 2
Connect the low-pressure side of your refrigerant gauges to the suction side of the compressor inside the condensing unit.
Step 3
Close the service valve on the low-pressure side of your condensing unit. Some valves require a hex key while others can be closed with an adjustable wrench.
Step 4
Prepare the service valve on the high-pressure side by closing it halfway. Leave the hex key in place.
Step 5
Engage the compressor by using a low-voltage jumper to energize the compressor relay.
Step 6
Watch the low-pressure gauge closely. Close the service valve on the high-pressure side of your condensing unit very quickly once the low-pressure gauge shows a complete vacuum. Be ready to de-energize the compressor relay as soon as the valve is seated. It is very important that you perform both these tasks quickly as extreme pressures build up during this process and can damage the compressor if held for too long.
References
- "Refrigeration and Air Conditioning Technology"; Bill Whitman et al; 2008
- Christian Smith; HVAC Contractor; Greenwood, South Carolina
