How To Replace A Baseboard Heater
We may receive a commission on purchases made from links.
Electric baseboard heaters supply heat in rooms where it's difficult to install ducts from a furnace. They're more expensive to run than gas heat, but the trade-off is that they're simpler to install and simpler to replace if they go bad. If your baseboard heater stops working and there's no indication that the problem is with the circuitry in your house, you can pick up a new heater at your local home improvement store and replace it yourself in less than an hour.
Things Needed
How to Replace a Baseboard Heater
1. Turn Off the Power
Turn off the power by flipping off the circuit breaker in the main panel that controls the circuit. Put a piece of tape over the breaker to warn other people to leave it off. Be sure to use a noncontact voltage tester to ensure the power is off.
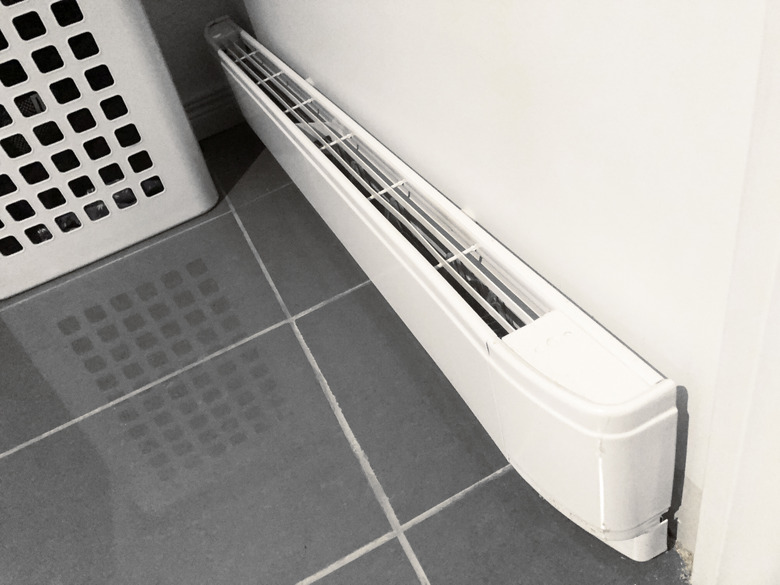
2. Dismount the Existing Heater
Unfasten the existing heater from the wall. Do this by loosening the screws in the brackets that hold it there. These will likely be either at the sides or top of the unit. Make sure you've given the heater time to cool down before you touch it.
3. Disconnect the Wires
Pull the unit out from the wall and find where the wiring is connected. It will likely be near one end of the baseboard heater. A metal cable with wiring may run into a hole in the back of the unit, with a metal plate keeping it inside the unit. If so, remove the metal plate by unscrewing the screw that holds it in.
Pull the wires out far enough to expose the two wire nuts that connect the wires from the unit to the wires from the wall. Unscrew the wire nuts and set them aside for re-use. A bare copper grounding wire should also come out of the wall and wrap around a green grounding screw in the unit. Unscrew the grounding screw to release the grounding wire.
4. Prepare the New Heater
Set the new baseboard heater on the floor in front of the space where it will go on the wall. The new unit should have at least two wire boxes, and possibly more, to choose from. Locate the wire box closest to the wires coming from the wall. Using a screwdriver, remove the metal plate from the wire box, and pull out the two wires from inside the unit.
5. Connect the New Heater
Wire the new unit in the same way the old unit was wired. Slip the metal plate from the unit's wire box over the wires from the wall. Connect the wires from the wall to the wires from the unit, splicing the white to white, black to black (or red). Hold the two wire ends next to each other, pointing the same direction, and screw one of the wire nuts over both of them.
Wrap both wires in electrician's tape and tuck the wire nuts back into the unit. Wrap the bare copper grounding wire from the wall on the green grounding screw of the unit, and tighten the screw. Replace the metal plate on the unit's electric box and tighten it with the screw supplied.
6. Mount the New Heater
Position the new baseboard heater against the wall where the old unit was and fasten it there. Use your screwdriver to put the screws provided in the same holes in the wall as the old one. The old holes should have screw anchors in them that will receive the new screws. Turn the power back on and test the unit.