How To Replace Piping That Holds Glass Inside Frame Of Shower Door
We may receive a commission on purchases made from links.
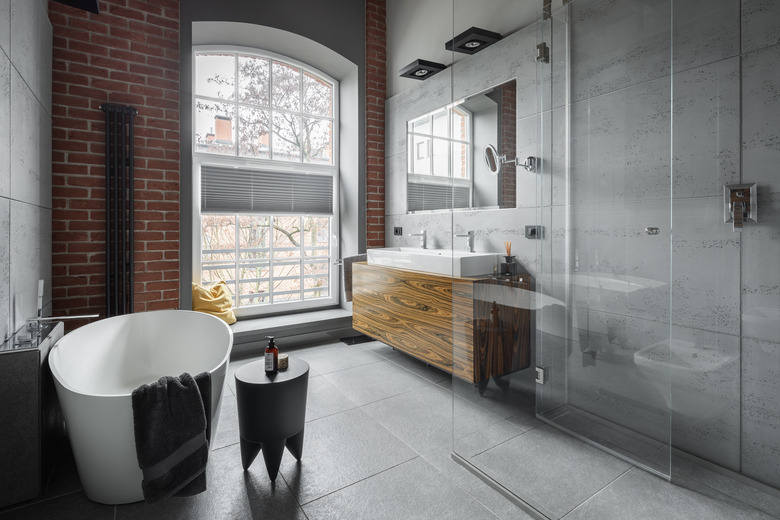
Glass shower doors are held in place inside a metal or plastic frame by rubber piping that serves as a seal between the glass and the frame. The rubber piping fits into the seal around the door, which then fits into the frame. Without this gasketlike seal, water would leak around the glass and onto the floor outside the shower door, but the rubber seal piping can deteriorate over time due to oxidation and general wear and tear. It will become brittle and discolored and can eventually crack or tear.
Once it starts to become damaged, it's best to replace the piping that holds glass inside the frame of a shower door as soon as possible to avoid significant bathroom leaking, which can lead to floor damage.
Removal and Cleaning
Removal and Cleaning
First, remove all of the old rubber seal piping from the door. Use a putty knife to pry out a piece of the seal and then firmly pull out that section by hand. Start in one corner of the shower door and work your way around until all of the piping has been removed.
Clean off the glass, the edges where the piping sat and the seal frame itself with warm, soapy water and a rag. There can be mineral buildup, mildew and residue from caulk as well as deposits from shampoos and conditioners.
Clean the surfaces as well as you can. Use mineral spirits as necessary and rinse with clean water when finished. Wait until all surfaces are dry before proceeding.
Caulking for New Piping
Caulking for New Piping
Fit the rubber piping along the door's edge to measure the length and then use a utility knife to cut the piping to the appropriate size. Cut the tip of the silicone caulk tube at roughly a 45-degree angle and break the foil at the bottom of the tube.
Load the caulk tube into the caulk gun appropriately and press the release button to purge out a bit of caulk before using it. Carefully deposit an even bead line of caulk along the door frame where the piping will be installed. Lay out caulk evenly around the entire frame of the door.
Applying New Piping
Applying New Piping
Carefully press the piping into place by pressing it into the caulk. Start in a corner and work around the entire door until all of the rubber piping is in place. Work around the border one more time, finger-pressing the rubber piping into place.
Wipe off the remaining caulk using a damp rag. Allow the caulk to dry as long as the manufacturer recommends, usually at least 36 hours, before using the shower.
Proper Care of Piped Doors
Proper Care of Piped Doors
To hold off damage as long as possible, clean around the edges of the door regularly to prevent mineral and oil buildup that can deteriorate the surface of the rubber seal. Use a compatible shower cleaner regularly to stave off mold and mildew.
Check the seals occasionally for wear and tear and check the caulk for areas where it may have worn thin or detached. Keeping the rubber piping on your glass shower door in good shape will help keep the water inside the shower stall where it belongs and will reduce the risk of bathroom flooding.