How To Fix Chipped Wood Furniture

We may receive a commission on purchases made from links.
The amount of trouble you'll have fixing chips in your wood furniture depends on how deep and large the chips are. Small nicks in the finish aren't much trouble at all, especially if the finish is lacquer, which is the most common finishing material. When part of the wood is missing, the repair becomes a little more complicated. If you managed to save the piece that chipped off, you can glue it back and sand it, but if that piece is gone, you need to use filler and apply appropriate coloring to mask it.
Things Needed
-
Cloth
-
Cotton swab
-
Cardboard
-
Scrap wood
-
120-, 150- and 400-grit sandpaper
How to Fix Chipped Finish
1. Determine the Finish Type
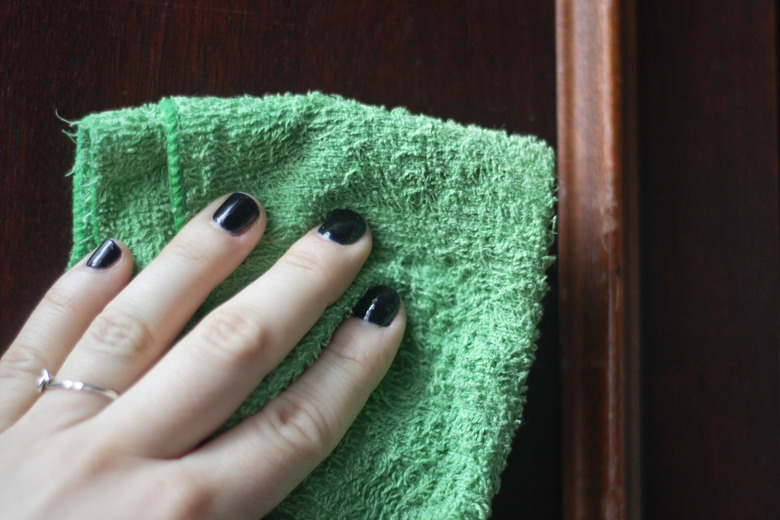
Test the finish if you don't know what kind it is. Dab a cloth moistened with lacquer thinner on an inconspicuous part of the furniture piece and feel the finish. If it softens, it's lacquer, and if it remains hard, it's polyurethane or alkyd varnish.
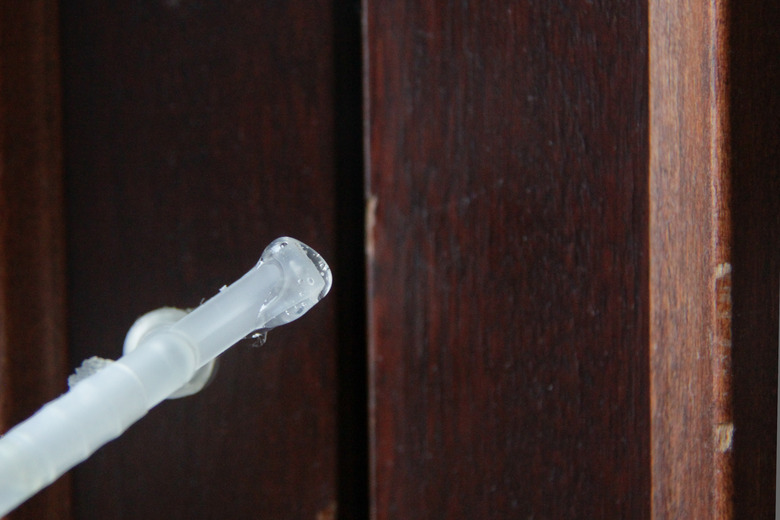
2. Apply Lacquer Thinner
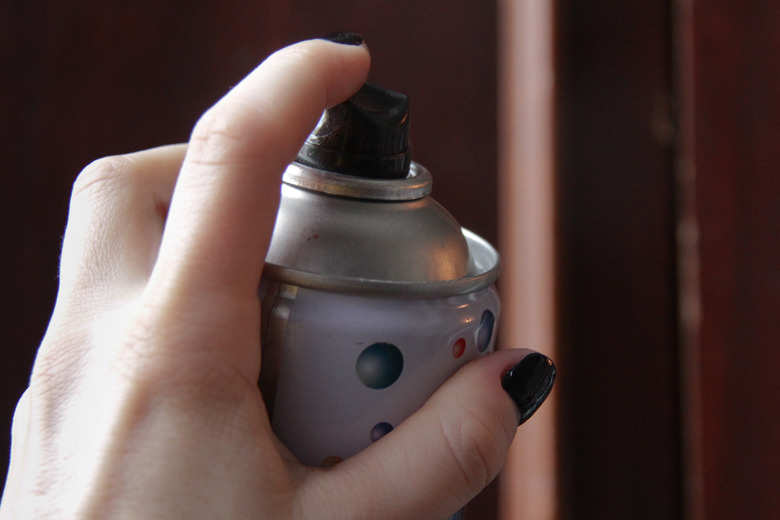
Put some lacquer thinner in a spray bottle and lightly mist the chipped area, if the finish is lacquer. Lacquer thinner emulsifies lacquer, and when it softens and flows out, the nick will disappear. The finish will harden again in about 10 minutes.
3. Treat It With Steel Wool
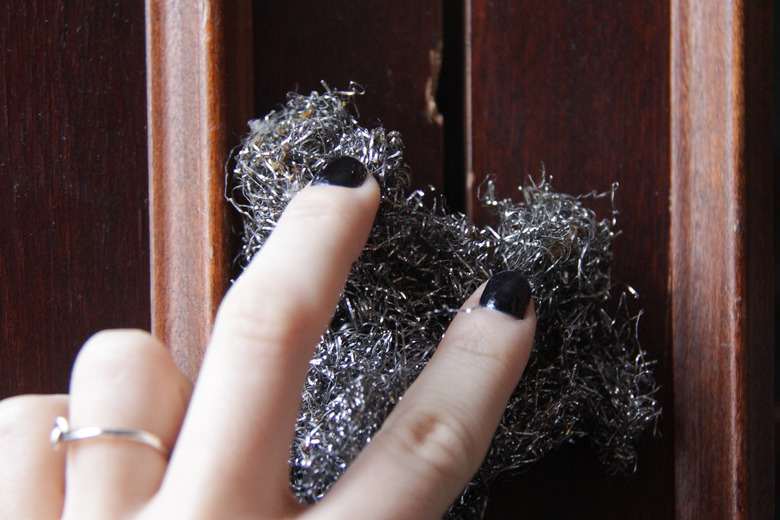
Rub the chipped area with extra fine steel wool if the finish is varnish. If rubbing doesn't flatten the finish enough to make the chip disappear, dab some new varnish on it with a cotton swab. Let the varnish dry overnight, then rub it flat with the steel wool. Repeat if necessary.
How to Fix Chipped Wood
1. Decide on a Repair Material
Repair chips on wood surfaces and edges with resin wood filler. The resin wood filler has a short working time and must be applied while it's soft. Mix only what you need because once it hardens, you have to throw out any that you haven't used. You can also use wood repair wax, but doing so requires special tools and a certain amount of skill. On the other hand, almost anyone can accomplish a repair with resin filler without any specialized tools.
2. Prepare the Resin
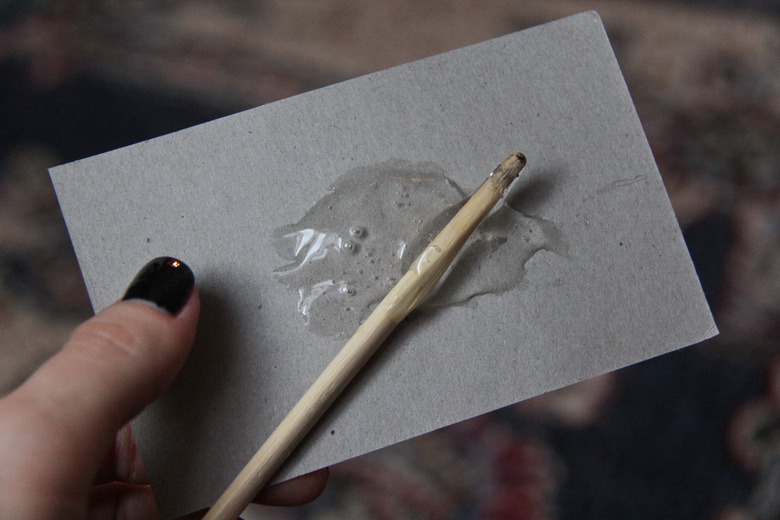
Mix the resin and hardener on a piece of scrap cardboard according to the manufacturer's instructions. You typically mix the two parts of the resin filler with a putty knife for a few minutes to blend them completely. If you can, choose filler with a color that matches the wood to make masking the repair easier.
3. Apply the Filler
Wait for the filler to stiffen slightly, then apply it into the chipped area and mold it with a plastic putty knife. If you're repairing the edge of a table or cabinet, hold a piece of scrap wood under the repair to support the filler.
4. Shape the Filler
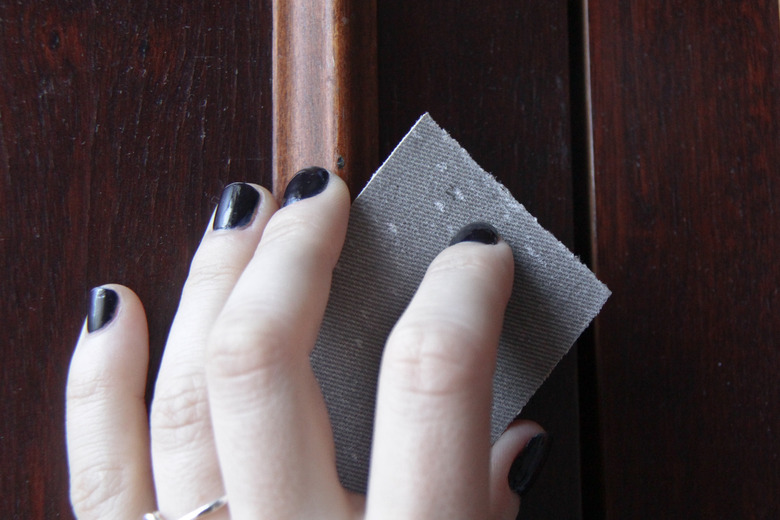
Shape the filler to conform to the contours of the wood with a utility knife as soon as it sets hard enough to cut. Let it set for several hours after shaping it, then sand it with 120- or 150-grit sandpaper. Sand some of the wood surrounding the chip to feather the edges of the putty into the wood.
5. Apply Paint to the Filler
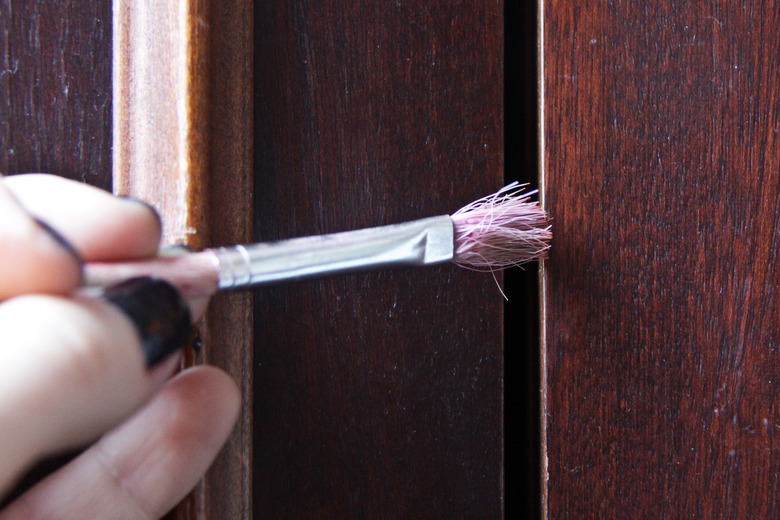
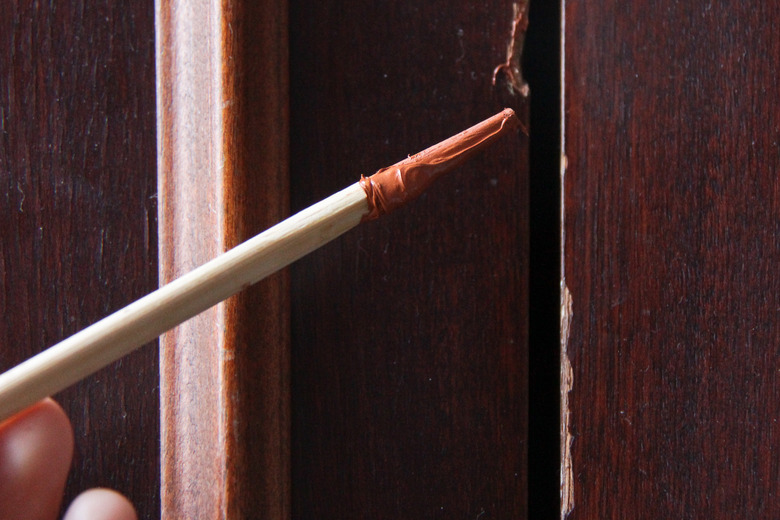
Paint the filler with acrylic paint. You'll need more than one color to simulate the wood grain. Start with the base color, brushing it on with an artist's brush, then paint the grain after the base coat dries.
6. Apply a Finish
Finish the patch with the same finish that's on the rest of the piece of furniture. Spray or paint one coat, let it dry, then sand it lightly with 400-grit sandpaper, being careful not to wear through the finish and damage the paint. Apply another coat of finish when you're done sanding.