How To Repair Oven Porcelain
The oven gets the brunt of the work in a busy kitchen. The door gets slammed, pots get dropped and hot pans are plunked down on the gleaming surface of the hardworking appliance. This can cause chips and cracks in the oven's outer porcelain layer.
Although it may be decorative and not entirely important to the functioning of the oven, porcelain that is marred takes down the aesthetic of this large part of the kitchen area. Repairing chips and cracks in an oven's enamel is a fairly simple process that can quickly transform the appearance of an old appliance and save it from future issues.
Benefits of Repairing Stove Porcelain
Benefits of Repairing Stove Porcelain
Although the porcelain baked onto the surface of the oven is durable, it isn't impervious to damage. When you first notice cracks, scratches or chips in the surface of the porcelain, it's important to use stove porcelain repair tactics immediately.
Left unattended and unpainted, the flakes and chips of porcelain can spread, according to Bob Vila. This leaves the appliance open to rust or other issues that can eventually make the oven unusable and a potential fire hazard if left unchecked. An oven porcelian enamel repair kit has all you need to do the job quickly and efficiently.
Stove Porcelain Repair
Stove Porcelain Repair
Typically, repairs to chipped or gouged oven porcelain takes just a few brushes of a color-matched and heat-resistant porcelain enamel paint made specifically for appliances. This works well on stovetops and oven doors, according to HGTV.
Always make sure that the oven is completely cool and not needed for a few hours before you begin to apply the porcelain repair paint. Sand down any rough edges with a 320-fine grit sandpaper. A damp square of sandpaper can ensure you get a soft edge and don't further mar the surface of the oven cooktop.
Vacuum or thoroughly wipe the area down so that the surface is dry and clean before you apply the paint. Shake up the bottle and use small strokes to brush on a coat of paint, thoroughly covering the area. Allow the paint to dry, then apply a second coat, if needed. For deep divots, apply a filler that can harden before brushing on the cover paint to camouflage the repair.
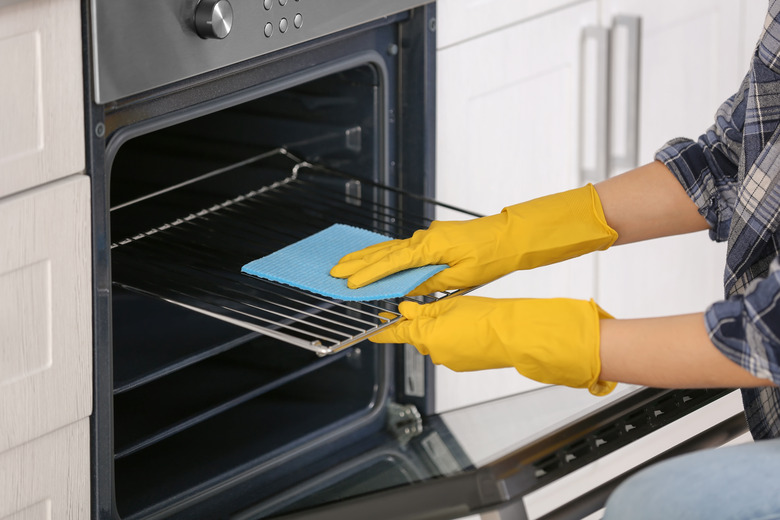
Keeping the Oven Clean
Keeping the Oven Clean
Using an oven liner at the bottom of the appliance can cut down on overheating and other issues that can cause cracks, chips or discoloration on the outer porcelain coating. Oven liner repair is fairly easy, particularly if the liner is removable — as most are. If the oven liner is cracked, then its function has been compromised, and it should be replaced.
Don't just yank out the oven liner, or you may spread grease and bits of food around the bottom of the oven. And that means you'll have to take time to clean the entire floor of the appliance. Fold the liner in half from the outside, then in half again. Pick it up from the main corner, with the folded corner facing down, to hold all the crumbs and grease.
If the bottom of the oven is cracked, or there is a more serious issue with the foundation or structure of the kitchen workhorse, it is probably best to hire a professional to take a look at the appliance. A crack in the foundation or floor of the inside of the oven can require a lot more skill and materials than the average do-it-yourself weekend warrior has in their tool kit.