How To Make Cork Waterproof
Things Needed
-
Polyurethane floor sealant
-
Manufacturer recommended cork sealant
-
Motorized sander
-
220-grit sandpaper
-
Vacuum
-
Paint pan
-
Paint roller
-
Paint pole
Tip
If this is an older cork installation, remove any baseboards or other framework surrounding the cork before sealing and sand the cork whether you know if it is sealed or not. Sanding will remove any dirt or wax build up. Purchase a polyurethane sealant with a long drying time, if possible. Polyurethane is notorious for curing before you can apply all of it. Do not pour the sealant directly onto a cork floor or counter top and then work it around. Cork is porous and will absorb more of the sealant in the area you work from than in the areas you push the sealant to, creating an uneven appearance. Only mix as much polyurethane as you think you can apply in 10 minutes. Sealants may take one hour to 24 hours to cure. Keep the curing time in mind when planning to apply more than one coat.
Warning
Cork is a soft wood. Do not allow a motorized sander to stay in one place too long or you will create visible arches and swirl marks. Depending on the thickness of the cork, you could potentially create holes.
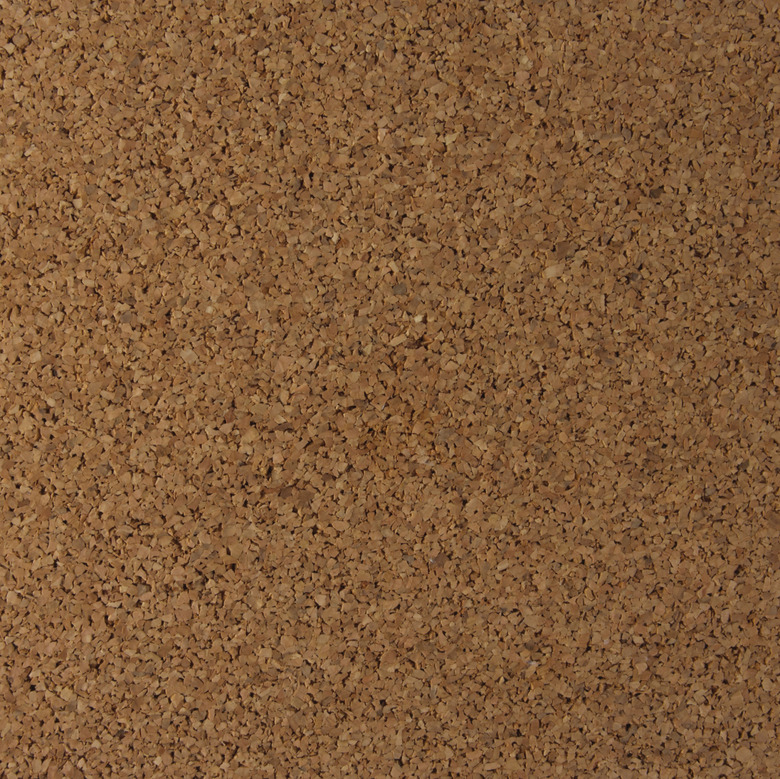
Cork is a naturally waterproof building material. If you are installing cork in your kitchen, bathroom or other high traffic area likely to be exposed to water, adding a sealant to the cork will enhance the water-repelling properties and extend the life and appearance of the cork. This is particularly true for cork counter tops. Some manufacturers offer pre-sealed cork rolls or tiles, but even this type of cork would benefit from an additional sealant after installation. Applying a waterproof sealant will also protect and camouflage seams. Unless otherwise instructed by the manufacturer, a polyurethane sealant will provide the waterproofing you desire while also protecting the cork from scuffs and scratches.
Step 1
Allow the cork to rest for three to five days after the initial installation.
Step 2
Consult any directions or data accompanying the cork for a recommended sealant. If not specified, contact the manufacturer's customer service representatives to ask if they recommend a brand.
Step 3
Purchase a polyurethane sealant or the manufacturer's recommended sealant.
Step 4
Sand the cork with a sander that's equipped with 220-grit sandpaper. Use the low setting and lightly sand over each section of cork. This step is only necessary if the cork is pre-sealed by the manufacturer. The sanding will scuff the existing sealant and allow the new sealant to bond.
Step 5
Vacuum the cork thoroughly to remove all debris and dust.
Step 6
Mix the sealant according to the manufacturer's directions.
Step 7
Pour the sealant into a paint pan.
Step 8
Dip a paint roller mounted onto a pole (only use the pole if you're sealing floors or out-of-reach places) into the sealant.
Step 9
Roll the sealant onto the cork in thin, even strokes.
Step 10
Cover the entire cork area.
Step 11
Allow the sealant to cure or dry for the manufacturer's specified time.
Step 12
Repeat steps 4 though 11 to apply additional coats of sealant if you are not satisfied with the appearance of the first coat. More layers means more protection, but one coat is sufficient. You may apply up to four coats.