How To Install A Ceiling Fan With 2 Switches & A Remote
A ceiling fan can bring much more comfort and convenience to a room by allowing better control of temperature and air circulation. But an old fashioned ceiling fan can only be operated using annoying pull chains or wall switches. One way to up the ease of use of your ceiling fan is to install a ceiling fan remote control, which allows you to operate your fan without even getting up from your couch or bed.
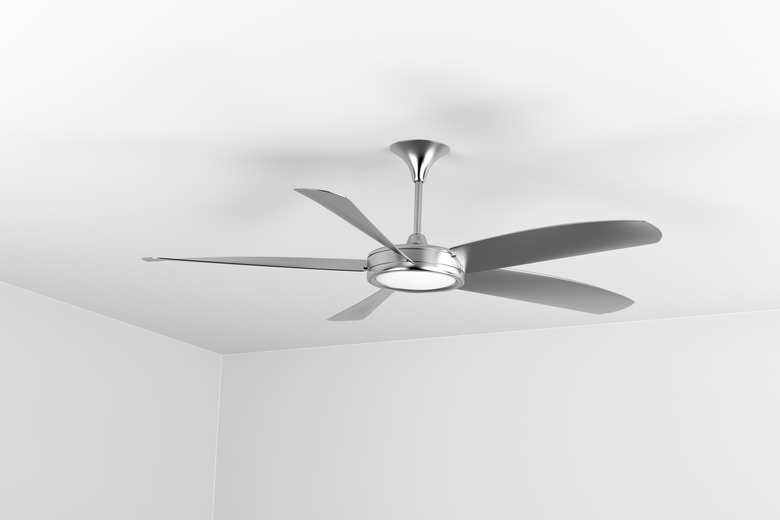
What Is a Remote Ceiling Fan?
What Is a Remote Ceiling Fan?
A remote-controlled ceiling fan bypasses one of the wall switches and allows for remote access to the ceiling fan's workings. There is a remote inside the inner working of the fan, which responds to a remote control. A remote can speed up or slow down the fan, turn the fan on and off or turn the lights connected to the ceiling fan on and off. Some can even operate a dimmer on the lights.
How Does a Remote Ceiling Fan Work?
How Does a Remote Ceiling Fan Work?
A remote-controlled ceiling fan utilizes the free space within the fan's canopy. A remote is installed within the fan, and one of the two wall switches is bypassed in order for remote access. One of the switches within the working of the fan is connected to a remote, which can be controlled – as you may guess – remotely.
How to Install a Remote Ceiling Fan
How to Install a Remote Ceiling Fan
For safety, you need to ensure the power is switched off by turning off the breaker at the main panel. You will then want to remove one fan blade in order to gain access to the fan canopy.
Within the fan's mechanism, there are four wires – red (hot), black (hot), white (neutral) and bare/copper (ground). Both of the "hot" wires connect to a switch. You need to cap off one of them because, in a remote control fan, you only need one "hot" wire. Cap it off using a wire nut and secure with electrical tape.
You will then want to connect your remaining hot wire to the receiver, again using a wire nut and electrical tape. Then, connect your remaining wires from the ceiling fan to the corresponding wires on the receiver.
You can then push the remaining wires in, close your fan canopy, reattach your final fan blade and test out your new remote-controlled fan. Because you've only bypassed one wall switch, you should be able to operate your fan both from the wall and remotely.