How To Stop A Fluorescent Tube Flicker
Fluorescent lights work because the ionization of gas inside a fluorescent bulb energizes the phosphorescent coating of the bulb and makes it glow. For the bulb to produce a steady glow, the electricity that ionizes the gas must pulse in regular, stable intervals, and the ballast or starter on the fluorescent fixture is responsible for maintaining this pulse. Even compact fluorescent (CFL) bulbs have ballasts, which are electronic components installed inside the sockets.
When a fluorescent light is flickering, a bad starter or ballast is usually the culprit, but not always. Sometimes the bulb has simply worn out, and, as John Nugent & Sons advises, sometimes the ambient temperature is too low. To fix the flickering, it's best to start with the problem that is easiest to diagnose and fix, which is the bulb.
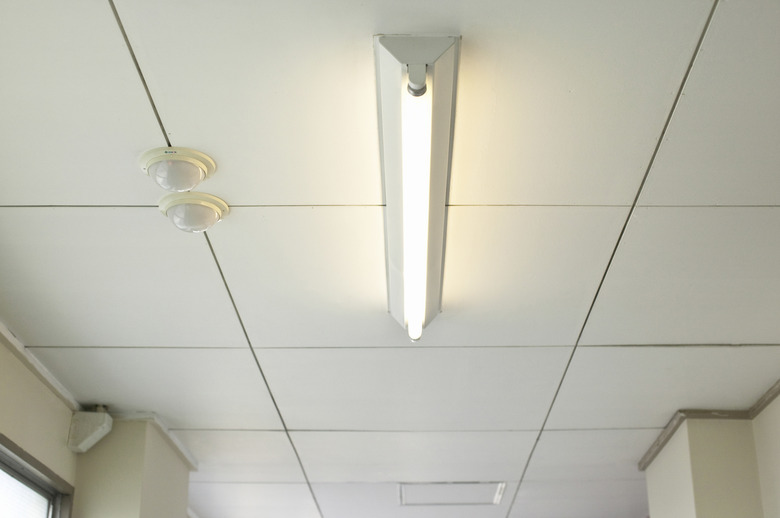
Tube Light Flickering
Tube Light Flickering
When a tube or CFL bulb starts flickering, the cause is often worn out electrodes inside the bulb. They weaken the electric signal, and the bulb often glows normally at the extremities but darkens in the middle. That's also a possible symptom of a malfunctioning ballast, but it's easy to tell the difference.
Turn off the light switch and wait for the bulb to cool, then remove it from the fixture and try it in another fixture that you know is working. Removing a CFL bulb is easy because you just have to unscrew it, but removing a fluorescent tube is a little trickier. Push it toward one end, rotate it 90 degrees to release the pins and pull it out, being extra careful not to let it fall.
If the fluorescent light keeps flashing when you put the tube in another fixture, it's time to replace the tube. Be sure the new tube has the same length and diameter as the old one or it won't fit.
Fluorescent Light Starter Problems
Fluorescent Light Starter Problems
The role of the starter in older fluorescent fixtures is to magnify the initial current to begin ionization and to regulate the incoming current. When the starter wears out, the tube won't light, but if the starter is merely weak, the tube flickers.
In both cases, you need to replace the starter. It's a cylindrical component 1 or 2 inches in length and about an inch in diameter, and it's usually screwed or plugged into the fixture near the point where the power connects. It usually sticks out, making it look like a small light bulb, which in some cases, it actually is.
To remove it, turn off the power, and after everything has cooled off, unscrew it from the fixture if it has threads or pull it out if it has pins. Read the part number stamped on the side and check online to see if a replacement is even available. If one isn't, it's time replace the entire fixture. Once you have the new starter in hand, simply screw or push it into the fixture, turn on the power and the flickering should have stopped.
Repairing/Replacing the Ballast
Repairing/Replacing the Ballast
The ballast on a contemporary fixture serves the same function as the starter, but it's a more complex component, usually hidden behind a cover. Loose wiring inside the ballast box can cause flickering, so turn off the power, unscrew the cover plate and check the wiring. If you don't see any wiring problems, the ballast needs to be replaced, and you should do it soon or it could overheat.
The ballast comes out as a unit after you've cut or disconnected its wires. It's a good idea to take a picture of the wire connections so you can duplicate them when you install an identical ballast purchased from an electronic or lighting dealer.