How To Wire A Rheem And Ruud Thermostat
We may receive a commission on purchases made from links.
Whether your old thermostat is broken or you simply want an upgrade, a Rheem and Ruud thermostat is a great home heating option. Installing a Rheem and Ruud thermostat can be quite easily done at home, provided you keep on top of which wire goes where. If a feature of your thermostat isn't working, a full replacement may not be necessary. Rheem and Ruud parts can be purchased online. As always when working with electricity, it's important to take steps to be safe, too.
What Is a Rheem and Ruud Thermostat?
What Is a Rheem and Ruud Thermostat?
Rheem and Ruud are a popular manufacturer of home thermostats, alongside water heater systems. They are designed to be particularly customizable, meaning home heating can be both convenient and energy saving. This is done through multi-stage, dual-function programmable models. A particularly popular model is the Rheem RHC-TST412MDMS.
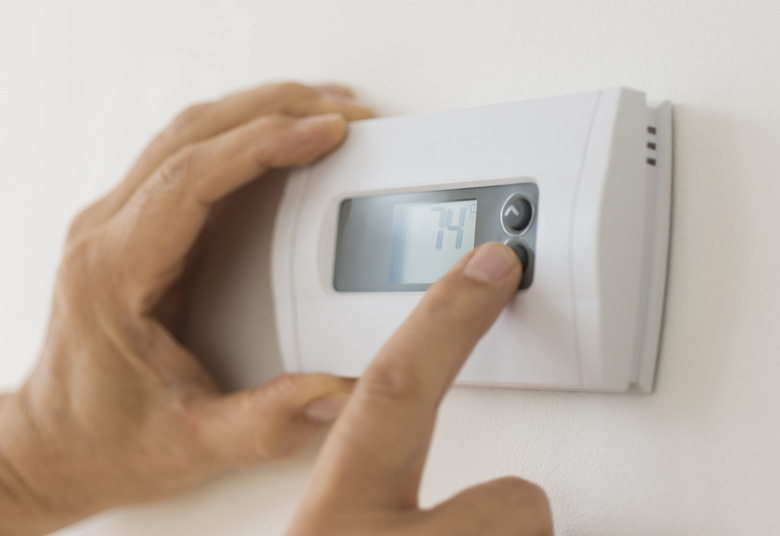
Tips For Home Thermostat Installation
Tips For Home Thermostat Installation
Before you remove your old thermostat, label the wire connections for easy reference later. You should also check the manual of your new thermostat for the voltage requirements. When working with electricity, you must always make sure the power is turned off and the circuit breaker is in the off position. Always wear gloves and make sure you never work near a source of water.
How to Install a Rheem and Ruud Thermostat
How to Install a Rheem and Ruud Thermostat
Using a voltmeter, check there is no power still flowing to the thermostat. Your wires should have been labelled according to their position in the old thermostat. Color can also help signify the correct placement of wires.
The return wire is usually red and labelled R, VR-R, or V-VR. This connects to the R terminal on your Rheem and Ruud thermostat. The stage one heating and cooling wire is typically yellow and labelled Y, Y1, or M. This connects to the Y terminal. The reversing valve wire for cooling is typically orange (but is occasionally blue) and labelled O or R. This connects to the O terminal. Your thermostat may also have the reversing valve wire for heating, labelled B, which should be connected to the B terminal. If you don't have this wire, cap the terminal with a wire nut. The fan control relay wire is typically green and labelled F or G, and should be connected to the G terminal.
There are also second stage hearing a cooling circuit wires which need connecting. The cooling circuit wires are typically blue and labelled Y2. The hearing wires are usually pink and labelled W1, W2, or W-U. These must be connected to their terminals.
Next, you'll need to connect the LED system monitor wire, which is usually labelled X and can be blue, brown, tan, or gray. This wire needs to connect to the L terminal. Then, connect the emergency heating wire, which is almost always labelled E and can be blue, pink, gray or tan.
Finally, connect the 24-volt transformer wire, which will be labelled C, X, or B, to the terminal labelled C. This wire may be blue, brown or black.
You can now install your new Rheem and Ruud thermostat cover and turn on the power to test your thermostat. If it does not work, disconnect the power and repeat the steps above, checking each wire and each terminal.