How To Install A Standard Switch From A Dimmer Switch
Dimmer light switches allow you to control the brightness and intensity of a light fixture, which makes them an excellent choice in bedrooms, living rooms, dining rooms and other areas where you might want to set a mood or add ambiance to a space. What you're unlikely to need, however, is a dimmer switch in a closet, hallway, bathroom or staircase where a standard on/off light switch is a more helpful (and potentially safer) option. If you find yourself with an unnecessary or unhelpful dimmer switch, it's an easy task to replace it with a standard light switch on your own.
Safety First
Safety First
Before you even touch the faceplate on your dimmer switch, make sure that the power to the room is off. Go to your circuit breaker box and set the switch for the room you'll be working in to the off position. When you return to the room, test the light switch and power outlets to ensure that no electricity is running to the area.
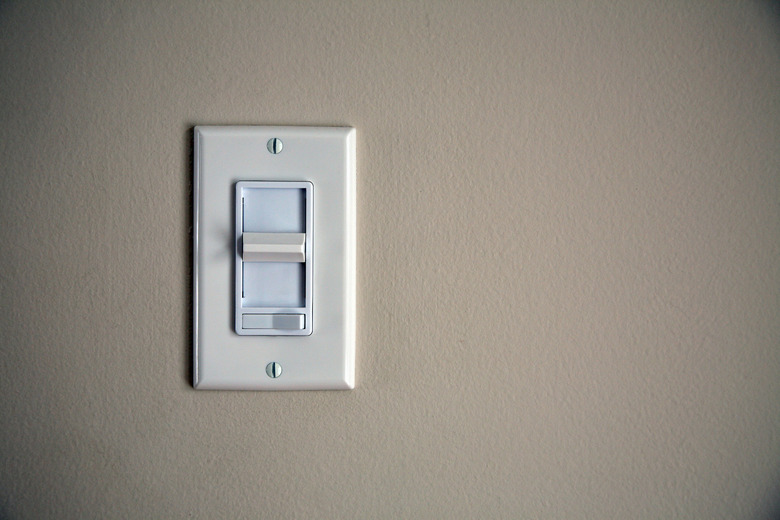
Accessing Wires
Accessing Wires
Once you're certain no power is being supplied to the room, use a screwdriver to remove the two screws securing the dimmer switch's faceplate to the wall. You may need to pull the dimmer knob off beforehand. With access to the switch box, use a circuit tester to test the two black wires attached to the dimmer switch to ensure that it's safe to proceed. If the circuit tester reads zero, remove the two screws at the top and bottom of the dimmer switch that secure the switch to the switch box. Pull the switch out of the box and away from the wall. This will expose the wiring.
Getting Ready
Getting Ready
At this point, be incredibly careful as you work. Be sure to take reference photos of the wire layout and don't be afraid to call a professional electrician if something seems wrong or if you're unsure how to proceed. Make sure you have the appropriate type of standard switch (if you have a three-way dimmer, you'll need a three-way switch, and so on), then identify your wires. The thick, green-coated or copper-colored wire will be your grounding wire, and the black and red-coated wires are your traveler wires. If you have a three-way switch, there will also be an additional wire – usually, its colors will be reversed (a red wire coming out of the switch instead of the switch box, for example) or it will be a strange, fourth color. This is your common terminal.
Wiring Switches
Wiring Switches
Remove the wire splice connectors (sometimes called wire nuts) attaching the wires from the dimmer switch to the wires from the switch box by holding it at the top and turning counterclockwise until it comes off of the wires. Disconnect the traveler and/or common wires from the dimmer switch. Loosen the screw that holds the grounding wire to the switch and remove the dimmer switch from the switch box. Next, using a pair of needle-nose pliers, wrap the bare ground wire around the green screw at the bottom of the new standard switch. Secure it by tightening the screw, then attach the traveler and/or common wires from the switch box to the screws at the sides of the new switch in the same manner.
Testing Lights
Testing Lights
Gently push the switch and wires back into the switch box, then use a screwdriver to secure the new switch to the switch box. Install the new faceplate to the switch. Return to the circuit breaker box and restore power to the room, then flip the new switch on and off to determine if the installation was successful.