How To Install A 240V Electrical Outlet
Larger home appliances, such as electric ranges, dryers, and some air conditioners, use a 240-volt supply rather than the usual 120 volts. Installing an outlet for these appliances is no more difficult than than installing a standard 120-volt wall outlet. The main difference is that different appliances use various types of outlets.
Things Needed
-
Sheathed cable in the appropriate gauge
-
240V circuit breaker sized to the appliance
-
240V outlet for specific appliance type
-
Outlet box
-
Large gauge wire stripper
-
Screwdrivers
-
Side cutters
-
Long nose pliers
-
Neon voltage tester
-
Non-contact voltage tester
-
Safety glasses
-
Dust mask
Warnings
- Doing electrical work may potentially expose you to dangerous electrical current. Always turn off the power before beginning, verify the power is off by testing and do not turn the power on until you are ready to test.
- Although this installation is simple enough for any beginner to accomplish safely, if you are unsure or do not feel confident in your ability, hire a qualified electrician to do the work.
- Always use tools designed specifically for electrical work when working on your homes wiring.
- Skimping on wire gauges and outlet sizes is unsafe and potentially creates a fire hazard. Always use the proper gauge wire and outlet for your appliance.
- Do not use obsolete, ungrounded receptacles. They are dangerous and may allow electric shock or cause a fire.
Tips
- Old wiring methods may not have included a ground wire. Modern wiring requires all circuits to have a ground. New outlets will have either three or four poles. Three-pole outlets have two hot poles and a ground pole. Four pole outlets have two hot poles, a neutral pole and a ground pole.
- Heavy cable is difficult maneuver, especially folding it back into the outlet box. Buy a box that is deeper and wider than appears necessary as this will make getting the wires in easier.
- Verify procedures with your local building department before beginning. A permit may be necessary.
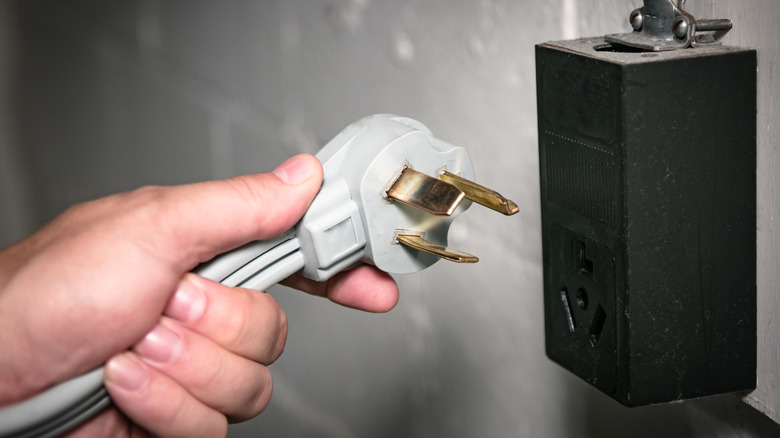
- Some appliances use a combination of 120 and 240 volts. These appliances will have a neutral wire, others will not. The illustrations show a variety of 240 volt outlets and identify the poles on each.
- If your sheathed cable has a neutral wire and the neutral is not used, do not connect it in the circuit panel or in the outlet box. Just snip it off where it enters the box.
- If your outlet box is metal, be sure to ground the box as well as the appliance. Connect the bare ground from the cable to a green ground screw and run a short piece of bare or green insulated wire to the receptacle.
- Use 12-gauge wire for 20 amp circuits, 10 gauge for 30 amp, 8 gauge for 40 amp and 6 gauge for 50 amp.
- If the appliance uses a combination of 120 and 240 volts, buy three-wire cable. If it only uses 240 volts, buy two-wire cable. Both types have an extra, bare wire for ground.