How To Troubleshoot Electrical Transformers
Things Needed
-
110-volt to 18-volt step-down power transformer
-
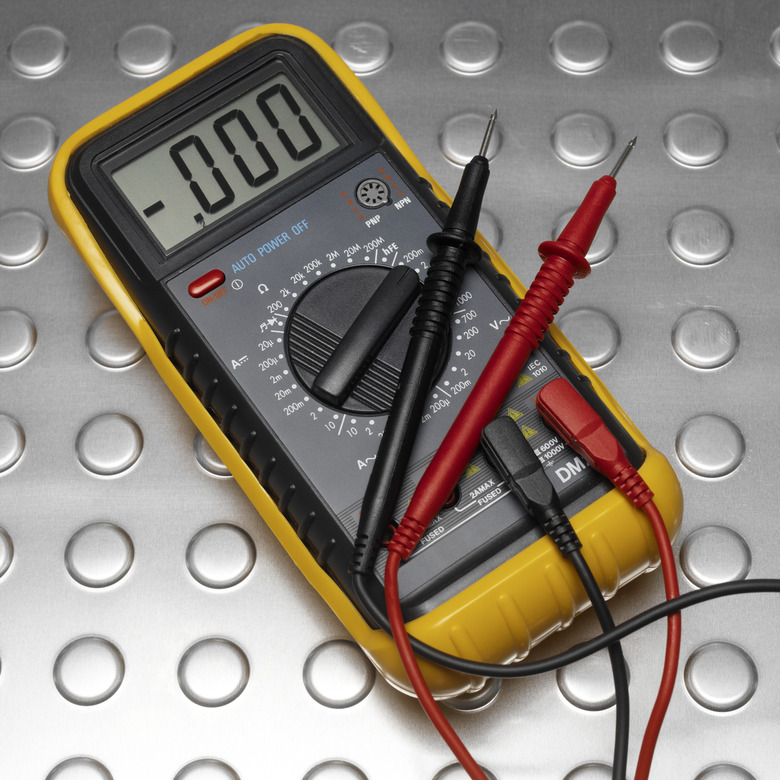
DMM (Digital Multimeter)
-
110-volt jumper cord w/insulated alligator clips
Warning
Use extreme caution when making the "Live" test because electricity is dangerous. Contrary to what many people believe, even a low-voltage shock can be fatal under the right conditions. It's not the voltage that kills you but the amount of current flowing through your heart that kills you.
 Polka Dot Images/Polka Dot/Getty Images
Electrical transformers come in many shapes, sizes, and types. There are potential transformers and current transformers. There are power transformers, audio transformers and signal transformers. There are step-up transformers and step-down transformers. There are autotransformers and isolation transformers and many other types. No matter what their purpose they all suffer from the same basic problems–turn to turn shorts, open windings, winding to ground shorts, for example. All these problems can be detected using a few simple tests and a DMM (Digital Multimeter). For this tutorial we will practice using a 110-volt step-down transformer with a 18-volt, CT (Center Tapped) secondary.
Testing a Power Transformer Using a DMM
Step 1
Test the transformer for a primary winding to secondary winding short. Set your DMM to a high resistance range, say 2 megohms, and touch one of the probes to a primary winding terminal and the other to a secondary winding terminal. If the transformer has more than one secondary winding, repeat this test for each secondary winding. Your DMM should register "Infinite" resistance, an "Open Circuit" reading for a good transformer. Different meters indicate this condition in different ways, the Sperry DM-4100A, displays "1." on its LCD to indicate an open circuit. A continuity reading here indicates a winding-to-winding short. The transformer is bad and needs to be replaced.
Step 2
Test the transformer for winding to lamination shorts. Set the DMM up as you did in step one. Check each winding separately by placing a probe on one of the winding terminals and the other probe on the transformer's metal frame. Make sure the probe on the transformer case is touching bare metal and not resting on some type of finish that may act as an insulator. Scratch the probe tip back and forth until it makes contact with base metal.
Step 3
Test the primary winding and the secondary winding(s) for continuity by placing the DMM probes across each winding's terminals. Set the DMM at a relatively low range, say 200 ohms. The DC (Direct Current) resistance for most small power transformers will be extremely low and that's normal. A high reading here or an "Open Circuit" reading indicates a partially open or completely open winding and the transformer needs to be replaced.
Step 4
Check the transformer;s output voltage. Connect the transformers primary to a 110-volt source using the Test Jumper. Be careful that the Alligator clips don't touch one another or touch some grounded surface. Do not touch the clips or the primary terminals once the cord is plugged in, as you could receive a fatal shock. Set your DMM for an appropriate AC (Alternating Current) voltage range. Test each individual secondary winding by placing the probes across their terminals and noting the voltage.
Step 5
Check for turn-to-turn shorts in the primary and secondary windings. An output voltage reading significantly higher than the transformers rated output indicates a turn-to-turn short in the primary winding. An output voltage significantly lower than the rated output for that winding indicates a turn-to-turn short in that secondary winding. Output voltages may vary ± 10 percent and be within the acceptable range, but anything above or below that indicates a defective transformer.