How To Check A Thermostat With An Ohm Meter
Things Needed
-
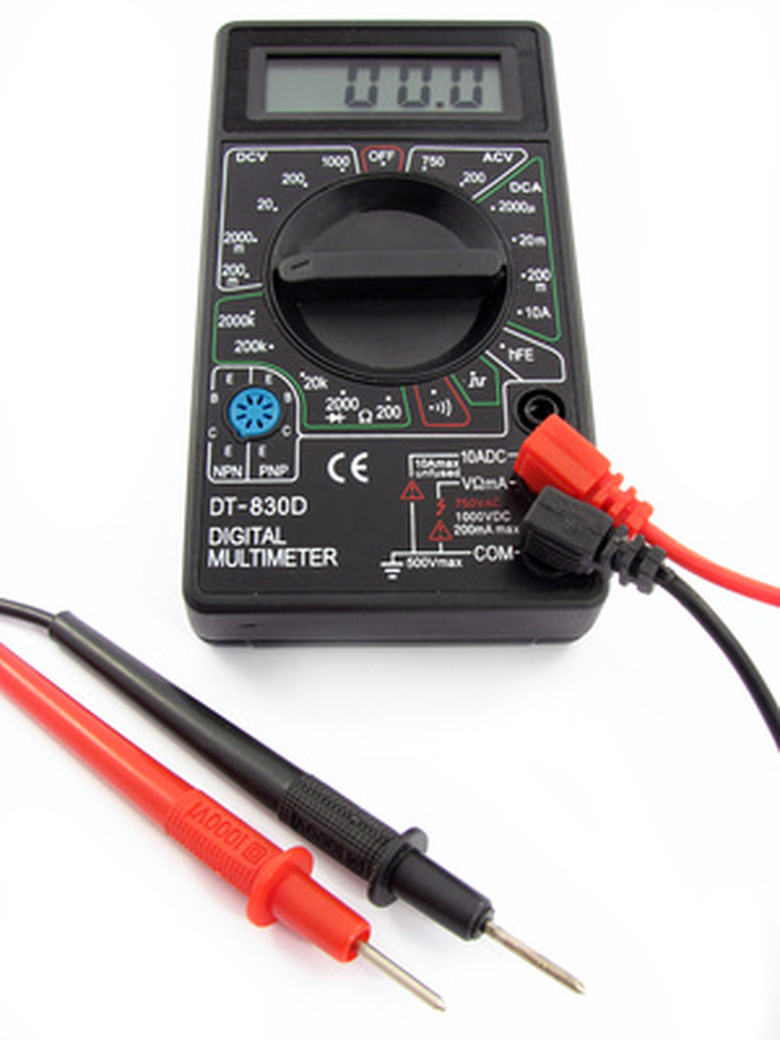
Digital multimeter (DMM)
-
Masking tape
-
Pen
-
Screwdrivers
-
Needle-nose pliers
-
Industrial hot air gun
There are many different types of thermostats, but they all work the same way. A bimetallic element (made by fusing two different metals together) inside responds to a change in temperature by bending as the metals expand at different rates when the element is heated or cooled. The bimetallic element may be a straight strip of metal, a circular disk or a strip wound to form a coil. As the element flexes, it opens or closes a set of electrical contacts, controlling the flow of current through the thermostat. Checking the operation of the electrical contacts is a straightforward task.
Step 1
Disconnect the wires from the thermostat to be tested. You will find two types of terminals used with thermostats, screw terminals or male-female push on terminals. In the case of screw terminals, loosen the screws with an appropriate screwdriver and remove the wires. In the case of male-female connectors, grasp the female push on-terminal with the needle nose pliers and pull them off. It does not matter which wire you connect to which terminal when replacing the wires on a two-wire thermostat, but if there are more than two wires, mark them with a small piece of masking tape on which you've written the terminal number, so you can reconnect them to the right terminals.
Step 2
Set the "Function" switch on your DMM to the "Ohms" function. If your DMM is a manually ranging meter, set the "Range" switch to the lowest Ohms range. The lowest range on most manually ranging meters is a 200 Ohms. If your meter is an autoranging meter, it will select the appropriate range for you.
Step 3
Clip one of the test leads from your DMM to each terminal on the thermostat. The meter will indicate an open circuit by displaying "OL" on its Liquid Crystal Display (LCD) for a good thermostat that has normally open (NO) contacts, or it will display zero (0.00) Ohms for a good thermostat that has normally closed (NC) contacts. You need to be aware that some DMM will read the resistance of their internal fuse, so you might get a reading of 0.5 Ohms instead of 0.00 Ohms for a good thermostat with closed contacts. A good thermostat with NC contacts should read zero resistance. A good thermostat with NO contacts should indicate infinite resistance, a reading of "OL" on the LCD. You should understand that if a thermostat passes this test, it may still be bad and need to be replaced.
Step 4
Using the industrial hot air gun, apply heat to the thermostat. A thermostat with NC contacts should open eventually, and the reading on the LCD should swing from 0.00 Ohms to "OL" A thermostat with NO contacts should eventually close, and the LCD readout should swing from "OL" to 0.00 Ohms. If the thermostat does not respond in this way, it is bad and needs to be replaced.