How To Install A 100 Amp Breaker Panel
Things Needed
-
100-amp breaker panel
-
Cordless electric screwdriver
-
Screws
-
Wire strippers
-
120-volt breaker
-
240-volt breaker
-
Screwdriver
-
Wrench
Warning
Ensure that the power is off before installing a breaker panel.
Unless you are installing an enormous breaker panel, the amp rating does not affect the way that you install the panel. A 100-amp panel requires the same installation procedure as a 200-amp panel. The major differences are the size of the main breakers and possibly the size of the cables you use to make the connections from the meter box to the breaker box.
Step 1
Turn off the power at the meter box before starting the installation.
Step 2
Attach the breaker box to the wall where the cables from the meter box are present. If this is new construction, the box will usually be attached between two studs. Use a cordless electric screwdriver and screws to anchor the box to the studs on each side of the box. For existing construction, the screws will go through the back of the box. Make sure that the screws reach into a stud to give a solid mounting for the box.
Step 3
Feed the three wires from the meter box into the breaker panel. Remove 1 inch of insulation from the ends of each of the cables with wire strippers. Insert the ends of the two hot wires into the lugs on the main breaker. Insert the end of the ground cable into the lug on the neutral bus inside the breaker box. Tighten all three lugs with a wrench until the cables are securely attached.
Step 4
Slide the end of the black wire from the first 120-volt circuit into the 120-volt breaker for that circuit. This wire will go into a slot under the screw on the breaker. Insert the white and bare wires under one of the screws along the neutral bus. Use a screwdriver to tighten each of these screws.
Step 5
Clip the 120-volt breaker onto the power bus in the middle of the breaker box. Install each 120-volt circuit into the breaker panel in the same way. Use the same method for installing the 240-volt circuits, with two exceptions. First, attach two wires to the 240-volt breaker. One will be black and the other should be red. When you attach the breaker to the panel, it will clip onto both sides of the power bus instead of just one, like with the 120-volt breakers.
Step 6
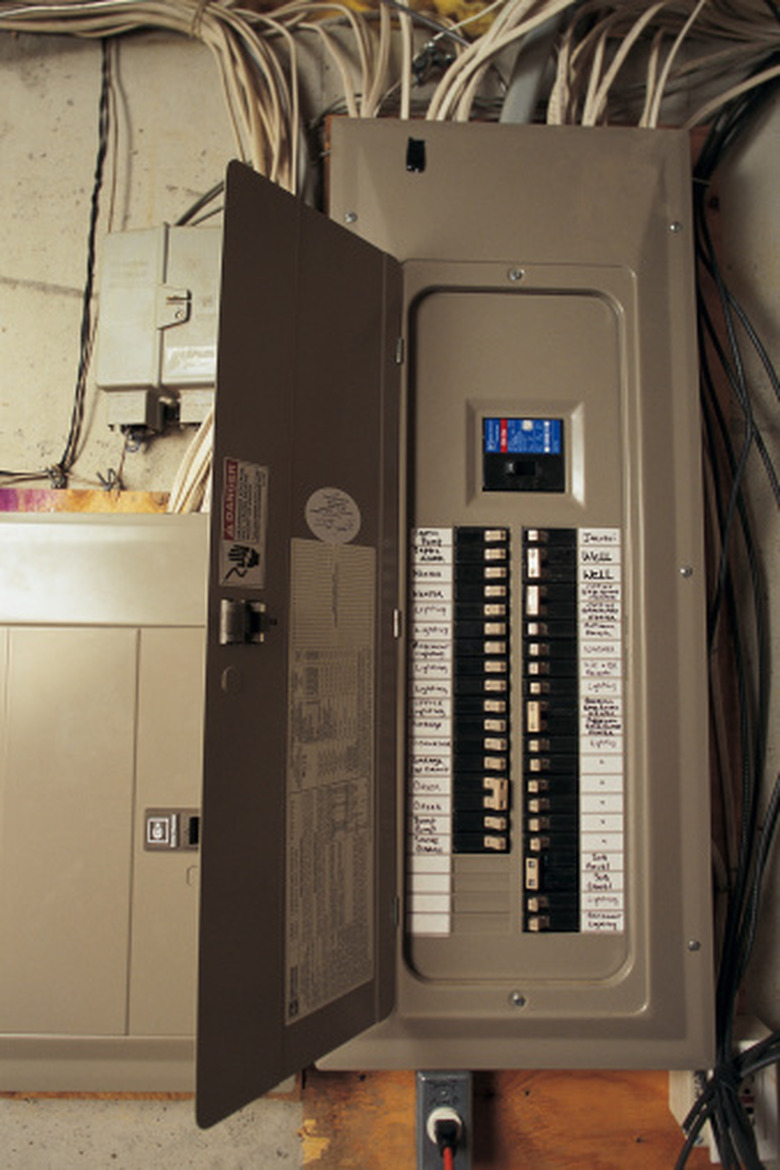
Lift the cover for the breaker panel into place. Use the screws provided with breaker box to attach the cover to the box with a screwdriver. Fill in the index on the door of the breaker panel with the circuit number and name of each circuit that you have installed.
Step 7
Turn on the electricity at the meter box to complete the installation.