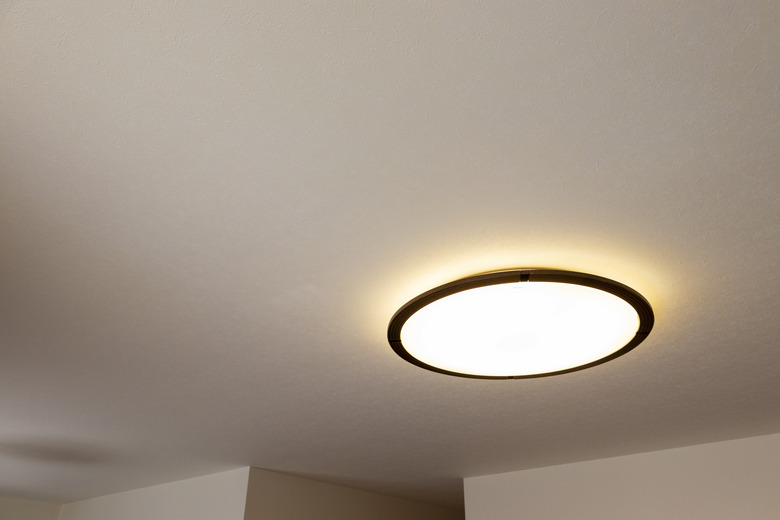
How To Change A Round Fluorescent Light Bulb
Fluorescent light bulbs will normally last for many years and do not need to be replaced until they begin to flicker on and off or the end's color ranges from light gray to black. Replacing a round fluorescent light bulb requires advanced planning. These bulbs are not interchangeable, and confirming that there are – or are not – manufacturer specifications is the primary step. After, you must know the wattage, color temperature and diameter before you purchase your replacement bulb.
Purchasing the Correct Bulb
Purchasing the Correct Bulb
Begin by learning the wattage of your current bulb as your new one cannot have a higher or lower wattage – they must be the same. Once you know the wattage, select your color temperature, which is the brightness of your bulb. This choice is based on your personal preference. Color temperatures are all white, and they range from warm to bright daylight. For bedrooms or living rooms, a warm 2700K is recommended, while a range of 3000-3500K is often used in bathrooms. If you prefer cooler colors, 4100K is florescent-like in color and 5000K is similar to the sunlight at noon.
Finally, the diameter is critical. If your bulb is too large or too small, it will not work, even if it's from the same manufacturer. To guarantee you purchase the right size for your replacement, either measure the diameter of your current bulb or use the model number when searching for a replacement.
Replacing the Bulb
Replacing the Bulb
Safety first! Before you begin to replace your bulb, turn the power off at the circuit breaker, then use a power tester to test the fixture and confirm the power is fully off before you begin. Grab a ladder if you need one to comfortably reach the bulb, and place it directly under the fixture.
To remove the bulb, rotate it while still holding the bulb at the end. Continue to rotate the bulb until it stops, then rotate the prongs that project from every end of the fluorescent bulb. After, slide the bulb downwards and out of the fixture.
Placing your new bulb into the fixture is just as easy. Slowly slide the new bulb into the sockets at the end of the fixture, confirming that the prongs fit and line up with the socket holes. Once aligned, gently rotate the tube. Do this slowly until you hear it lock. Then, turn the power back on to confirm the bulb is working.
Replace a Standard, Straight Tube Bulb
Replace a Standard, Straight Tube Bulb
Similar to a round fluorescent, a straight tube should always be replaced with a tube of the same diameter unless you change the type of ballast. Lamp holders for these bulbs are typically made of plastic, so take care during the replacement as you do not want break the holders.
Begin by turning off the switch, and make sure you have a pair of rubber gloves handy in case you are unable to grip the bulb with your bare hands. To remove a straight bulb, carefully rotate it a quarter of a turn in either direction. If it doesn't turn easily, change directions – it may be easier to move. Slowly increase the pressure while turning until you've removed the bulb. To insert a new bulb, place it securely into the lamp holders, then carefully rotate it a quarter of a turn in either direction. Most bulbs will have alignment marks that show the proper rotation.
