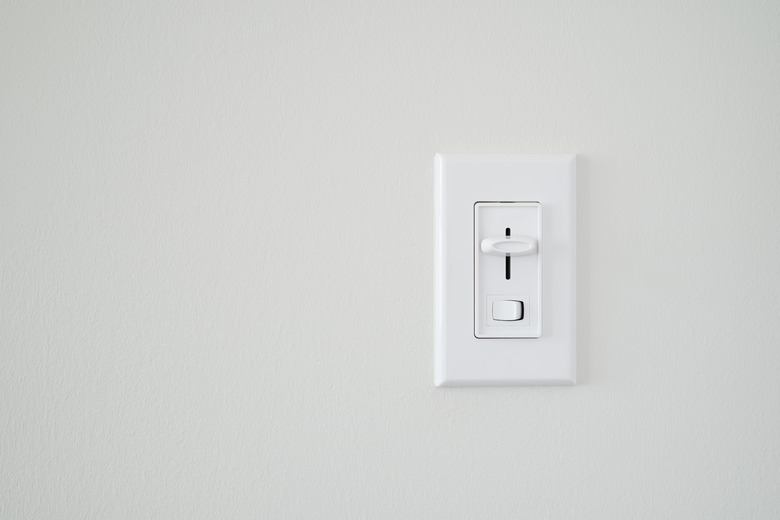
How To Install A Two-Way Dimmer Switch
We may receive a commission on purchases made from links.
One of the easiest ways to improve a room's ambiance and save energy is to install a double light switch with dimmer. You don't have to be an electrician to work on this in less than a day; you just have to be enthusiastic about DIY projects. Before you start, you have to learn a few things about dimmer switches.
What To Prepare
What To Prepare
A basic light switch is a single pole with an on and off label. This allows you to turn the light on and off from one spot in the house. When you control a light in two separate switches, you actually have a three-way switch. This fixture has no on and off label and has three terminals behind the switch.
Dimmer switches come with different designs and features, so you need to buy the right one. Carefully read the packaging label and instructions if you're installing a dimmer switch on a three-way circuit. Also, gather the tools you need for this project, such as a flathead and Phillips screwdriver, a voltage tester, and a drill.
Installing the Two-Way Dimmer Switch
Installing the Two-Way Dimmer Switch
Traditionally, you cannot dim a light from two different switches, as it will cause a conflict in the circuitry. Any electrician will tell you that this will not work for a regular double switch three-way circuit. However, you can set up specialized two-way dimmers using a primary and standby switch.
A primary and standby switch controls the dimmers in multiple locations around your house. The primary is a one-way circuit that will only work with a standby switch. You can set up multiple standby switches around your house with one primary control.
Primary and standby switches have digital mechanisms, so expect that this will be pricier than regular dimmers. Some are even featured with remote controls. You need to get a compatible primary and standby from the same brand, otherwise the switches will not work.
Fitting the Switch
Fitting the Switch
Once you're all set, fitting the primary and standby switch is pretty straightforward. However, always refer to the circuit diagram of your primary and standby switch packaging for the proper installation because it might differ with each brand.
Now, figure out which switch you want to replace and assign it as the primary. Then, turn off the main power from the circuit breaker. Remove the plate that covers the switch and then unscrew the rest from the wall box. Gently pull the switch to expose the wires. Use a voltage tester or turn the switch on and off to ensure that there is no power.
Next, set up the three-way dimmer switch wiring. You'll notice four colored wires: red, white, black and green. In some systems, the green wire might be copper. If you don't have this circuit, you'll need to rewire with the standard red, white, black and green.
Otherwise, start loosening the wires from the old switch, but take note of the marks on the terminals. If you see two or more wires together, you'll need to keep these wires together in the dimmers as well.
When the wires are unhooked, replace the new switch in its place and simply follow the same color matches from the old switch. Don't forget to secure with a wire nut before pushing these back on the wall. Turn on the circuit breaker and check if the dimmer lights actually work. When you're satisfied and sure that it's all set, screw and mount the new switch back in place.
Follow this same process when you're installing the standby switches in different parts of the house.
Combined Fan and Light Switch
Combined Fan and Light Switch
Some homes have dimmer switches that turn the ceiling fans on and off. However, this mechanism is not the most efficient, as it might lead to a noisy ceiling fan. The wrong speed control might also damage the fan motor, which can overheat and cause a fire. To be safe, install separate wiring and a switch for your ceiling fan.
