How To Troubleshoot Mercury Vapor Lights
Things Needed
-
Replacement bulb (if needed)
-
Ohmmeter
-
Replacement parts (if needed)
Warning
Disconnect the power supply or turn off the circuit breaker switch before disassembling the ballast to test or replace any parts.
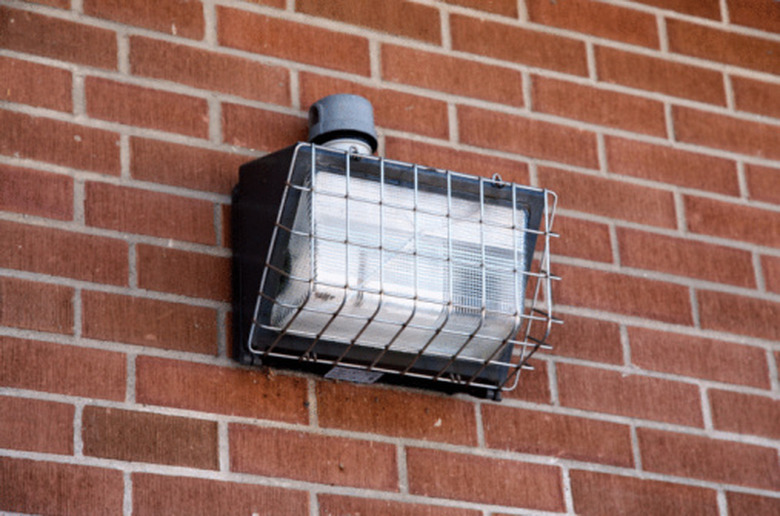
Mercury vapor lights consist of a gas-filled glass chamber, protective glass bulb, electrodes and a ballast. The ballast sends electrical power to the electrodes, which excites the gas and makes it glow. The protective bulb filters out harmful ultraviolet light and keeps the mercury gas contained if the inner chamber breaks. The outer bulb can also be coated with phosphor to diffuse the light or change its color.
Step 1
Make sure the light fixture is plugged in and the circuit breaker switch is on. Replace any blown fuses at the home's breaker box. Test the outlet by plugging in different appliance. If the second appliance does not turn on, call an electrician to inspect the home's wiring.
Step 2
Replace the light bulb if it flickers, dims or changes colors drastically. Be sure to install the light according to the manufacturer's instructions. The light will not work if the pins are not seated properly. If the light is tinted pink or blue after installing a new bulb, replace the capacitor. Allow the bulb to cool down for 10 to 15 minutes if you are trying to turn the light back on after a recent use.
Step 3
Check the compatibility of your mercury vapor bulb and its ballast if the light shuts off before it is fully warmed up. Make sure the wattage ratings of the bulb and ballast match. Mercury vapor bulbs between 175 and 400 watts are often compatible with metal halide ballasts of the same wattage.
Step 4
Inspect the condition of the ballast. If you see blackened or charred areas, the ballast may be shorting out or overheating. Swollen capacitors may also indicate a defect inside the ballast. Replace the ballast if you notice any of these problems.
Step 5
Test the capacitor with an ohmmeter. Set the ohmmeter to the highest scale and attach the leads to the capacitor. The ohmmeter's reading should start low, then gradually increase. Replace the capacitor if the meter does not change from its initial reading.