How To Dry Daisies
Things Needed
-
Daisies
-
Scissors
-
Rubber bands
-
Dark closet
-
Large, heavy books or a flower press
-
Sheets of paper
-
Silica gel
-
Microwave oven
-
Large microwave-safe glass dish
-
Microwave-safe cup of water
-
Oven mitts
Tip
To use the daisies in a dried flower arrangement, you may want to support the stems with floral wire.
Warning
Use caution when working with hot materials.
Do not eat silica gel, and do not use the glass dish for food after you've used it for drying flowers.
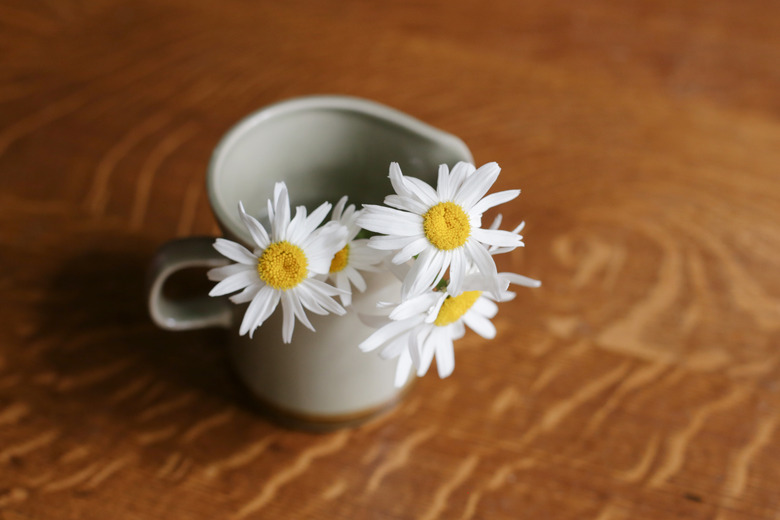
Daisies are wonderfully cheerful flowers and if you preserve them, the happiness they give could last a very long time. Choose daisies that are fully open, but not wilted or past their prime. If you're cutting daisies from your yard, it's best to get them on a dry day or after the morning dew has evaporated. There are several methods you can use for drying daisies, including hanging, pressing or using silica gel.
Air-Dry Daisies
Step 1
Cut the daisy stems to the length you want.
Step 2
Discard any broken stems or flowers that are missing petals.
Step 3
Remove any leaves from the stems.
Step 4
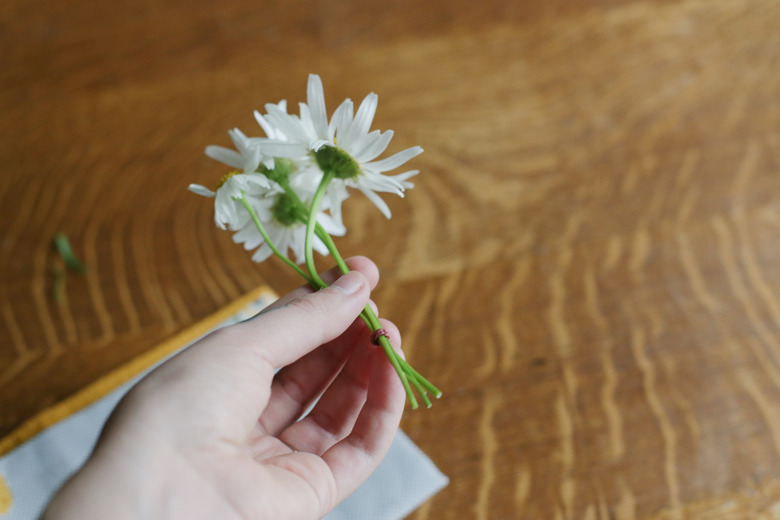
Gather the daisies into a small bunch (no more than 1 inch thick) and band the stems together with a rubber band.
Step 5
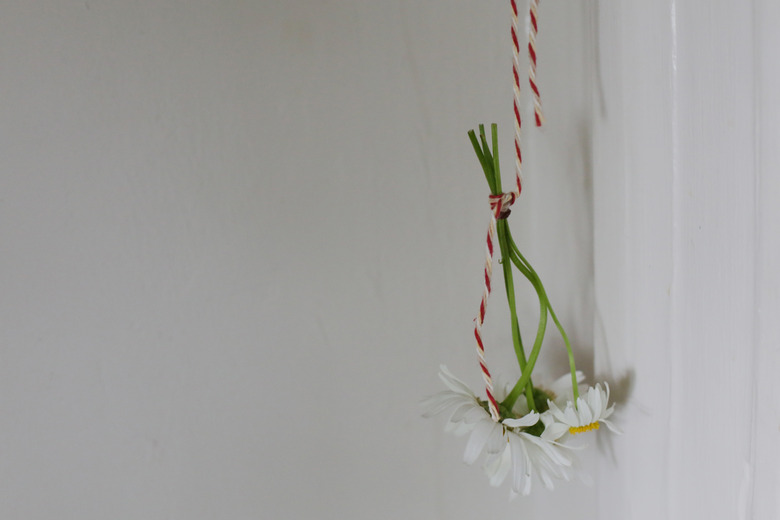
Hang the daisies upside down in a dry, dark closet from a hook or clothes hanger for a few weeks, or until they're dry.
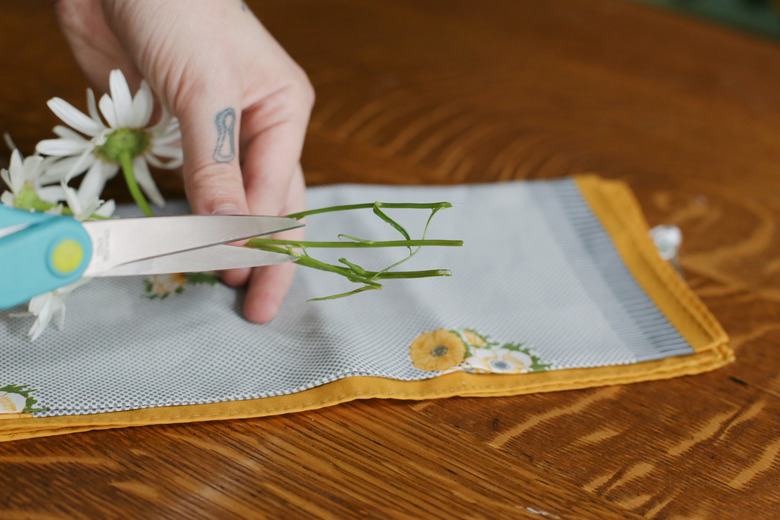
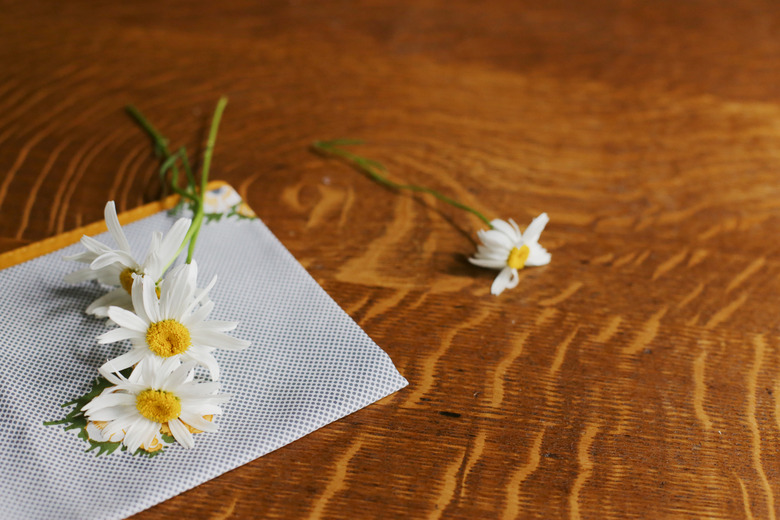
Press Daisies
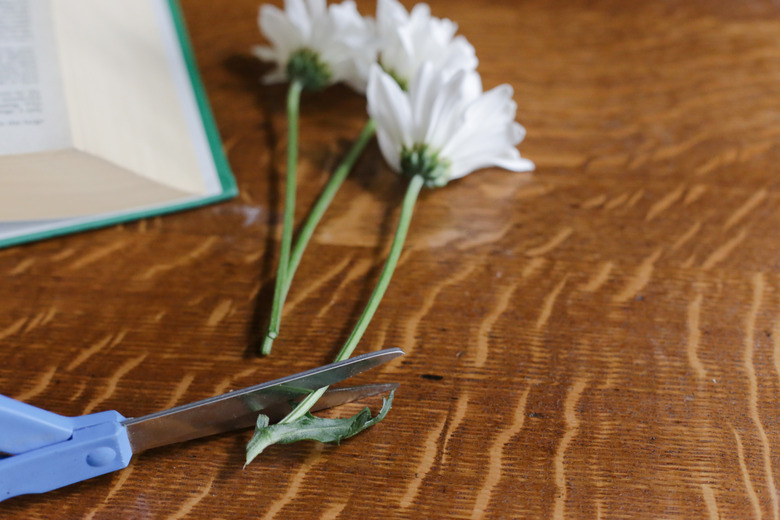
Step 1
Cut the daisy stem short enough to fit in the large book or flower press.
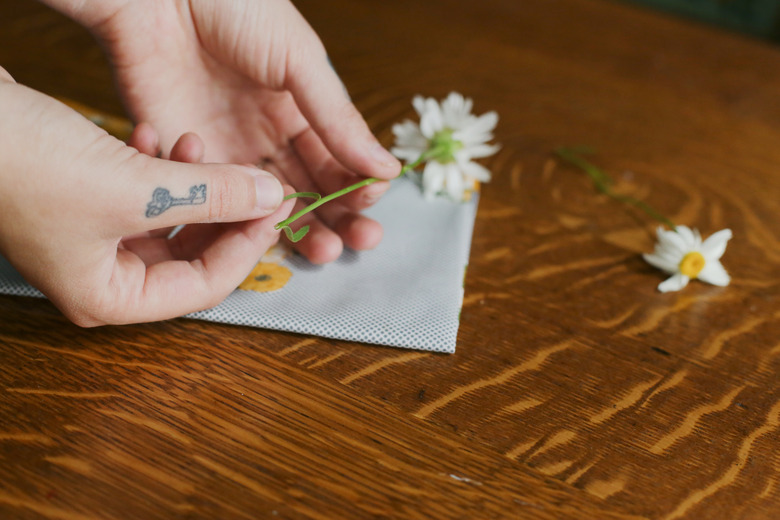
Step 2
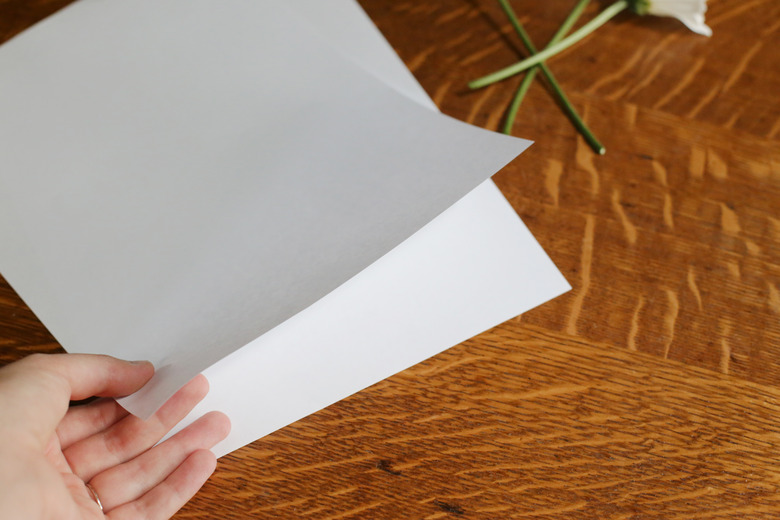
Lay two sheets of paper on top of each other.
Step 3
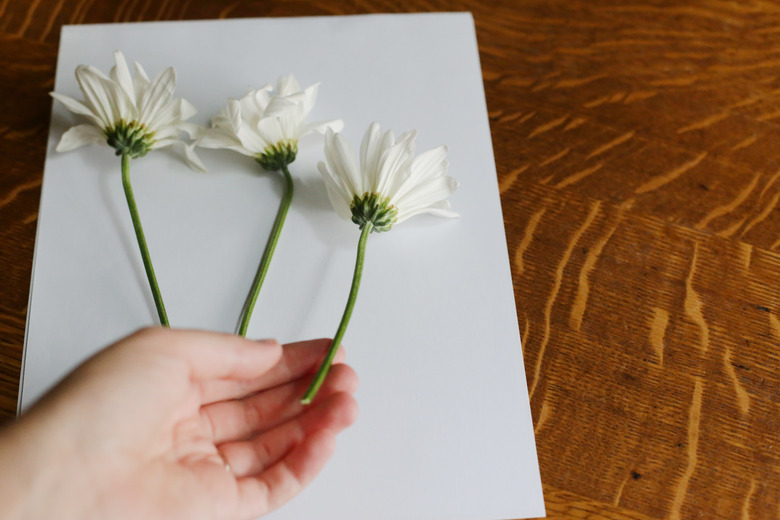
Place the daisies on top of the paper, then place two more sheets of paper on top of the daisies.
Step 4
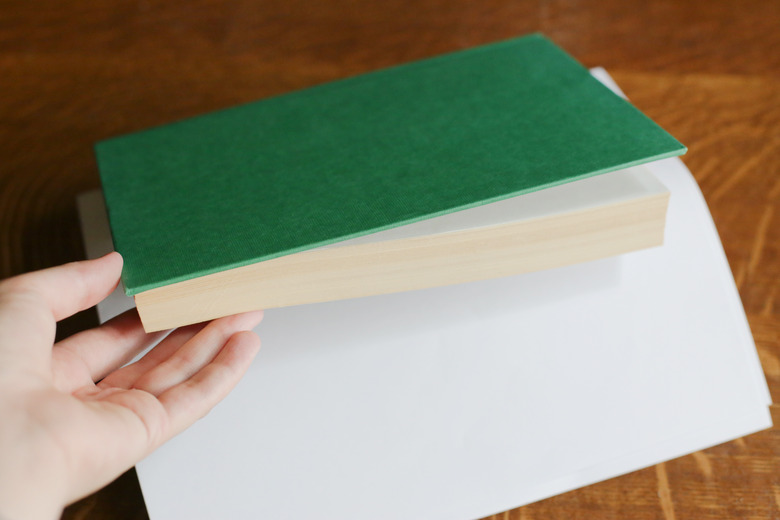
Place the paper and daisies in the middle of a heavy book and then close the book, or use a flower press. Put another heavy book or weight on top of the book or press.
Step 5
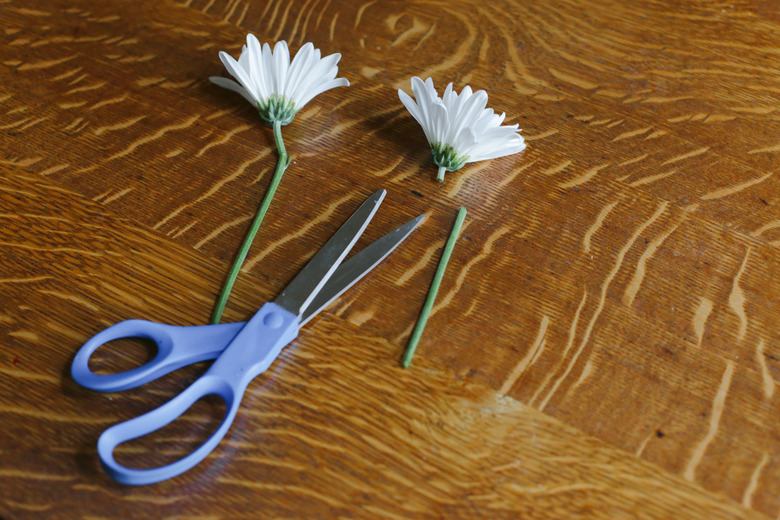
Remove the dried daisies after a few weeks.
Dry Daisies Using Silica Gel
Step 1
Cut off the daisy stems just below the flowers.
Step 2

Cover the bottom of a microwave-safe glass dish with about 1 inch of silica gel.
Step 3
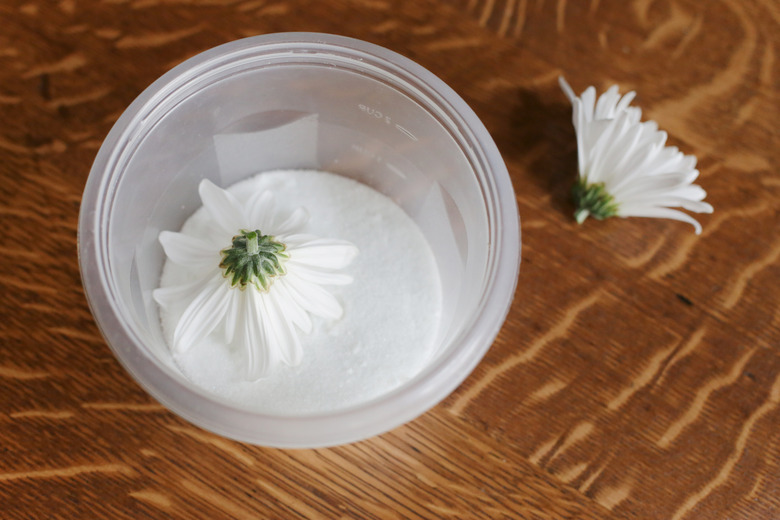
Place a few daisies face down in the dish, without letting them touch, and cover the daisies with silica gel.
Step 4
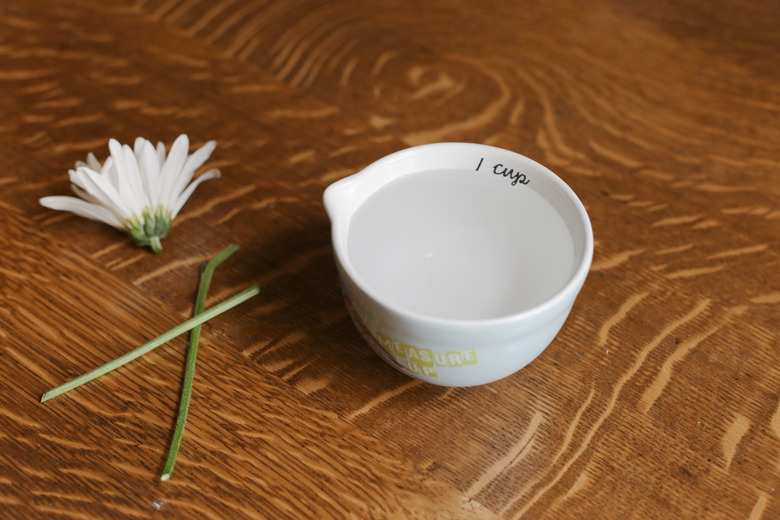
Place a cup of water in the back corner of the microwave. Place the dish with the daisies on the microwave turntable.
Step 5
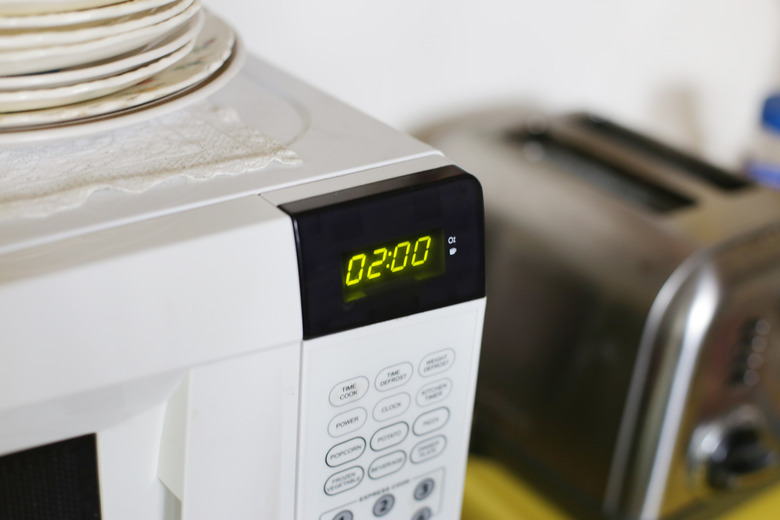
Microwave the daisies for about two minutes on a low power setting.
Step 6
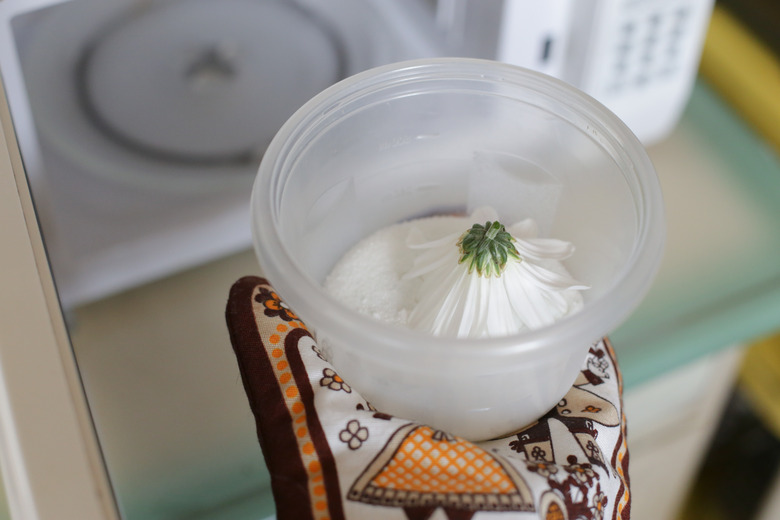
Remove the dish from the microwave using oven mitts. Let the silica gel cool completely.
Step 7
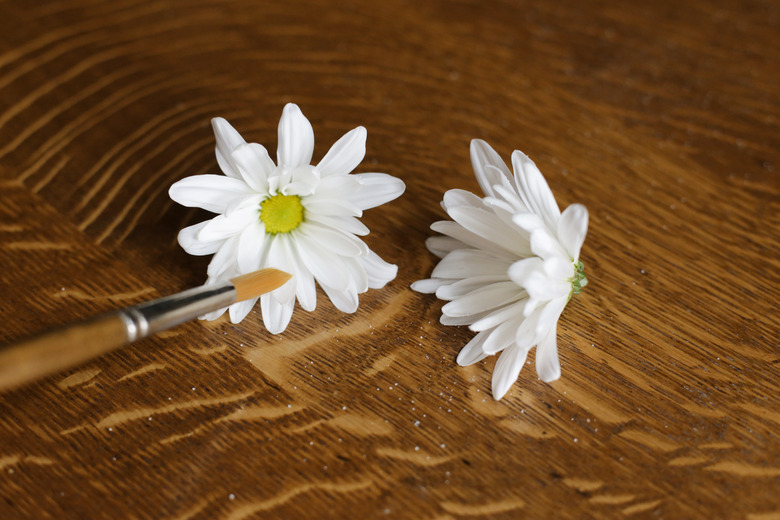
Remove the dried daisies and gently brush off the silica gel.