How To Install Kitchen Brick Flooring
Brick flooring transforms your room into a warm, inviting space with rich color and texture. The material works well for everything from a brick laundry room floor to your entire kitchen. Thin brick floor tiles are easy to install using the same methods as regular floor tile, starting with thin-set mortar and ending with grout.
Choose Brick Paver Flooring
Choose Brick Paver Flooring
The best tiles for interior installation are thinner than a full brick, usually 3/8 inch or 1/2 inch thick. You get the look of bricks without too much thickness.
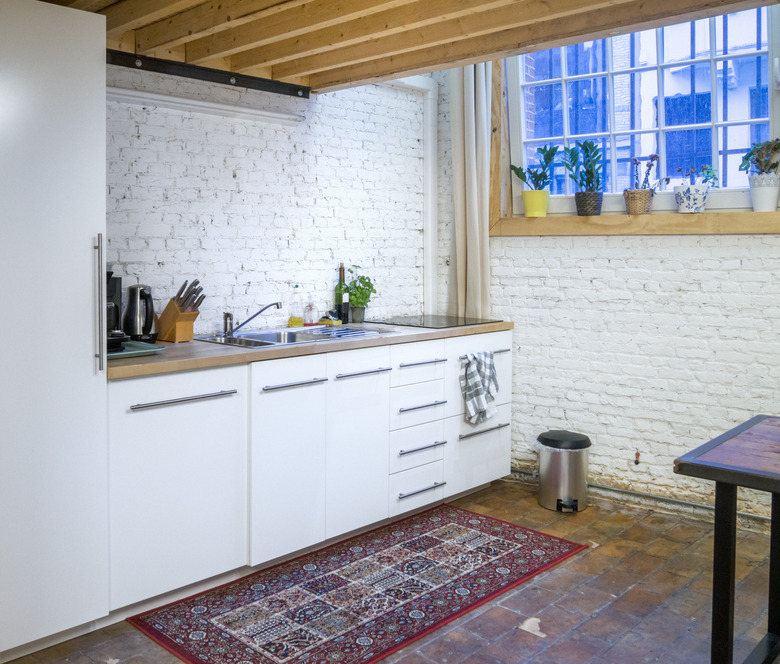
The color and overall look of the brick paver flooring also varies. Choose a style of brick that works with your existing kitchen cabinetry and color scheme. Buying a few individual floor bricks and trying them in the kitchen helps you decide if you like the look.
Test Run the Layout
Test Run the Layout
The rectangular shape of bricks allows for several different do-it-yourself installation options. Running bond is the common brick design, with each row of bricks offset by a half a brick. A stack bond arrangement means the bricks in each row line up with no offset design.
You can also get creative with a herringbone, basketweave or other patterns for decorative floor design. These options take more work to align the bricks properly, but they can create stunning results.
Test out different patterns if you're not sure what you want. Once you decide, lay out the bricks in the room to see how they'll work. You may need to cut some bricks to fit around cabinetry and other features in your kitchen.
Prep for Installation
Prep for Installation
When doing a DIY brick tiles installation, you need a sturdy, level subfloor to support the bricks. If your current subfloor is uneven or can't handle the load, install a new one before proceeding. Once you have a level foundation, clean it well to help the tile stick.
Marking the center of your floor helps with the installation. Snap chalk lines to serve as a guide for where to install the first row of bricks to keep it straight.
Install the Brick Tiles
Install the Brick Tiles
When mixing your thin-set mortar, make only what you'll need for about the next 20 minutes so it doesn't dry out. You want the mortar to be roughly toothpaste consistency for your brick floor tiles.
Spread the mortar over a small section of the floor using a trowel held at a 45-degree angle. The grooves created by the trowel help the bricks stick securely to your kitchen floor. Press the first row of bricks into the thin-set, pushing and twisting gently to set them.
Continue across the room, installing the rest of your bricks using tile spacers to ensure the gaps stay consistent. Use a wet saw to cut bricks as needed.
Seal the Bricks
Seal the Bricks
Before you grout your bricks, you want to seal the bricks because they will absorb water from your grout. The sealer also helps minimize how much grout gets stuck on the brick face. Choose sealer designed for bricks.
Apply the brick sealer according to the package instructions. You can get sealer that you roll or brush onto the bricks, or a spray-on version. Wait at least 24 hours after applying the sealer to grout.
Grout Around the Bricks
Grout Around the Bricks
Grouting brick tile is the same as other tile. The one difference is that some of the grout may stick into the grooves, even if you seal the bricks. Choosing your grout color is important since some of it may stick around in the bricks.
Hold your rubber grout float at a 45-degree angle to push the grout into the gaps. You want the grout to be packed in tightly to fill the gaps completely. Use the float to wipe off excess grout from the bricks.
Give the grout about 20 minutes to start setting, then go over the bricks with a damp sponge to remove the grout from the face of the bricks. Rinse the sponge regularly and continue wiping until you remove all of the grout, being careful not to dig into the grout lines.