How To Start The First Row On Laminate Floor If The Wall Is Not Straight
Installing laminate flooring in unsquare rooms is remarkably easy, since most systems today are "floating" floors that don't require glue or nails. But laying out the laminate floor layout pattern ahead of time can still be complicated, especially in an older home with out-of-square walls. If the wall isn't straight and you start a full course of flooring against it, then the whole floor will look crooked. The solution is to angle-cut the lengths of the first and last courses for your laminate floor layout pattern, so the floor is straight even if the walls aren't.
1. Mark the Expansion Gap
Use your chalk snapline to make a line 1/4 inch out from the starting wall. Do the same at the ending wall on the opposite side of the room. This is your "expansion gap," which allows for movement of the wood in the floor; it will be covered by trim at the end of the project.
2. Determine Out-of-Square Measurement
With a laminate flooring wall not straight, you'll need to measure the space between the two lines at one end of the room, then at the other, to determine how far out of square the walls are. Example: If your measurement at one end of the room is 10 feet, and your measurement at the other end is 10 feet 2 inches, then the room is 2 inches out of square.
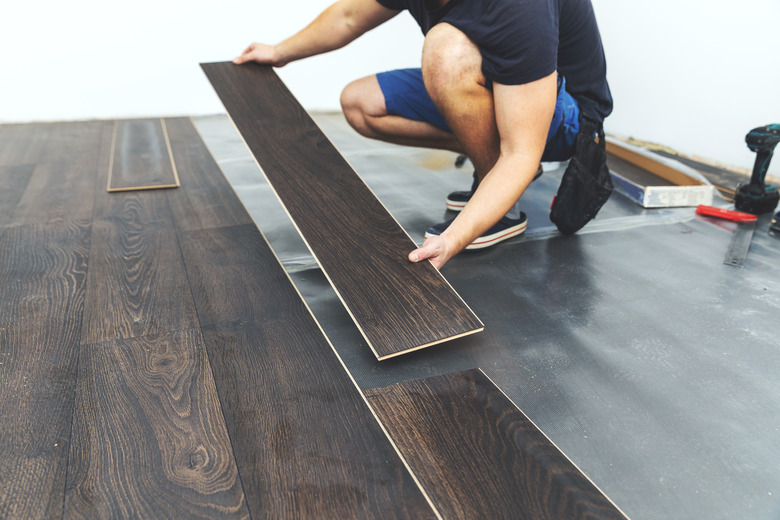
3. Begin at the Starting Wall
Lay your first course of tongue-and-groove laminate floorboards down along the starting wall, with the groove side facing the wall. Clip the boards together end to end. Cut the final piece as needed on your miter saw, leaving a 1/4 inch expansion gap.
4. Mark Half of Out-of-Square Measurement
Working at the narrow end of the room, measure in from the end of the final board at the side that faces the wall, marking the measurement half of whatever you've determined is the amount that the room is out of square. (If the room is 2 inches out of square, then measure in 1 inch from the edge of the board where it faces the wall.)
5. Angle and Intersect Chalk Lines
Set your chalk line on the 1-inch mark at the end of the final board. Stretch the line to the far end of the course, and put it right on the corner of the end of the last piece, on the side closest to the wall. Snap the line. The resulting line should run at an angle from your 1-inch mark at one end of the course, to the corner of the other end, crossing each of the boards that make up the course.
6. Cut Boards at Markings
Pull the boards apart, but keep them in the order that they were lined up. Use your circular saw to slice off the marked edge of each board. (The necessary cut will get successively thinner with each board.)
7. Lay the Cut Boards
Lay the cut boards back down in place, with the cut sides facing the wall and sitting on the first chalkline that you laid (the one that's 1/4 inch out from the wall). Clip the boards together end to the end. The course should look slightly thicker at the wider end of the room, but the cut edge of the boards should be sitting consistently 1/4 inch from the wall.
8. Lay the Other Floor Boards
Lay the rest of the floor course by course, snapping the pieces together at the sides and cutting them as needed at the ends.
9. Rip and Angle the Course
For the final course, repeat the process of ripping the course at an angle to make the boards larger at the wider side of the room. This time, rip off the tongue side instead of the groove side.