How To Make A Plywood Floor Look Like A Hardwood Floor
We may receive a commission on purchases made from links.
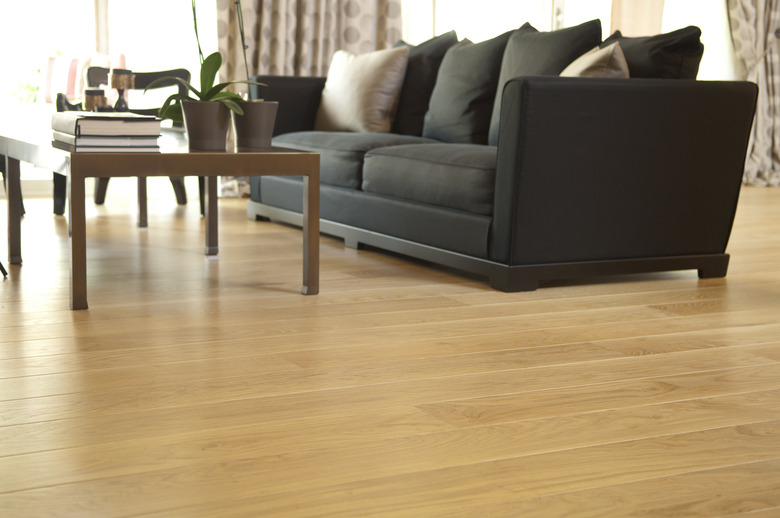
Perhaps you just removed your old carpeting in the hopes of finding vintage, restorable hardwood, only to reveal a plywood subfloor instead. Or maybe you'd like to convert an attic space and don't quite have the budget this year for hardwood flooring. A solution for situations like this is to sand the plywood and paint it to look like hardwood, using a wood grain rocking tool. The concept is simple enough, but the results depend entirely on execution. Luckily, you'll find tools to simplify every step of the process.
5 Subfloor Prep Steps
5 Subfloor Prep Steps
Proper preparation of the plywood subfloor is critical to success. The goal is to create a smooth, consistent, monochromatic surface that serves as a blank canvas for your wood-grain artwork. This prep involves five basic steps.
1. Clean and Secure the Plywood
Remove all staples and fasteners left over from carpeting. Add 1 3/4-inch screws to secure the plywood to the joists — especially at the corners of the sheets. You don't want lifting or squeaking to ruin the hardwood effect. Sink every screw and nail at least 1/16 inch into the wood so you can cover the head with filler.
2. Fill Gaps and Joints
Use epoxy wood filler to fill gaps between sheets of plywood. This type of filler bonds well to wood and won't crack; apply it with a putty knife and scrape off the excess before it sets. Sand the filler flat with a palm sander.
3. Filling the Wood Grain
Although you want the finished floor to resemble wood grain, leaving the plywood grain exposed will belie the painted effect you create because the grain of some sheets runs perpendicular to the the painted grain. To hide the plywood grain, mix dilute floor-leveling compound and spread it over the whole floor, using a 6-inch drywall knife. Scrape it as flat as possible, then let it set.
4. Sand the Plywood
You won't be able to get the plywood very flat with a hand sander, and you'll strain your back and knees trying. The ideal tool for the job is an orbital flooring sander. Make one pass with 100-grit paper to remove excess leveling compound and filler. Apply more filler where needed, then make another pass with 120-grit paper. If you're going for the ultimate results, make a final pass with 150-grit paper. Vacuum the floor thoroughly to remove all sanding dust.
5. Prime and Paint
Brush or roll a coat of floor-grade primer to seal the grain and prevent bleed-through, wait for it to dry, then apply two coats of floor enamel paint. Choose the color most prevalent in the type of wood you want to replicate; for example, yellow-brown for oak or reddish-brown for mahogany.
Things Needed
-
Tape measure
-
Straightedge
-
Rags
How to Paint Wood Grain on a Plywood Floor
1. Lay Out the Planks
Measure the width of the rocking tool — that is the ideal width for the "planks." Draw a series of lines that far apart, stretching from one wall to another, to simulate real wood planks, using a straightedge and a pencil. Draw perpendicular lines across each row to denote end joints; make sure the joints on adjacent rows are staggered at least 6 inches from each other for realism.
2. Gouge the Lines and Stain the Floor
Gouge along each line with the corner of a putty knife to create a depression. Use the straightedge when you do this to ensure a straight gouge mark. When all the lines have been gouged, wipe wood stain that is slightly darker than the base paint color over the floor with a rag. It will settle into the gouge marks to make the lines look like realistic joints. Wait for the stain to dry before proceeding.
3. Make a Glaze
Mix equal parts of latex floor enamel paint and acrylic glaze. Use a paint color that matches the grain of the wood you're trying to replicate. The mixture should be translucent.
4. Paint the Grain
Apply a coat of glaze to a section of the floor, using a paint roller. Drag a plastic comb (which comes with the wood graining kit) lengthwise along the surface to form distinct lines of glaze. Draw the rocker along each "plank," rocking as you go, to redistribute the glaze and produce the wavy lines characteristic of wood grain. If you like, you can let the first coat dry and apply a second coat with a different glaze for a more realistic effect. Let the floor dry completely.
5. Apply Clear Finish
Apply two or three coats of clear polyurethane to protect your handiwork. Follow the manufacturer's instructions carefully for the best results, and let the final coat cure fully before using the floor.