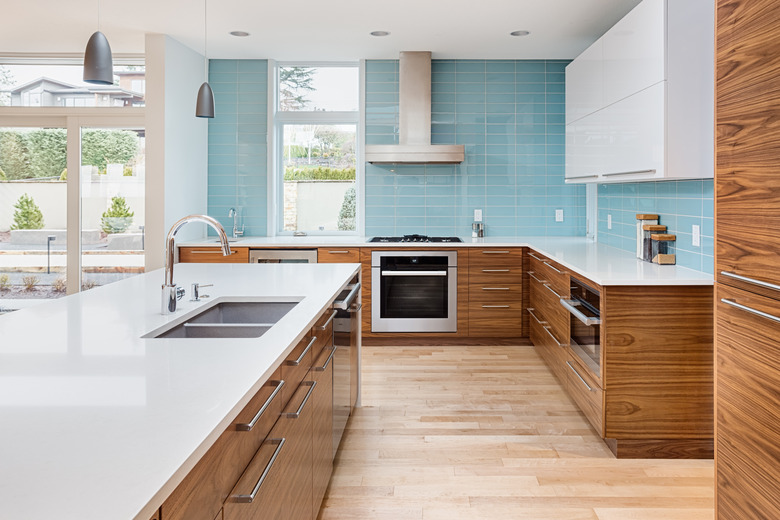
How To Pickle An Oak Cabinet
Sometimes you want to give your kitchen a makeover, but can't afford to buy all new cabinets. Why not give your kitchen a whole new look by pickling cabinets? Pickling your oak wood highlights the natural grain of your wood. Not only will you save a lot of money, you'll have the satisfaction of doing the job yourself, which you can usually tackle in a weekend. Pickling wood paneling or cabinets works on open-pored woods such as oak and ash.
1. Remove Hardware
Remove the drawer and door hardware. Store the hardware and screws in baggies to keep them organized.
2. Clean Cabinets
Wash the oak cabinets with a mixture of 3 tablespoons turpentine, 3 tablespoons linseed oil and 1 quart boiling water to clean the wood thoroughly. Only use this mixture while it's warm, and wear rubber gloves to protect your hands. If the wood is finished, wash the surface well with TSP (trisodiumphosphate) and warm water. Rinse this off well and dry the surface.
3. Sand Surfaces
Check the wood for any blemishes. Finishes such as pickling stain over dark stain seem to magnify blemishes, so you'll want to fix the issues before applying it. Sand the surface with 150-grit sandpaper to get a smooth surface with open pores that accepts the stain well. Vacuum the dust away with a shop vac and use a tack cloth to finish cleaning. Any speck of dust left behind will get into the finish and leave it rough or uneven.
4. Apply Stain
Apply a thick coat of pickling stain with a brush in the direction of the grain. Or you can make your own pickling stain by mixing 1 quart of white latex-based paint and 2 cups of water in a container. You want the consistency thinner than the paint, but not as thin as water. Mix as much as you'll need to do the entire project, or the colors might not match with multiple batches.
5. Let Stain Dry
Allow the pickling stain to dry for 10 minutes so it has time to penetrate into the wood.
6. Wipe Away Stain
Remove the excess stain with a soft, dry cloth. Use long strokes until you achieve the look you want. You don't have too press hard as a light hand will do. The more stain you remove, the lighter it will be.
7. Repeat to Get Desired Look
Repeat the process of steps 3 through 5 if you want a whiter, less transparent look.
8. Varnish Over Stain
Apply non-yellowing varnish to the wood with a brush, going in the direction of the wood grain. This will keep the pickling finish from being washed away. Leave this to dry for the time indicated on your varnish can.
9. Add Dark Stain
Mix the dark gel stain with water. You want it to be runny because you'll need to wipe off as much of it as possible. Wipe it on in the direction of the wood grain with a cloth and immediately wipe it off with a clean dry cloth. The dark stain will dry quickly, so only do small areas at a time. Allow to dry before proceeding to the next step.
10. Apply Final Coat
Apply a final coat of varnish. This protects the look after you finish pickling cabinets. After the varnish is dry, replace the hardware of the cabinet.
