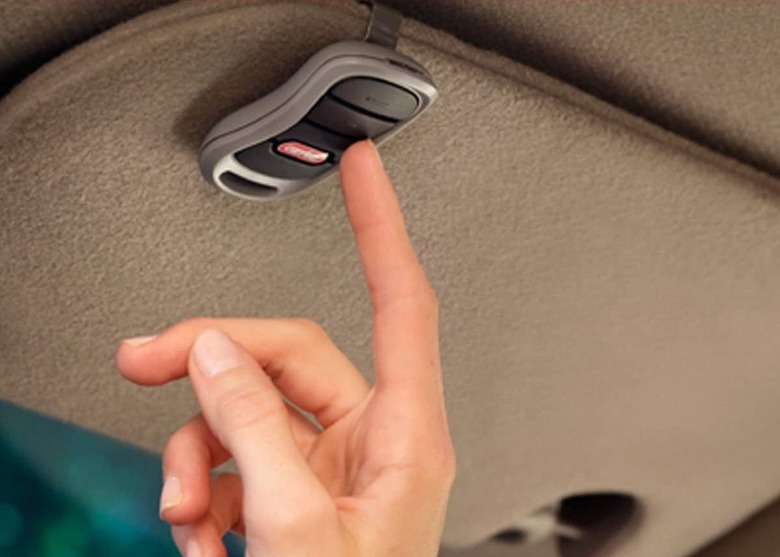
How To Program A Genie Garage Door Remote
We may receive a commission on purchases made from links.
When it comes to garage door openers, Genie bills itself as "the brand you trust." One look at its product lineup and features like Intellicode, and it's clear how popular Genie garage door openers are. Whether you're setting up the door that's in your new home or you're replacing a remote, programming a Genie door opener remote is as easy as one, two, and three.
Genie Remotes: Different but Similar
Genie Remotes: Different but Similar
When you're programming a Genie remote, it will typically have one, two, or three buttons. Even four-button remotes exist. There are all sorts of model names and remote designs, but they're essentially very similar in how you'll program them. Why the different buttons, then? They correspond with the number of doors you have to operate. If you're looking to program a Genie universal door opener for a different brand, they have a slightly different process, and manuals are available on the company's website.
Things Needed
Programming a One-Button Remote
For an opener manufactured from 1995 to around 2010, there's usually a "Learn/Code" button, but for 2010 and later, opener buttons usually say "Program/Set." Both operate in the same manner, but each has slightly different lighting sequences for each action. Your specific opener model's instructions should be available for download on the Genie website.
To make things simpler, you may want to dim the lights so the operational LED lights display better on your unit. Also, when programming the remote, always descend the ladder and stand at least 5 feet away to ensure good communication between the unit and the remote. You shouldn't need to climb back up if it sets up properly. Some remotes will only give you 30 seconds between pressing the "Program" button and your remote button before you have to press the "Program" button again.
1. Activate the Overhead Opener
Set up a ladder so you can safely and easily reach the "Program/Set" button on the powerhead. Press this button until the round LED light shines blue. Release it and the long LED light will blink purple.
2. Program the Remote
Push and then release the remote button. The blinking, long LED light should stop blinking and turn to a solid purple light. Press the remote a second time, release it immediately, and both the long and the round LED lights will blink blue and then turn off.
3. Test the Remote
The remote isn't fully programmed yet; testing it locks it into the remote's memory. Press and release the remote's button one more time. The door should now operate by opening or closing — the opposite of whatever position the door was in when you began.
Now, your remote is fully programmed. Pressing and releasing the button will open or lower the door as required.
Two- and Three-Button Remotes
The process for programming Genie multibutton remotes is the same as for the one-button remote. Each button is to be programmed for a different door. You'll have to repeat the process for each door's powerhead unit beginning in step 1 above, as the units work independently of each other. Simply remember which button is for which door; it's easy once you're using the remote regularly.
