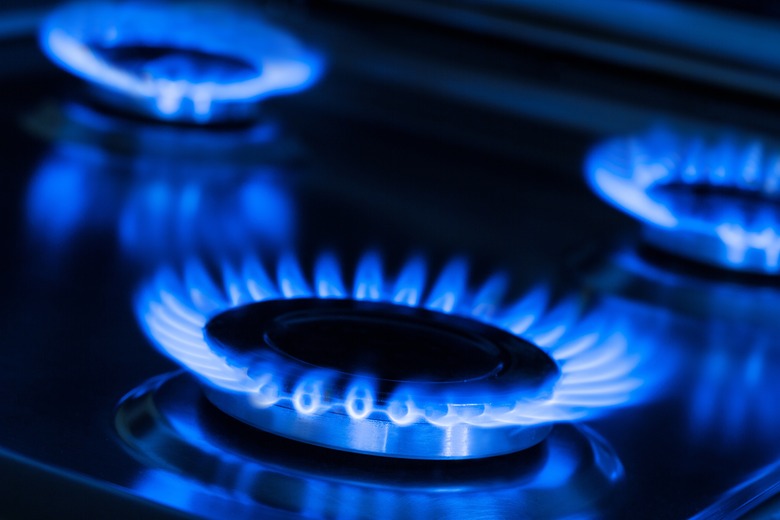
How To Convert A Kenmore Gas Stove To LP
When you purchase a Kenmore gas stove, the factory setting is automatically set to use natural gas. If you want to convert your gas stove to use liquid propane, some appliance stores will help you. If they don't, it's possible to convert the gas stove yourself. Although the procedure is not a difficult one, it's best to let a service professional do this job for you.
 artisteer/iStock/GettyImages
Before You Convert Your Stove
Before You Convert Your Stove
When trying to convert a natural gas oven to liquid propane, it's important to proceed with caution. Although the procedure is not difficult and you don't need many tools to complete, you have to know what you're operating on. For new models, all you have to do is flip over the cap that is installed at the top of the tower of the regulator. On older models, there isn't an appliance regulator. If this is the case, it's important to know the year, make, or model of the appliance. Make sure to purchase a conversion kit.
Step One: Turn Off The Gas
Step One: Turn Off The Gas
Before you start this project, it's important to turn off the gas to the Kenmore Gas Stove. If there's a connection, first you're going to disconnect the gas pipe. You can use an adjustable wrench to disconnect the pipe from the stove. After you disconnect the pipe, you're going to remove the grates from each stove burner. Put these grates to the side.
Step Two: Remove the Orifices
Step Two: Remove the Orifices
Next, you're going to prop open the top of the stove and remove each burner assembly orifice. To remove the orifice, you're going to use a nut driver. A nut driver looks like a screwdriver, but this type of tool is used to tighten or loosen nuts and bolts, whereas a screwdriver screws them on. Next, using your nut driver, you're going to place the LP gas orifice on each burner. Afterward, you're going to locate the gas regulator, which is underneath your stove. When you locate the gas regulator, you're going to remove the hex nut with an adjustable wrench. Before you proceed, pull the plastic from the gas regulator and flip it over.
Step Three: Install the Hex Nut
Step Three: Install the Hex Nut
Using your adjustable wrench, you're going to install the hex nut on the regulator and tighten it. To allow your oven to burn LP gas, you have to tighten the orifice on the stove. Your last step is to connect the gas line back to the stove. Again, you're going to tight the gas line with your adjustable wrench. You can now turn the gas supply back onto the stove. Make sure to make note that you converted the oven.