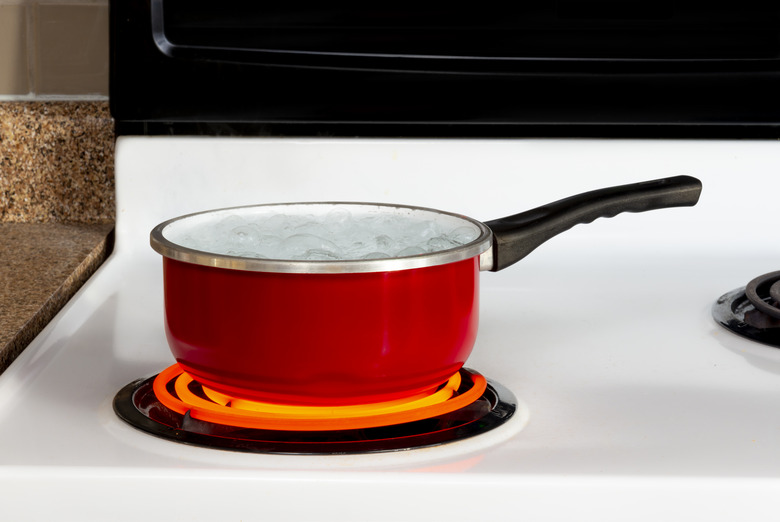
How To Test A Stove Burner Element
If you've been noticing that one of your stove element burners hasn't been heating very well lately, it could be that the burner element is starting to go bad. By performing a burner element test using a step-by-step process, you may be able to find the problem and fix it — or rule out that the element is the problem.
As an important safety precaution before you start your diagnostic project, PartSelect notes to be sure to turn off the stove's breaker or unplug the stove to disconnect the power supply to the appliance. Your stove is fed from a double-pole breaker in your electrical panel. You may see more than one double-pole breaker in your panel, so always make sure you are turning the right one off.
1. Removing Burner Element and Drip Pan
With the power to the stove off, remove the affected burner element by lifting the element at the side opposite its terminals. With the burner lifted, remove the drip pan and decorative ring if it has one. Depending on the make and model of your stove, the burner may just slide out of its terminals or it may have wires connected directly to it.
2. Removing Burner Element Wires
If the burner heating element has wires connected to it, remove them now by removing any screws that attaches the burner to the cooktop, removing the clips that attach the insulators to the terminals and gently unscrewing the wires from the terminals.
3. Inspecting for Damage
Inspect the burner element for any damage, which can include warping, bubbling or damage to the insulation sheath. Also, check the terminal ends for any rust, dirt or corrosion. If you find some, clean the terminal ends with a fine sandpaper or a piece of steel wool.
4. Using Multimeter to Check Ohms
Set your digital multimeter to display the results in ohms. On many testers this is indicated by X1 or RX1. Touch one probe to each of the terminals on the burner heating element.
5. Interpreting Multimeter Readings
If the reading is 0 ohms or the tester does not register a reading at all, then the burner element is bad. If the burner is good, you will get a reading on your tester generally between 20 and 120 ohms, depending on the make and model of the stove.
6. Using Multimeter to Check Continuity
Set your multimeter to display results in continuity. Touch one probe to the surface of the burner element and the other probe to one of the terminals. Then, touch the probe to the other terminal (keeping the one touching the surface in place). If your tester detects continuity either time, then the burner element is grounded to itself, which causes it to short out. It will have to be replaced.
7. Replacing Burner Element
If you have a bad burner element, take it to your local appliance store and ask for an electric stove burner replacement. Install the new one by reversing the steps above that you took to remove the element, turn the breaker back on and test your new burner for proper heating. If your stove is under warranty, be sure to purchase and install only a manufacturer-approved burner element. Otherwise, you may void your warranty.
