How To Adjust The Tension On A Viking Sewing Machine
Things Needed
-
Scrap fabric
-
Thread
Tip
Normal thread tension is set at number four. Sew buttonholes and decorative stitches at tension number three. Topstitching with a course thread on thick fabric requires a tension between number seven and nine. Use the same thickness of thread in the upper thread and bobbin thread for even stitches. Using different weight threads causes irregular stitching.
Warning
Thread breaking occurs when the tension is set too tight for the fabric and thread being used. Fabric layers will not hold together when the tension is too loose. Changing the thread tension settings will be ineffective and may be unnecessary if the sewing machine is not properly threaded through the thread tension discs.
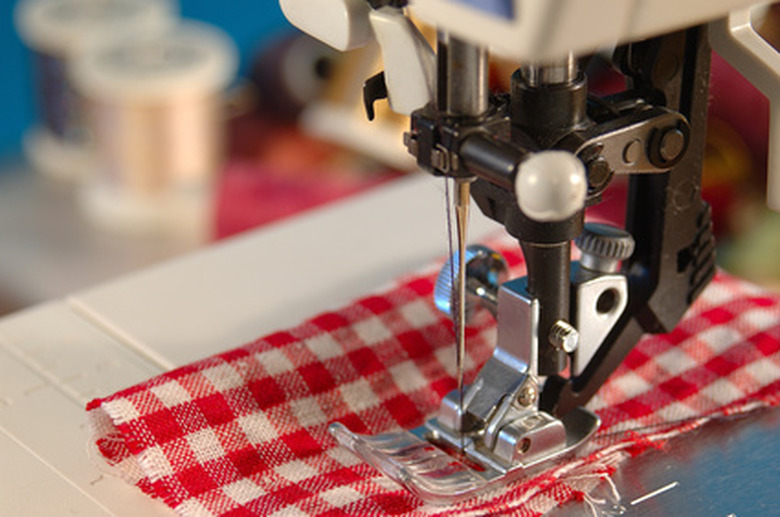
Sewing with the correct thread tension is necessary for proper stitch formation. Thread tension that is too loose will cause stitches to unravel, while too tight of a tension will cause the fabric to pucker. Getting just the right amount of tension requires adjusting the tension dial and checking the stitches. Different thread and fabrics require different tension settings, especially when sewing thick fabrics or buttonholes. All Viking Sewing machines have a tension range between one and nine with the higher numbers indicating tighter tension.
Step 1
Properly thread the sewing machine to ensure that the thread is threaded between the thread tension disks.
Step 2
Fold a piece of scrap fabric in half, using the same fabric you are using in the project. Sew a sample stitch across the length of the fabric.
Step 3
Examine the top and bottom stitches. Loose stitching means the tension is too loose; puckered or broken stitches indicate the tension is too tight.
Step 4
Locate the thread tension dial on the sewing machine. This is the numbered dial directly above the needle guide.
Step 5
To tighten the tension, turn the thread tension dial to a higher number. Loosen the thread tension by changing the dial to a lower number.
Step 6
Increase or decrease the thread tension one number at a time. Sew a test sample after each change and check the threads. Readjust the tension until the threads interlock in the middle of the layers. The stitches will be tight on the top and bottom without puckering the fabric.
References
- "Husqvarna Viking User's Guide"; VSM Group AB; 2003