How To Take Apart A Dyson Animal Vacuum
Things Needed
-
Flathead screwdriver
-
Torx T15 screwdriver
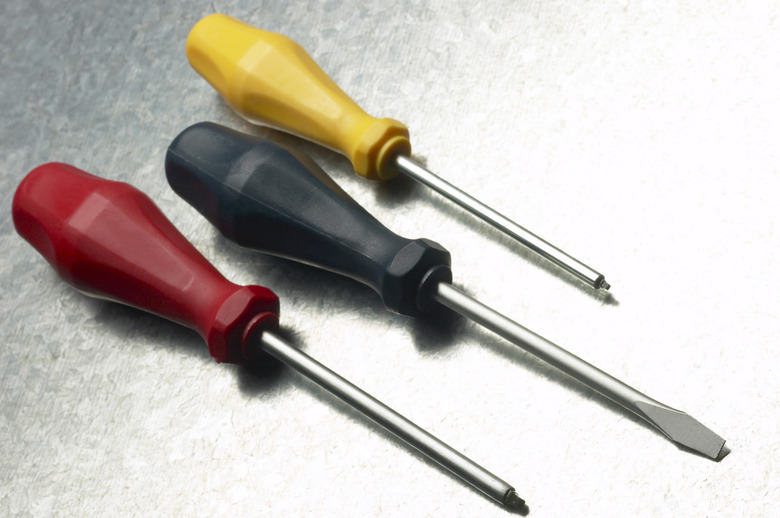 Hemera Technologies/AbleStock.com/Getty Images
If you're looking to repair your Dyson Animal vacuum yourself and save a little money, you're in luck. Dyson vacuums are easily disassembled and repaired at home. The process of taking apart your Dyson Animal, and undertaking a repair, requires no special tools and can be performed in relatively short time. This article addresses the removal of three areas of your Dyson Animal. Removal of these parts will allow you to access, and maintenance, the major needs of your machine.
Canister and Filters
Step 1
Press the button at the top of the canister handle. The button features an arrow pointing upward.
Step 2
Pull the canister free of the machine. To access the pre-motor filter, flip the base of the canister handle up. Open the lid. Remove the filter.
Step 3
Depress the three tabs holding the post-motor filter cover in place. Use the tip of your flathead screwdriver. The cover is located on the vacuum base where the canister had been seated. Lift the cover. Remove the post-motor filter.
Hose
Step 1
Unwrap the cord from the back of the machine. Press the wand/lock release, located at the base of the wand handle. Pull the wand handle and hose from the machine.
Step 2
Press the two tabs on either side of the base of the wand handle. Pull the top end of the hose from the wand handle and set the wand handle aside.
Step 3
Lay the machine face down and locate the u-bend assembly. The u-bend will be found at the terminus of the hose, toward the underside of the vacuum.
Step 4
Press the tab holding the u-bend in place. Pull the u-bend away from the machine. This will allow you to remove the bottom end of the hose.
Step 5
Push the tab holding the hose in place inside the hose sleeve. The sleeve is located between the u-bend and the end of the hose. Pull the hose from the sleeve.
Brush Belt Housing
Step 1
Lay the vacuum on its back, exposing the bottom of the machine. Unscrew the three soleplate fasteners. The soleplate is the protective plate that keeps the brush roll from becoming damaged. Using a coin or your flathead screwdriver, turn the fasteners a quarter-turn to the left. Lift the soleplate from the machine.
Step 2
Remove the u-bend. This will allow access to one of three bolts that hold the brush belt housing in place. The u-bend is an elbow-shaped hard plastic tube located at the bottom of the machine. Push the tab on the u-bend and pull the u-bend away from the machine.
Step 3
Unscrew the three Torx bolts holding the brush belt housing in place. The housing is located between the large motor housing and the underside hose. Removing the housing will give you access to the brush belt, which can be pried from the motor shaft and pulled free by lifting the brush roll from the cleaner head.