How To Change A Line In A Homelite Electric String Trimmer
We may receive a commission on purchases made from links.
Homelite was one of the first companies to manufacture string trimmers, and it sells corded and gas-powered models but for some reason has never entered the cordless trimmer market. Homelite electric trimmers are for light-duty jobs, such as garden weed management and mowing small patches of lawn. They use 0.065-inch-diameter string, which is the lightest available. Manufacturers color-code trimmer string to make identification easier, and the color for 0.065-inch string is blue.
Homelite electric trimmers are among the least expensive trimmers on the market. They are lightweight and don't require gas or oil, but they come with one big disadvantage: the cord. You need one long enough to reach the edges of the yard, and it gets in the way while you're working. Nonetheless, there aren't many practical alternatives to string trimmers for the jobs for which you need them, so it's best to keep your Homelite trimmer strung and ready for use.
Things Needed
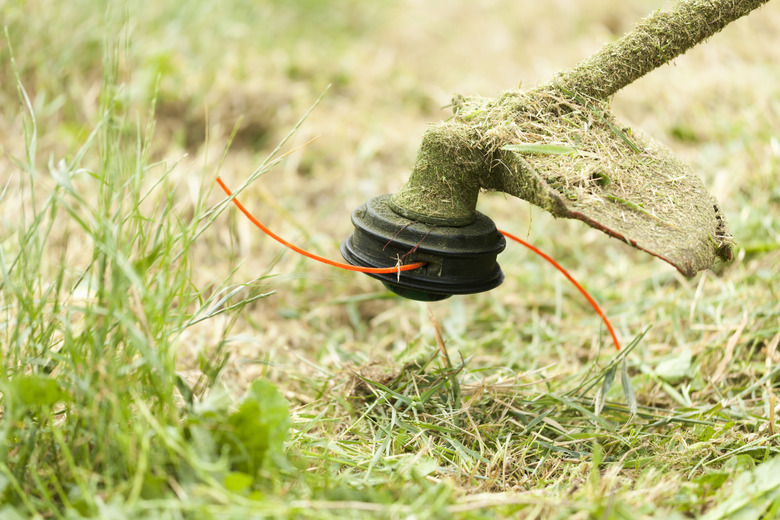
How to Restring an Electric Homelite Trimmer
1. Unplug the Trimmer
You don't want the trimmer to switch on by mistake while you're working, so pull the extension cord off the plug on the trimmer handle. Set the trimmer on a flat surface with the trimmer head facing you.
2. Remove the Spool
Grasp the two tabs on either side of the trimmer head and squeeze them together. This will free the spool retainer and allow you to lift it off the trimmer head. Lift the line spool out and pull out any old string that happens to be there.
3. Prepare Two Lengths of String
Unravel about 12 feet of line from the package and cut them into two identical 6-foot lengths using a pair of scissors. It's a good idea to cut the string at an angle to form a point, which makes it easier to insert the string into the holes in the spool.
4. Wind the Two Lengths Separately
The spool is divided into an upper and lower section by a plastic divider, and there's an anchor hole in the hub in each section. Feed one length of string into one of the anchor holes and wind it around the hub in the direction of the arrow on the rim of the spool. Leave about 6 inches at the end and then feed the string into the notch on the rim to hold it. Repeat with the other length and when you come to the end, feed the string across the notch in the plastic divider and secure it into the notch on the opposite side of the rim.
5. Replace the Spool
Feed the ends of the two lengths of string through the holes in the trimmer head and set the spool back in place on the shaft inside the trimmer head. Orient the retainer cover so that the tabs line up with the notches on the trimmer head and then push it down until it snaps in place.
6. Free the Strings
The string won't advance unless you remember to pull it out of the notches. To do this, grasp both lengths and pull them outward at the same time until you feel them unsnap from the notches.
The deflector on the trimmer has a pair of blades that will cut the string to length when you operate the trimmer. Be sure to wear goggles when you operate the trimmer for the first time because the cut pieces of string will fly around unpredictably when this happens.