How To Build A Wine Rack In A Kitchen Cabinet
We may receive a commission on purchases made from links.
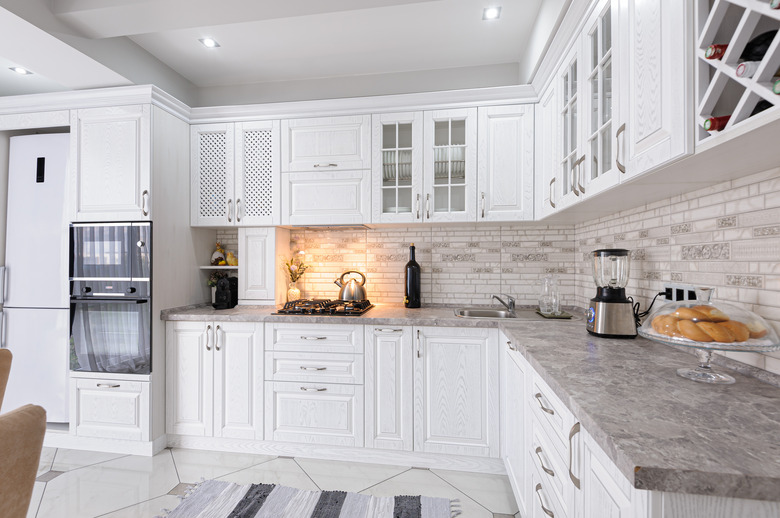
Building a wine rack into an existing kitchen cabinet is an elegant and stylish way to customize your kitchen and show off your perfectly aged wine collection. While there are many free plans for free-standing, wall-mounted and modular wine racks available online, if you want to create a built-in wine rack in your kitchen cabinets, you're mostly on your own. These step-by-step instructions show you how to create your own custom built-in wine rack.
1. Prep the Cabinet
Remove the cabinet door, shelves and shelf brackets from the cabinet.
2. Measure the Depth
Measure the depth of your kitchen cabinet. The cabinet depth measurement will be the length measurement for the shelf side brackets. If you want to be able to close the door, the cabinet depth should be at least 20 inches. If your cabinet is not that deep, you can still build a custom wine rack into it. Simply leave the door off for an open wine rack.
3. Determine Number of Shelves
Determine how many shelves you can build into your wine rack. Measure the height of the cabinet and divide by 10 inches. This will allow enough room for air circulation between shelves.
4. Create Side Brackets
Cut side brackets from 1 x 6-inch boards. For each pair of side brackets, cut the board to the length determined by the cabinet depth. Rip in half lengthwise to make two shelf brackets.
5. Measure and Cut Notches
Measure 6 inches in from the front on one edge of each bracket piece. Mark a 1-inch wide by 1 1/2-inches deep notch at that point. Using a router bit or stacked dado blade on your table saw, cut out the notches.
6. Cut Another Set of Notches
Repeat the step above to cut a second set of notches 2 inches from the back end on the top edge of each shelf bracket.
7. Sand and Finish Side Brackets
Sand and finish the side brackets as desired.
8. Measure and Cut Shelves
Measure the width of the inside of the cabinet. Measure and cut shelves of that length from 1-by-6 inch boards. Each length of board will make either two shelf fronts or two shelf backs.
9. Mark Position of Neck Holders
Draw a line lengthwise down the exact center of each shelf front board. Measure along the center line to mark the position of the neck holders.
10. Create the Shelf Fronts
Drill holes along the center line with a 1 5/8-inch hole saw. Rip the board in half lengthwise to make two shelf fronts.
11. Mark Center of Wine Cradles
Draw a line along the lengthwise center of each wine rack shelf back. Measure and mark the center of each wine cradle.
12. Cut the Holes
Cut holes along the center line as marked, using a 4-inch hole cutter. Rip lengthwise to make two shelf backs from each piece.
13. Sand and Finish
Sand and finish wine rack shelves before assembling.
14. Measure for Location of Shelves
Measure placement of wine rack shelves on each side of the inside of the kitchen cabinet.
15. Attach the Brackets
Attach brackets securely to the sides of the inside of the cabinet using wood screws and glue. Make sure that the notched edges are up and the 6-inch length is toward the front of the cabinet.
16. Insert the Shelf Backs
Slide the wine rack shelf backs into the notches at the back of the shelf brackets. Sand to fit if necessary.
17. Insert the Shelf Fronts
Slide the wine rack shelf fronts into the notches at the front of the shelf brackets, sanding to fit if needed. That's it: Your custom wine rack is finished. Replace the door if desired, or replace with a windowed door to show off your wine collection.
